Red Oak Floor Project – San Pablo CA
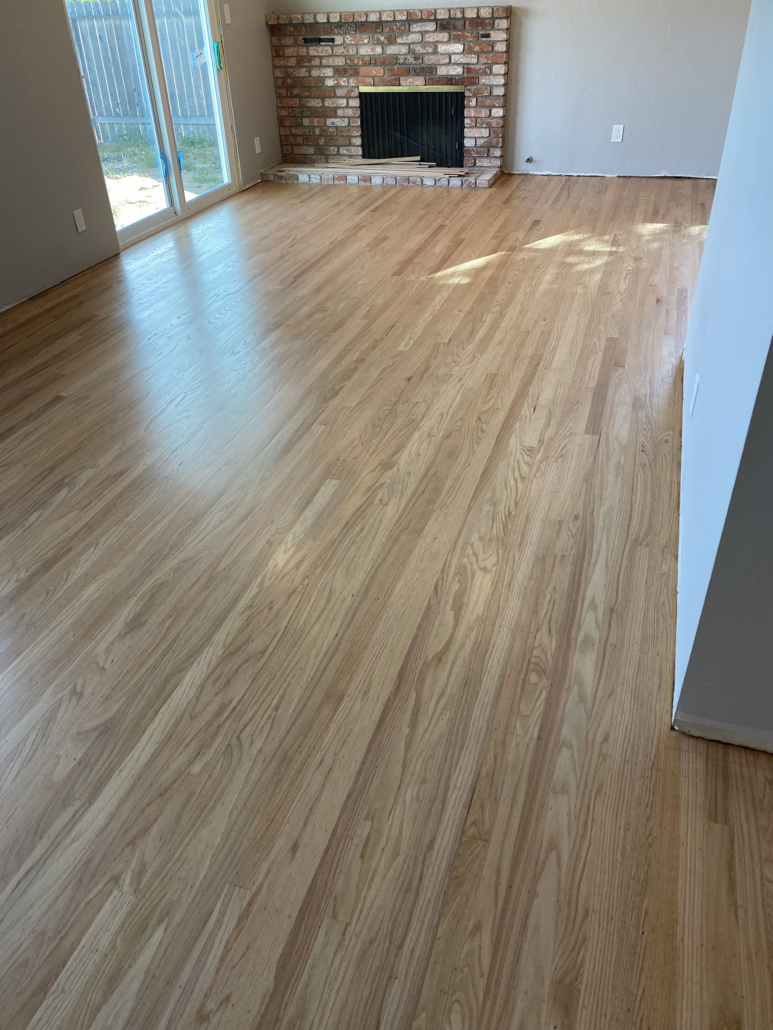
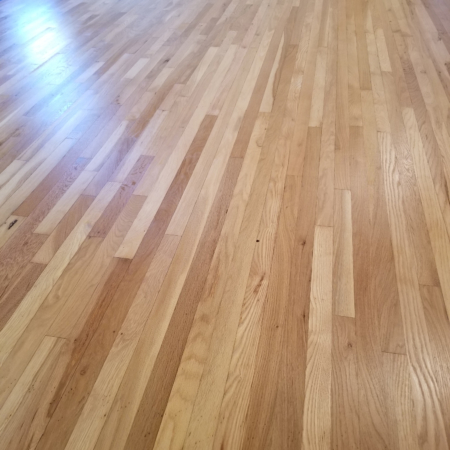
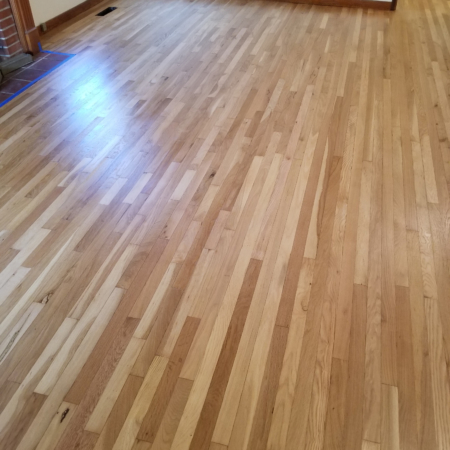
Our job was to add Red Oak floors in the dining living areas. The owner moved a wall to open up the main floor, and so we laced new floor boards into the existing. That is instead of going the easy way and butting it against the old floor. We started out by preparing the sub floor. That meant fixing any squeaks, repairing soft areas and sanding down the high spots. Afte that we vacuumed and put in a vapor retarder to slow down the moisture coming from the crawl space.

Matching the existing floor lines we then added floor row after row. Some had to be cut to fit into some areas, but most of the boards just slid into place with no problem. After nailing the entire floor we then let it acclimate in place, which means letting the floor reach its’ optimal moisture content for that area. While waiting for that to happen we then started refinishing the rest of the floors in the home. Using dust containment systems we virtually have no dust in the home while we are sanding. This leads to a clean job site, which then leads to a better sanded wood floor and a cleaner finish coat. After about a week of the new wood floor acclimating we then proceeded to finish the sanding on the new areas as well. We spend time setting any nail heads that were exposed and filling the floor with wood filler. The filler is applied as a continuous coat throughout the floor. We then sand it off until we are happy with the surface condition.

At the very end we use our hand scrapers and clean up corners and areas hard to reach. A thorough vacuum and mop and the floor was ready for the finish. This floor was coated with three coats of water base satin urethane by Bona. As you can see and to the delight of the home owner, the new floors blended in beautifully into the old.

Every floor is different and so every job is different. With most phases of the sanding process being the same, each floor dictates what we do or don’t do to make it look better. Even thought we’ve been in business since 2002 we never get bored with making floor look so pretty, especially when seeing the smiles on people’s faces.

Coronavirus: How Avi’s Hardwood Floors Makes Your Life Safer

Top Three Reasons for Hiring Us Post COVID 19 Outbreak
At Avi’s Hardwood Floors we take your health and ours very seriously. While over the years we invested in top of the line machinery to keep your house free from dust, now we take extreme measure to leave your house as sanitized as possible. Read more

A Floor Replacement Done Right

Our clients trust us to recommend the best solution for their floor issues. In this case, the home owner called us for advice on how to fix his squeaky floor. He already spent endless hours under the house, using squeak repair kits from the box store. Days in and out, the squeaks kept coming back and he didn’t know what to do. The hardwood floors were 5/16” x 2” red oak floors – a common top nail floor in the Bay Area. I don’t know how many other contractors he had met with before I walked through his front door, but they were many. We discussed the floor issues in length. I suggested a complete replacement, including proper sub floor fix and a full glue and nail of the new floor.
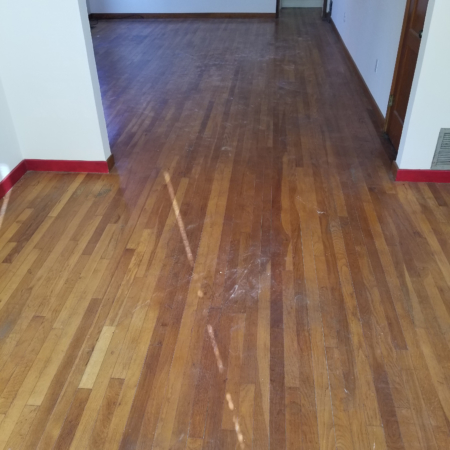
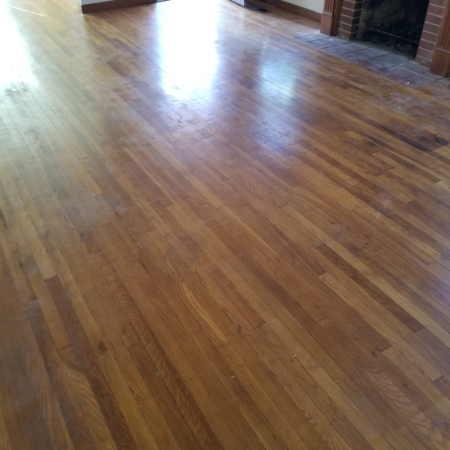
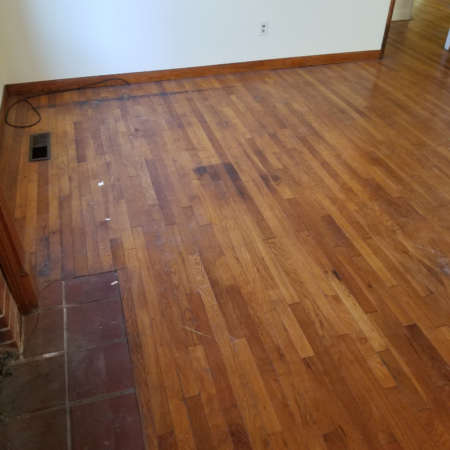
Evidently I was the first and only hardwood contractor to recommend this option. He hired us to do the work. Sure enough, as we started pulling the floor boards up we realized how thin the floor was. In some areas the wood floors was so thin, you could bend it for wood lamination. The hardwood floor in most areas were 1/8” thick which is absolutely outrageous for a top nail oak floor. Read more

Piedmont Remodel – Adding New Floors and Refinishing Existing

We work a lot in the Piedmont area refinishing 100 year old oak floors and repairing them. This time the clients wanted us to add white oak floors to their addition, and refinish their old floors so that in the end everything matched.

After a quick visit to the site, inspecting the construction of the new sub floors and moisture conditions I advised my clients to use an unfinished engineered white oak. That was of course of great quality with a thick layer of veneer on top that can be sanded several times.

The conditions inside the addition didn’t permit installing solid floors without them buckling. There was too much concrete poured around and under the sub floors, and the addition was cut into the hill so we treated it as below grade install.

After acclimating the new white oak floors, we installed the floors throughout the addition. The design was a classy look for this old Piedmont home; big spaces with plenty details in the finish carpentry.

Read more

Oak Refinish in Richmond, CA

Many homes in Richmond, CA have hardwood floors that were covered with carpets, laminate floor or painted over. As the Bay Area gets more crowded and the demand for land rises, home owners now shop for properties in areas less desirable in the past; areas like Oakland and Richmond. Many homes were neglected over the years and aside large expenses to remodel or add to their home, consumers understand the value in restoring their wood floors. The impact of refinishing your wood floors is immediate, beautiful and not as expensive as other remodel costs. Refinishing your wood floors should be done before you move into your new home.

At Avi’s Hardwood Floors we use our experience, education and the latest technology in dust contained floor sanders to assure a job well done. In this featured project we were called to refinish an odd floor. The floor was sanded before but had obvious sanding marks and gauges in it. It also had several dark stains from water damage and pets urine.

We collected woods from different sources to match the existing for repairs, sanded the floor flat and applied three coats of commercial water base urethane.

The home owner was very happy with the price, the quality and the time it took us to complete the work.

1 Oak Refinish Richmond Before
Step 1

Step 1 - Oak Refinish Richmond Before

2 Oak Refinish Richmond Before
Step 2

Step 2 - Oak Refinish Richmond Before

3 Oak Refinish Richmond Before
Step 3

Step 3 - Oak Refinish Richmond Before

4 Oak Refinish Richmond After
Step 4

Step 4 - Oak Refinish Richmond After

5 Oak Refinish Richmond After
Step 5

Step 5 - Oak Refinish Richmond After

Hiring a Professional to Sand and Finish Your Hardwood Floors – Understand What You Pay For

Here at Avi’s Hardwood Floors we specialize in installing, sanding and finishing wood floors. That is all we do, every day five days a week all year. One client said to me recently that he did not appreciate the full art and effort it took to refinish a floor until he saw us in action.
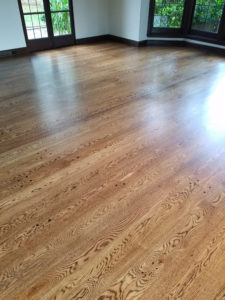
These days it seems most flooring products in the market are part of a trend of colors like gray and white. These floors are mostly engineered and often wire brushed which means – you cannot refinish them in the future. The art of sanding and finishing is slowly disappearing as the need for craftsmanship is declining. The market is filled with more people who can only install floors at a simple straight layout, yet alone add borders or set inlays and medallions.

The art of sanding and finishing is more appreciated now than ever, as home owners who have solid wood floors start searching for someone to refinish their wood floors, they often times find it hard to find someone qualified to do the job. Most guys have not had any training in refinishing floors or simply cannot do it.

When you find and hire a professional to refinish your floors understand the following:
  • Refinishing floors is an art. Even with all the training and years of experience it is still all in the hands of the craftsman or woman
  • Every job is different so the professional is challenged with each floor in different ways
  • The task of reviving an old floor is a multi-step process, unlike what you might see on your local home channel. It is a time consuming process
  • True professionals who know their craft have been around for a while and would still be around for years to come
  • Putting a price per square foot on this type of labor is simplifying the idea that anyone can do it and provide the same result
  • Refinishing wood floors takes a lot of attention to detail, for example: protecting adjacent surfaces, owning the right machines to provide complete dust free sanding, mastering the technique for each wood specie, knowing what to use for filling oak vs. cherry, how to treat a top nail floor vs. tongue and groove, identifying and repairing a floor, choosing the right finish for the client and being able to master the use of each finish.

As you can see, sanding and finishing wood floors is truly an art. It cannot simply be taught by attending one school, watching a video or reading a book alone. It is a process of years of learning and with each wood floor comes a new challenge. Next time you look for someone to refinish your wood floor understand that not all who say they can – can do it well.

How We Contain Wood Dust

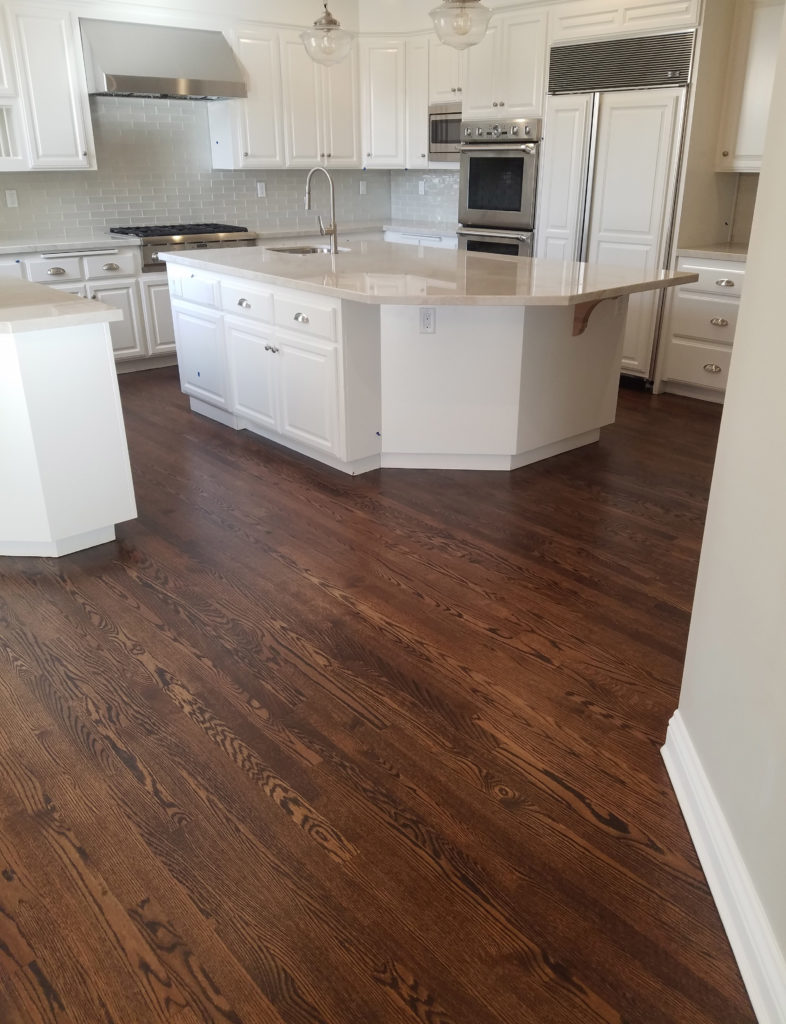
Hardwood-Floor-Kitchen-White-CabinetsAt Avi’s Hardwood Floors we use several ways to control the cleanliness of your home while we sand and finish your wood floors.
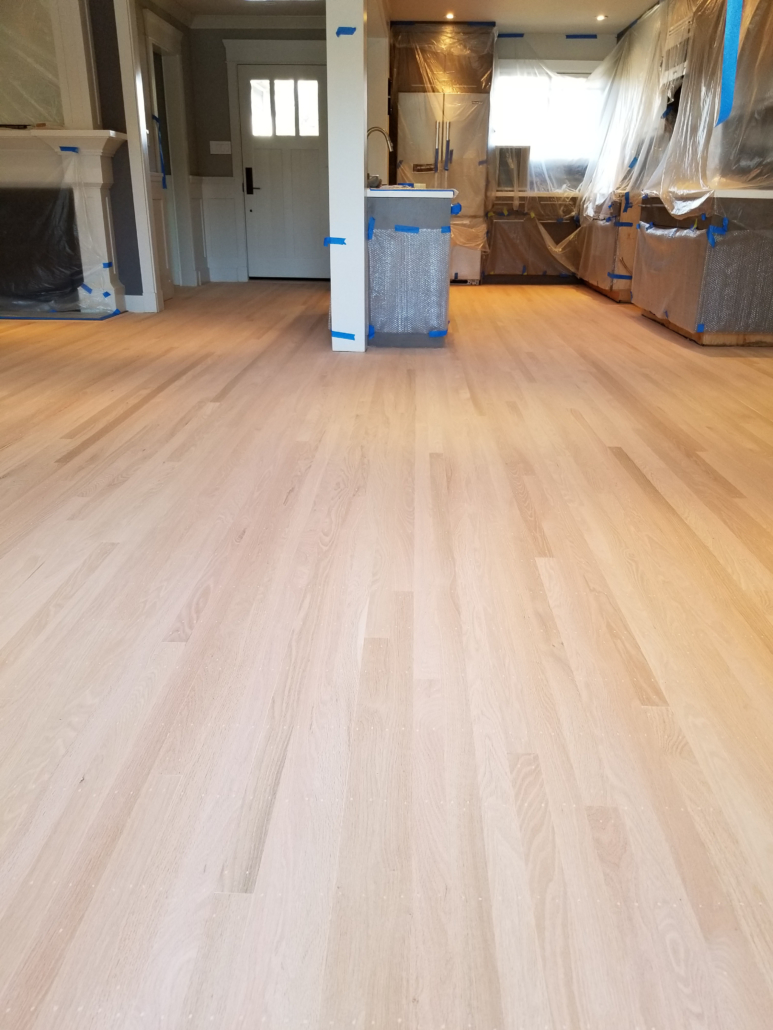
We start with a clean site. Normally we would vacuum the floors and spend time taping off areas of the home where we don’t work. If we work in kitchen area we tape off all cabinets and if you have a big tv and wall mount speakers we will tape them off as well.

We use state of the art sanding machines – these machines are expensive industrial type sanders that are specifically designed for wood sanding. These sanders are the only ones in the world tested for wood dust emissions and are the most efficient in dust containment. Sounds like magic, right? Not really. We have seen other contractors claim to be dust free when in fact all they have is an old sander with a cheap utility vacuum attached to it. A vacuum sucks in the air and blows out air. If the vacuum is not designed to capture and contain the fine particles of dust then that dust will end up back in the air.

Some of our sanders have built in dust containment systems. All we have to do is empty the bags outside when they are full. Some of our other sanders are part of a dust free sanding system so all the vacuums are interchangeable and all the filters are HEPA filters. HEPA is the most efficient filter (and most expensive) in collecting fine dust.

Of course, there is always a few dust particles that get away and end up on the baseboards or in the corners. The last step of refinishing your floors is vacuuming every inch of the floors, window cells and other areas. We thoroughly check the site for any dust and wipe off any surfaces like counter tops.


The results yield a clean home with a newly refinished floor and a clean top coat of finish with no debris or dust stuck in it. At Avi’s Hardwood Floors we have done hundreds of jobs for families that had members of the family with allergies or other health conditions. We even did a few jobs for some with severe dust allergies. Those home owners had such strong reactions to dust they had specialty air cleaning systems installed in their home. Hiring us was the sure thing to do and we never disappointed anyone with our promise for a clean sanding job.

One client insisted we taped off their entire living room before we started work. We did. He came to check up on us a few hours into the refinishing process and said: “wow, there really isn’t any dust!” we just smiled and kept on sanding.

Trust us in doing a great job while keeping your home clean. This is not one of those empty marketing promises, it is the truth.

Why Should You Be Concerned about Wood Dust?

  • Hardwood-Floor-hallway-staris-livingroomWood dust is not something our bodies can process. Wood dust is one of the more common causes of health problems especially lung related conditions.
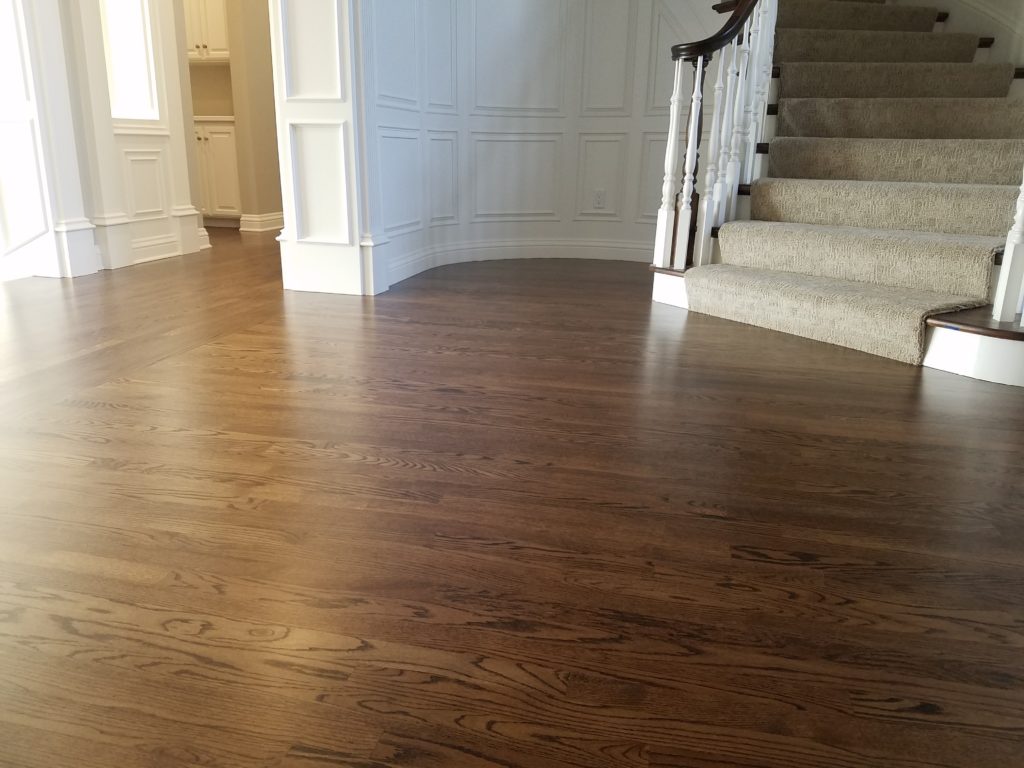
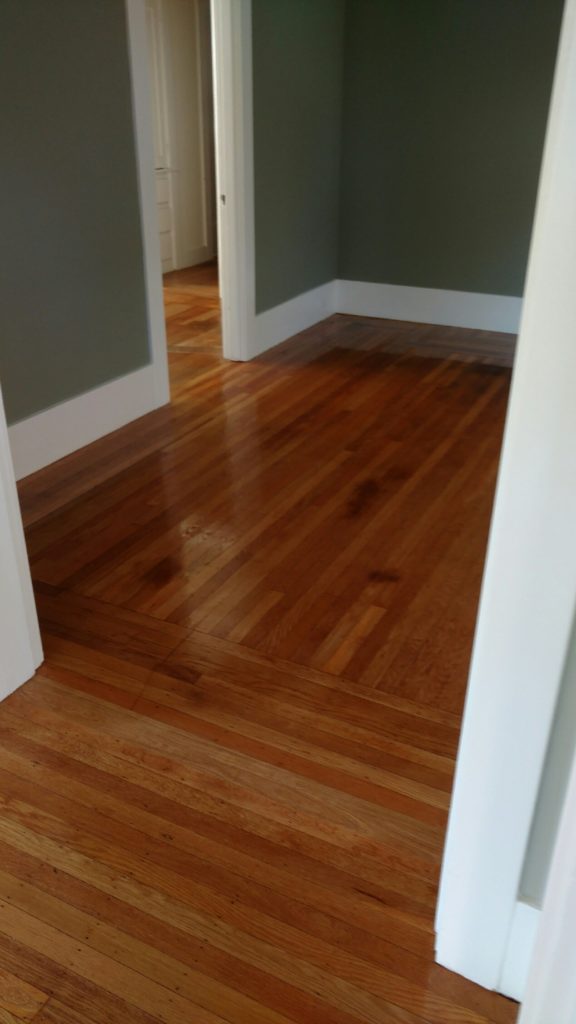
  • Wood dust can irritate our bodies in many ways, for example breathing exotic wood dust can cause nose bleeds which we have seen happen on a job site. Dust rubbing on your body can cause skin rashes and other health conditions.
  • Wood dust is very hard to clean. We have heard stories about people cleaning their homes months after a sanding job was completed because dust was still settling in parts of the home. Wood dust is fine and light so once airborne it can travel all around your home.
  • A job site that is dirty will only yield a dirty floor finish. How can anyone provide a clean coat of finish when the air is full of dust? One of the most common finish complaints by home owners is debris in the final coat of finish on their wood floors.

How do we create wood dust and why does it get everywhere?

We use several kinds of sanding machines:
20161230_094503

  • Belt sanders – the abrasive is a belt which spins around a drum in one direction
  • Single disc sanders – the abrasive is round and spins in one direction
  • Multi disc sanders – three discs which spin in multiple directions
  • Orbital sanders – single disc random orbit type

The one thing that is common to all these machines is this: they all create very fine dust quickly. Unless there is a vacuum there to contain the dust, it will get in the air immediately. The motor parts and fans inside the sanders help blow the dust off the floor and up into the air. Once in the air, the dust will travel several feet and often far enough into other rooms. It takes several hours for fine wood dust to settle on flat surfaces like shelves and floor coverings.

A big part of our business is fixing other people’s sanding jobs. We have seen dust on walls, in bedrooms all over the home owners stereo and tv. We have seen dust completely covering a furnace air return and piles of it inside floor heat registers. Dust must be contained for a good sanding job.

The Best Wood Floors for Dog and Cat Owners – Part 2

pets urine stains on hardwood floorHow to use and maintain your wood floors living with dogs and cats in the home.

Dogs and cats are probably the most common pets we all have in our home. Much like any member of our family they spill water, shed hair, scratch the wood floors and just plain wear through the house just living in it. That is part of everybody’s life. Added to the equation is the fact that if not properly trained, pets will urinate on the wood floors and permanently stain the wood.

If you have a dog or a cat and hardwood floors in your home, this blog is to help you understand what your pets do to your floors and how to keep the floors clean and maintained.

Common topics my clients have asked me about:

  • Pets who shed hair on your hardwood floors – This is a pretty easy fix. You can use a vacuum, a broom or a lightly dampened mop. I find it easier to use a damp mop or a micro fiber mop. A lot of the new micro fiber mops will pick up hair and dust without having to spray anything on the wood floors. When the mop is dirty just take it outside and shake it clean.
  • Water spills around their water station – Water and wood do not mix. No matter the finish you have on the floor, water will penetrate through it and will soak in through the floor seams and end joints over time. Water spills and drips in one area on a daily basis will cause discoloration in the wood, stain the wood or cause minor expansion and swelling of the hardwood floors. To keep those from happening, use a dry clean rag or towel to wipe the area daily. I have seen some clients that placed a plastic sheet on the wood floors and that works well.
  • Scratches on your wood floors – dogs and cats, especially large dogs will scratch your wood floors very easily. The heavier the dog the more scratches. A common mistake with site finished floors is for the home owner to move in too soon after the last coat of finish was applied. Since the finish had no time to cure properly the pets would then scratch the wood floors quickly and easily. It is important to try and keep those nails groomed and filed. It is also recommended not to let your 80lb dog run and play inside…

Much like us dogs and cats use and wear our wood floors. Following these simple guidelines will help reduce wear and tear on your floors and keep them clean for all to enjoy.