Red Oak Floor Project – San Pablo CA
 Our job was to add Red Oak floors in the dining living areas. The owner moved a wall to open up the main floor, and so we laced new floor boards into the existing. That is instead of going the easy way and butting it against the old floor. We started out by preparing the sub floor. That meant fixing any squeaks, repairing soft areas and sanding down the high spots. Afte that we vacuumed and put in a vapor retarder to slow down the moisture coming from the crawl space.
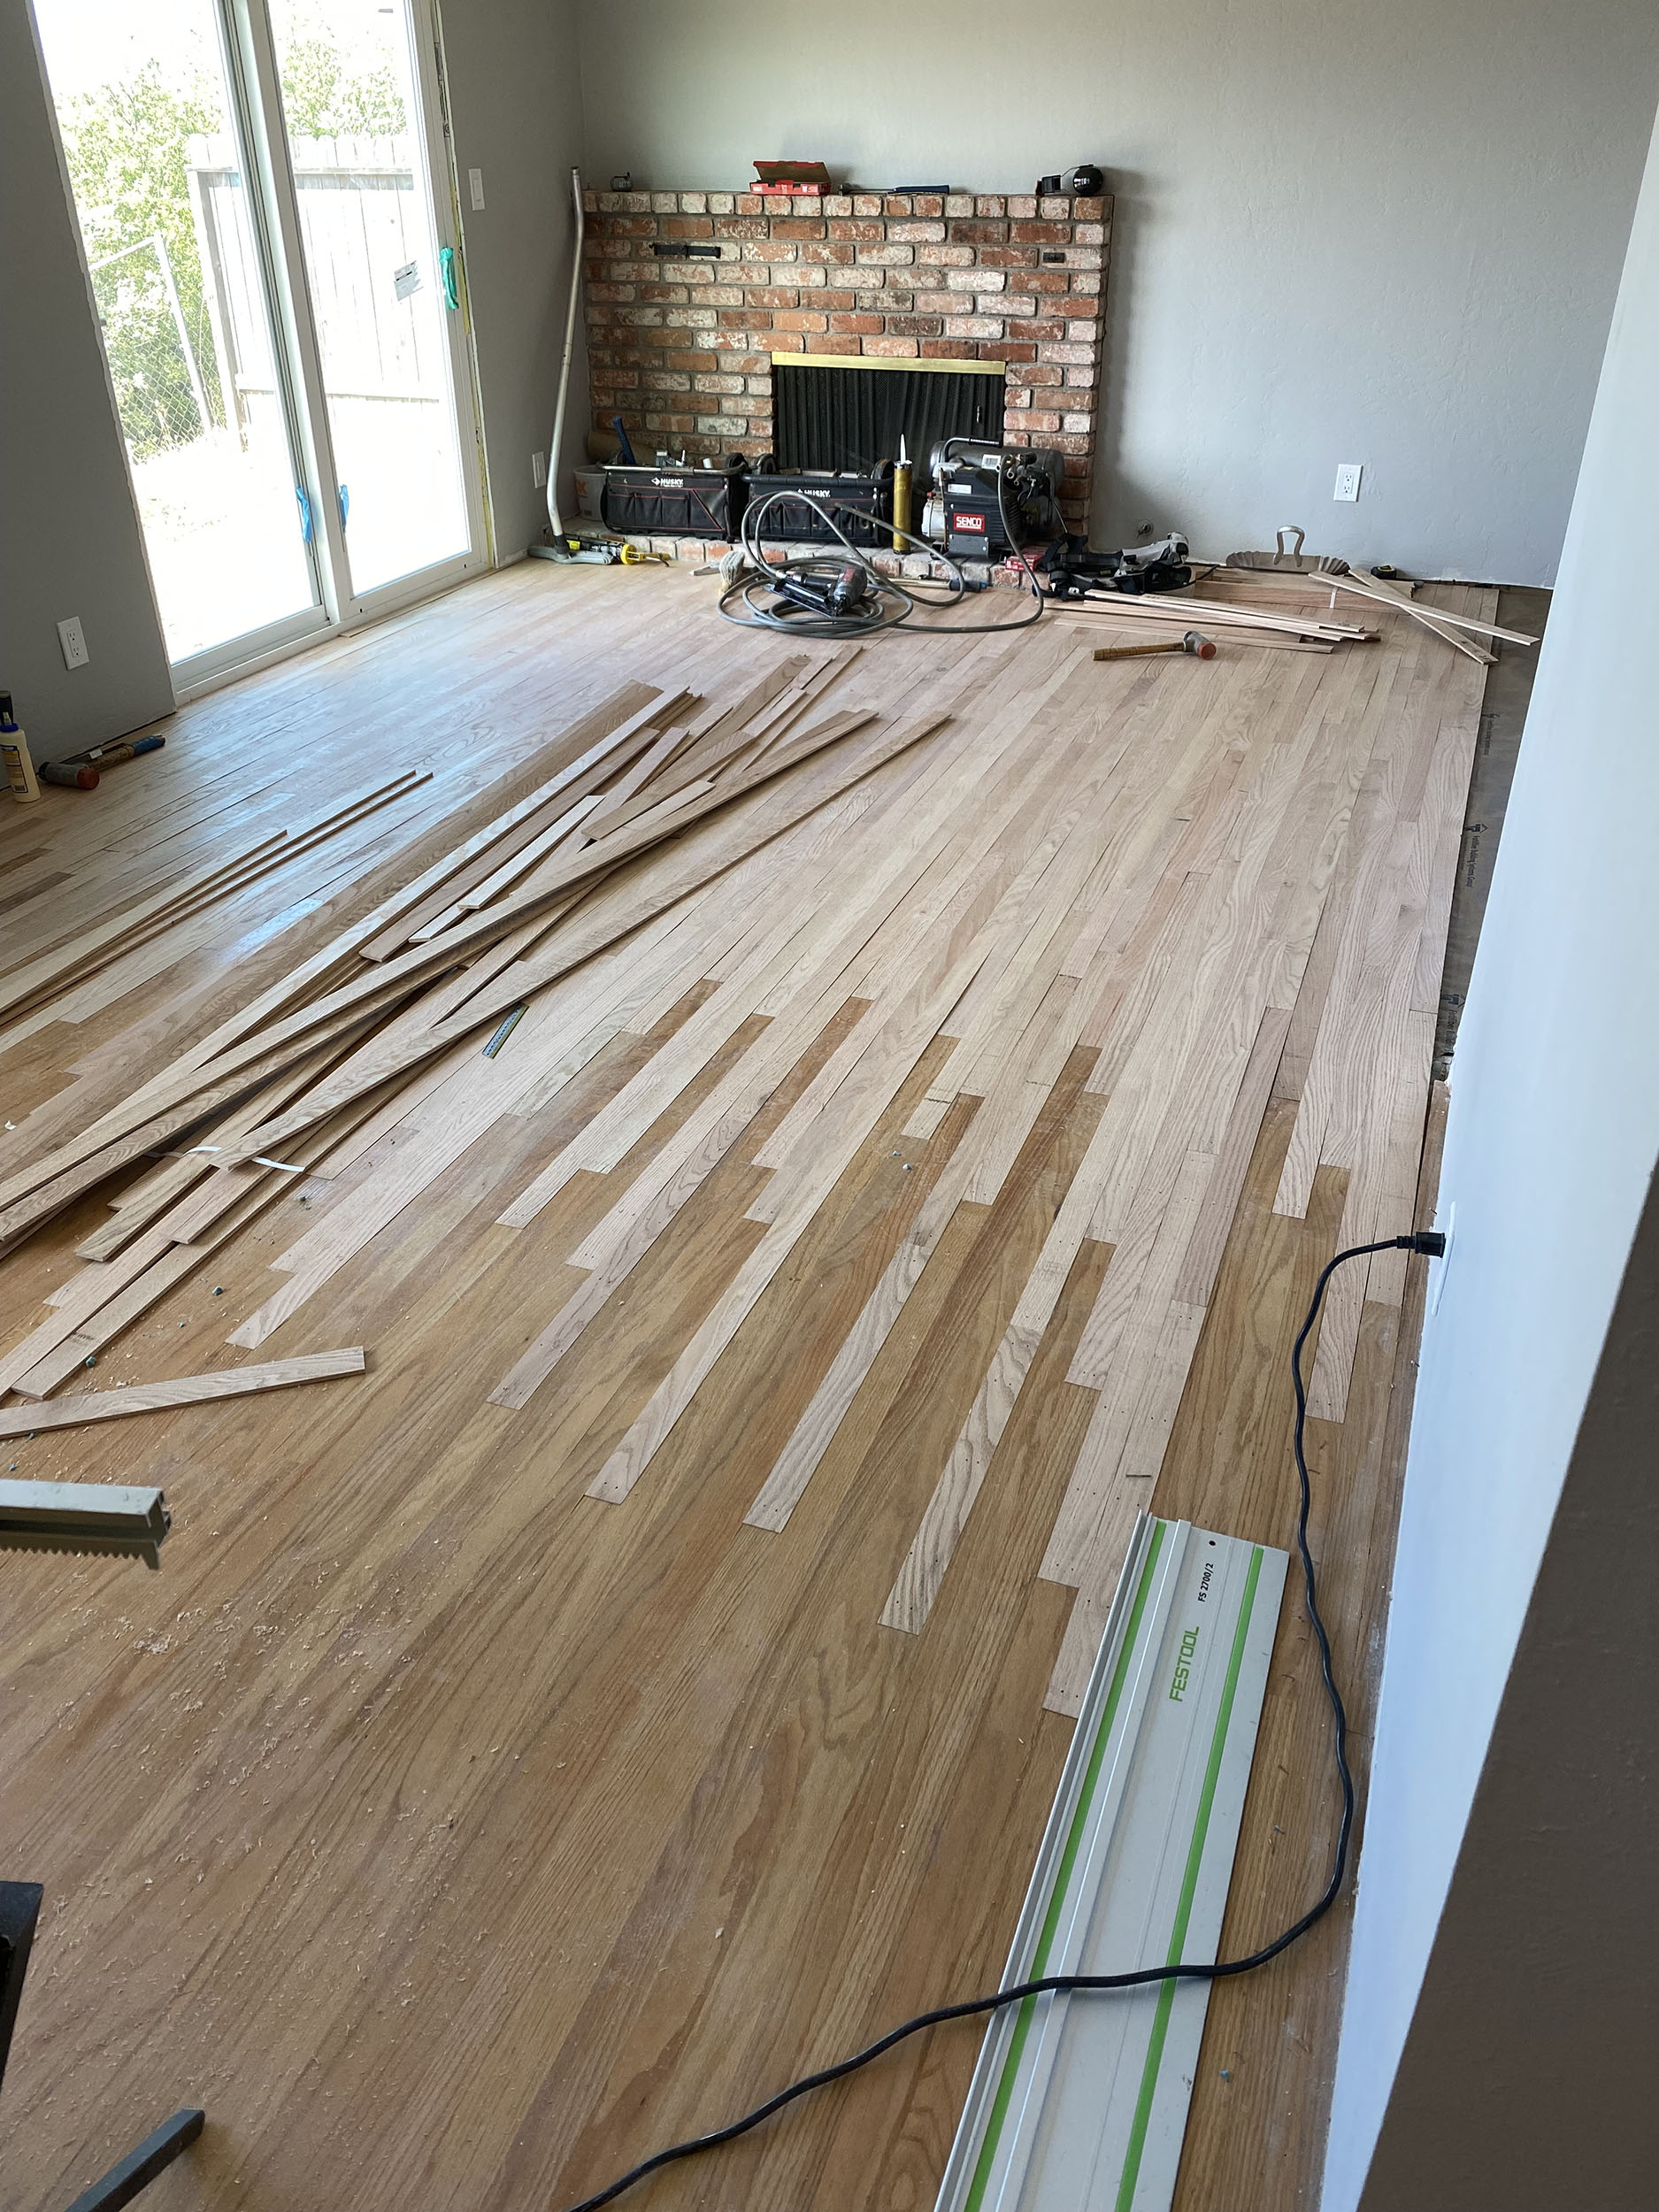
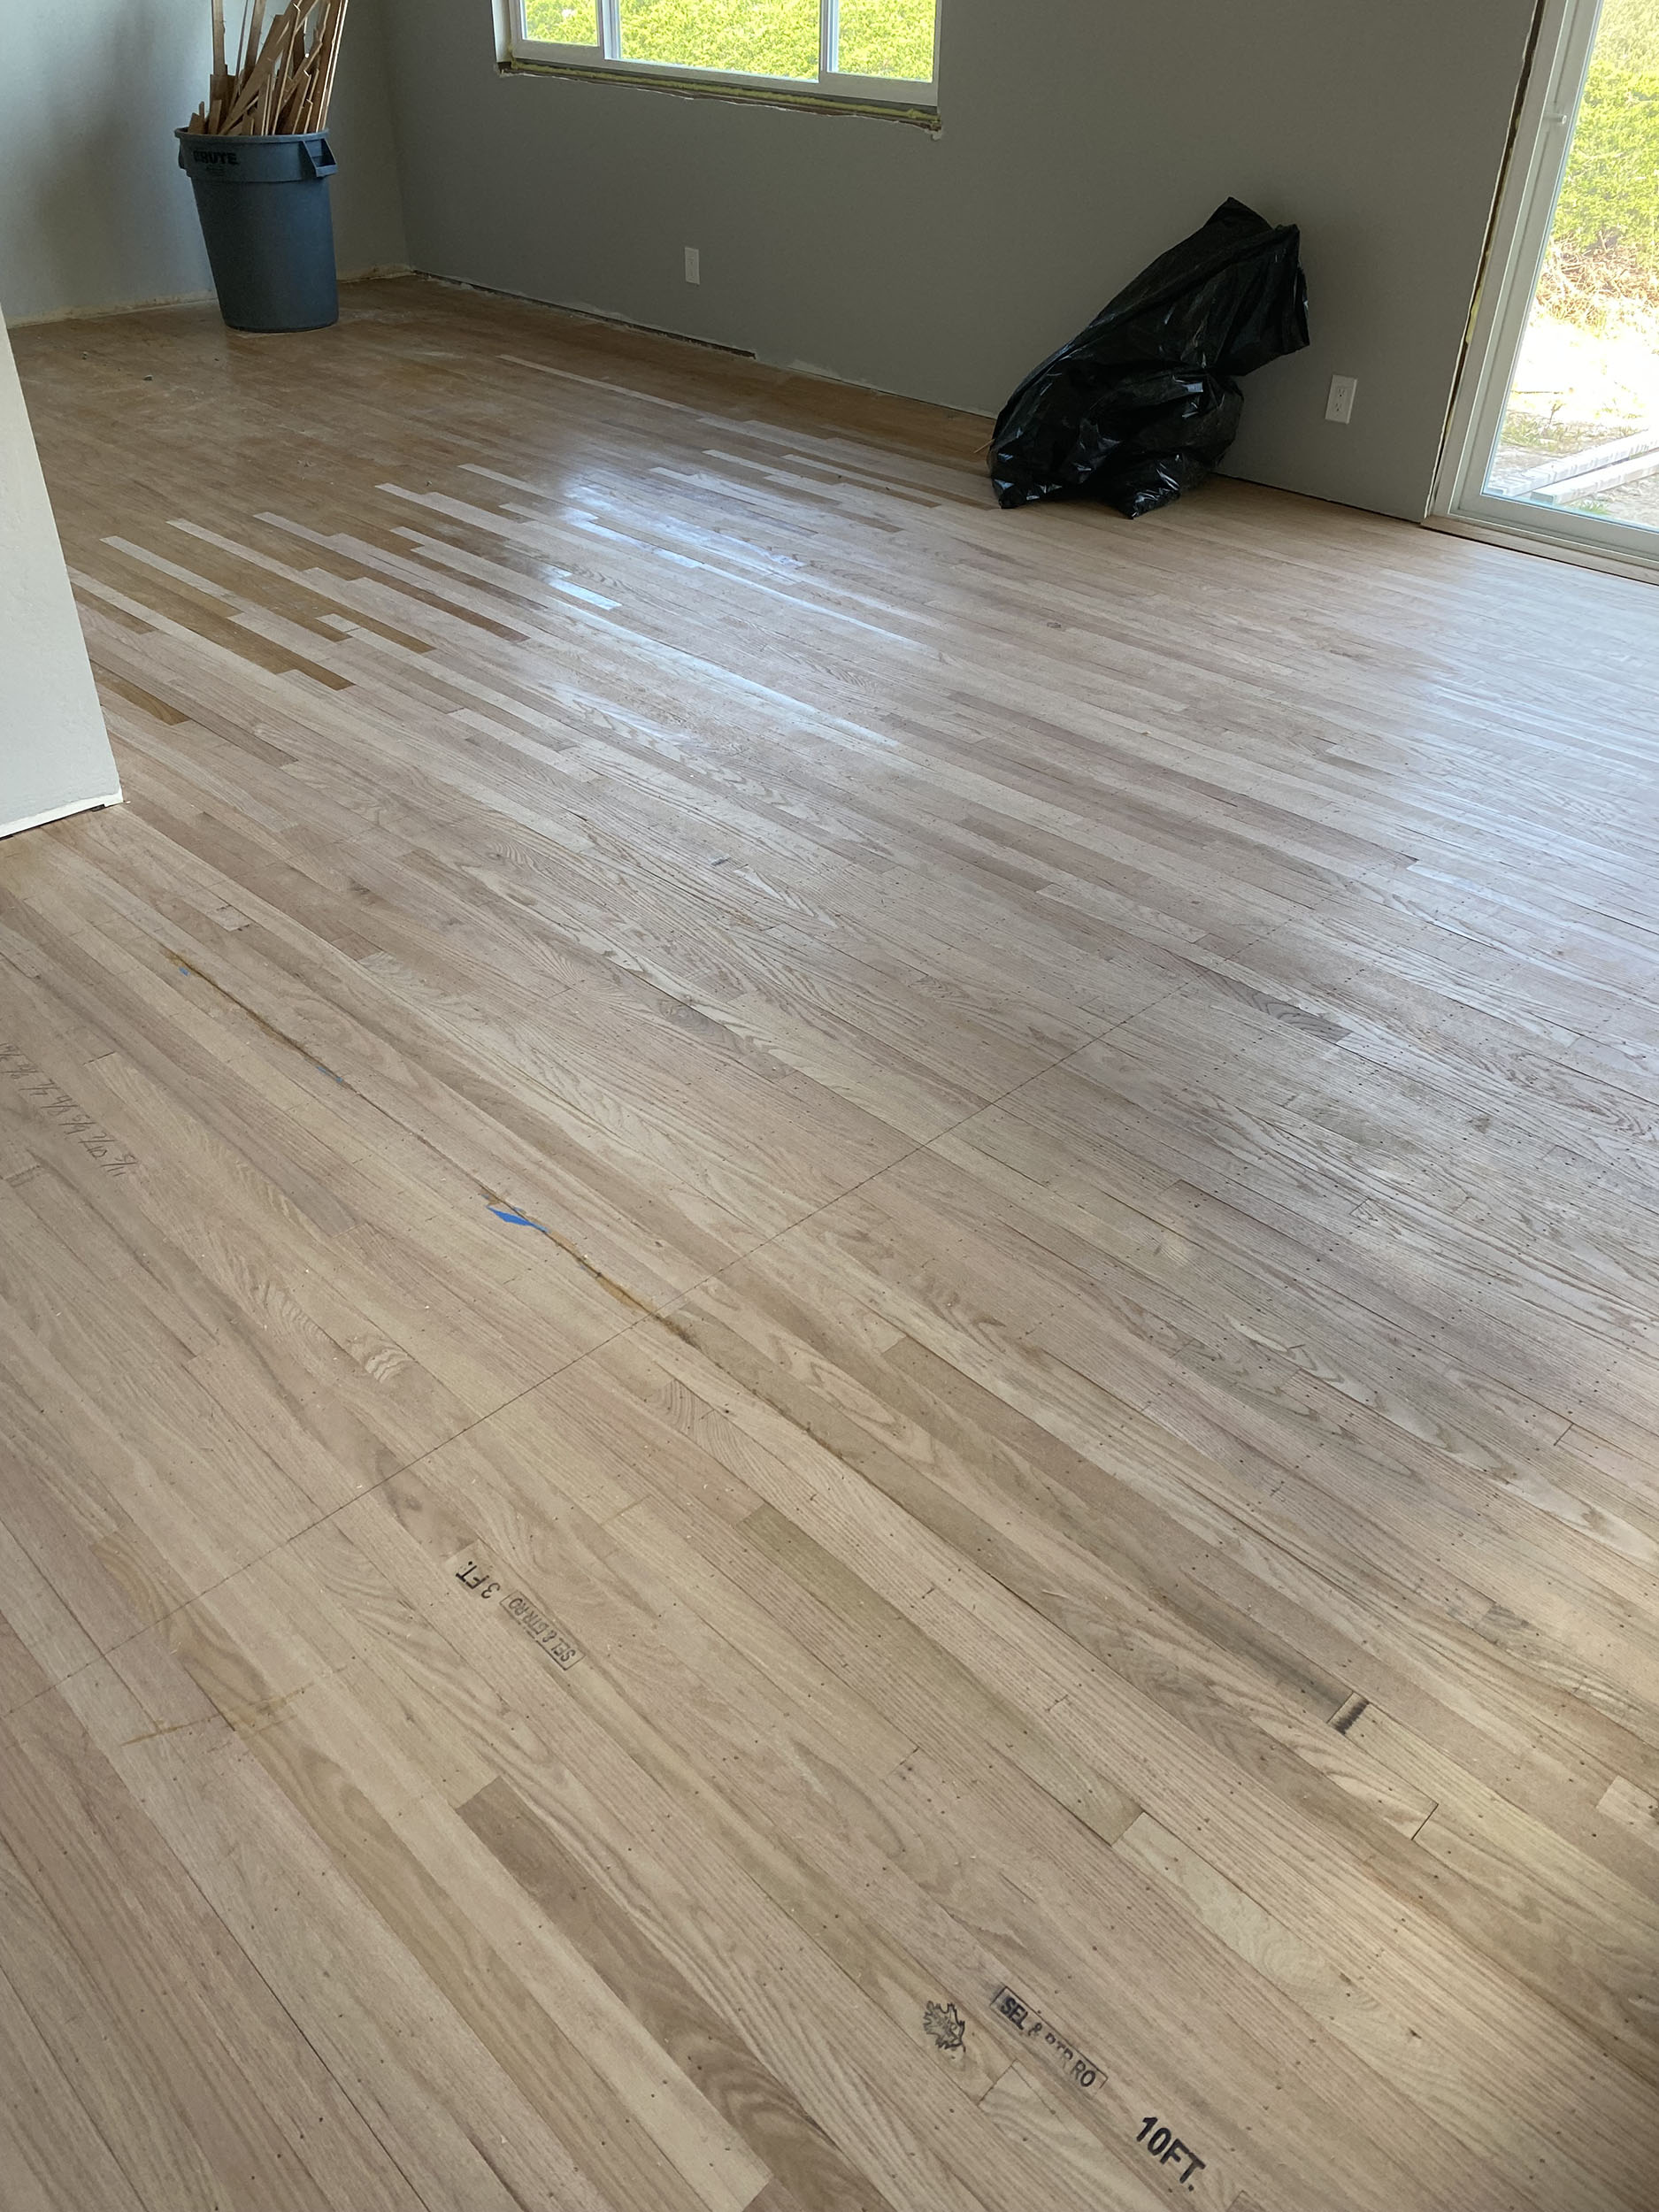
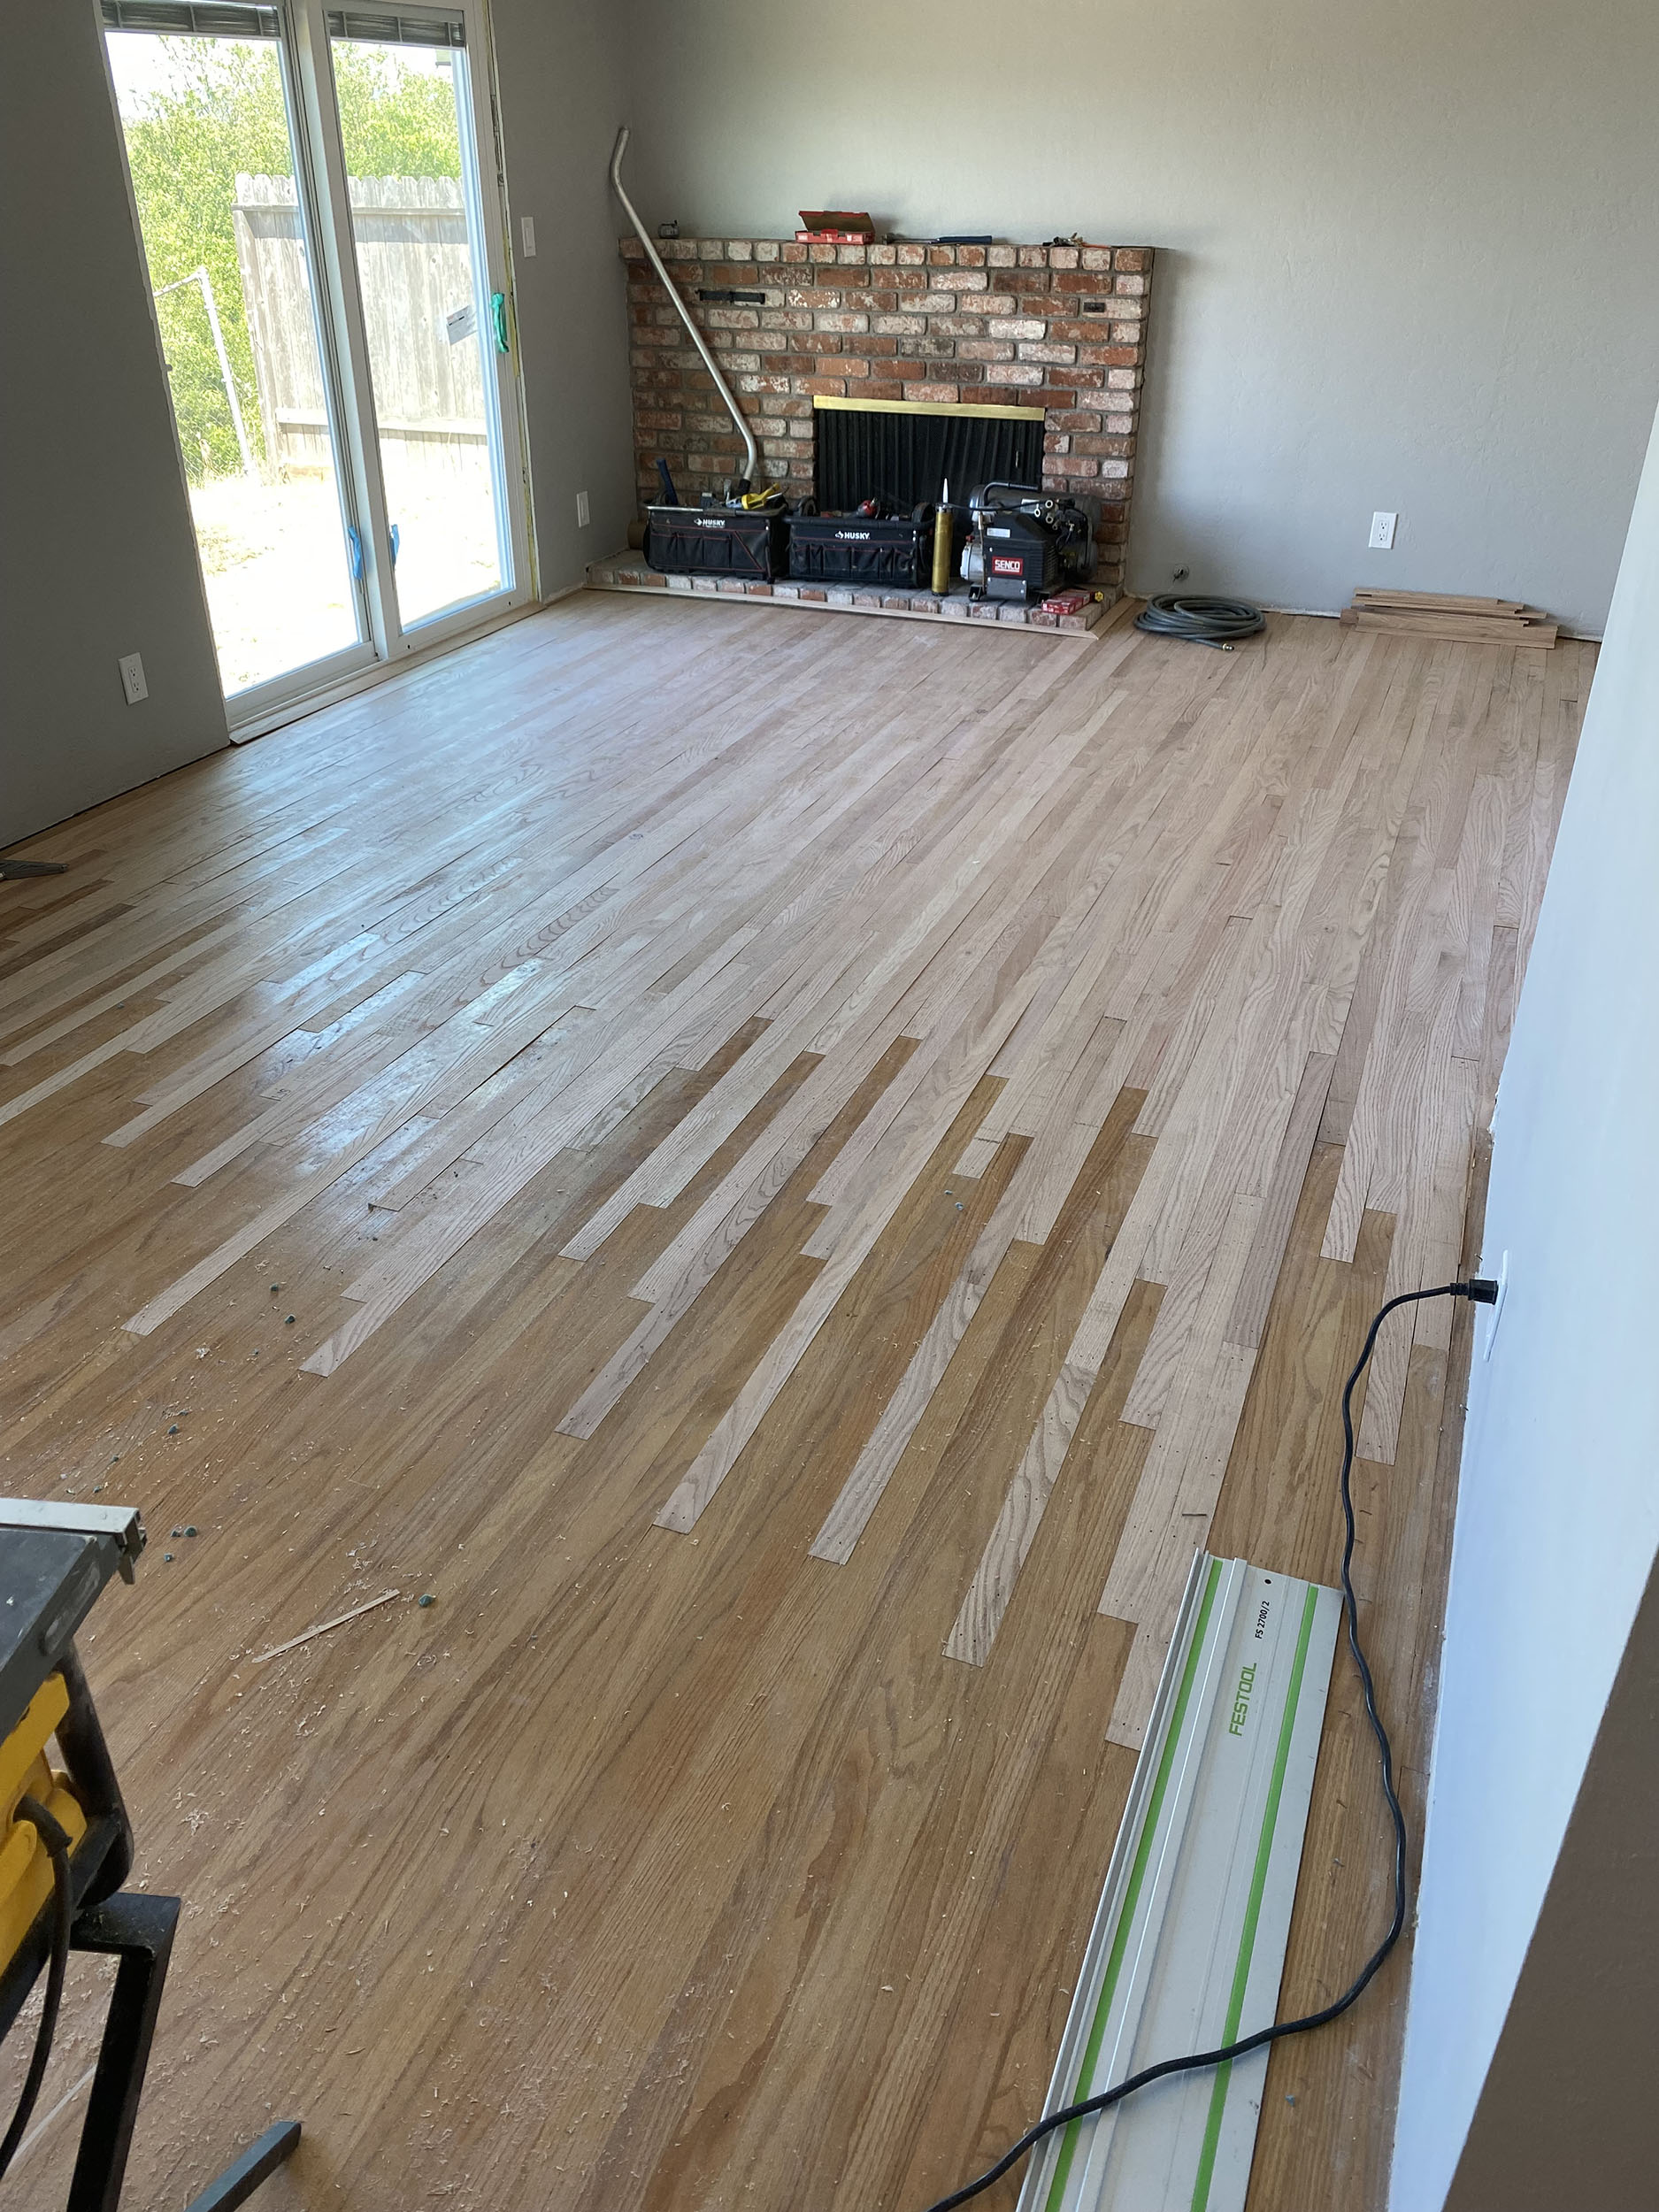
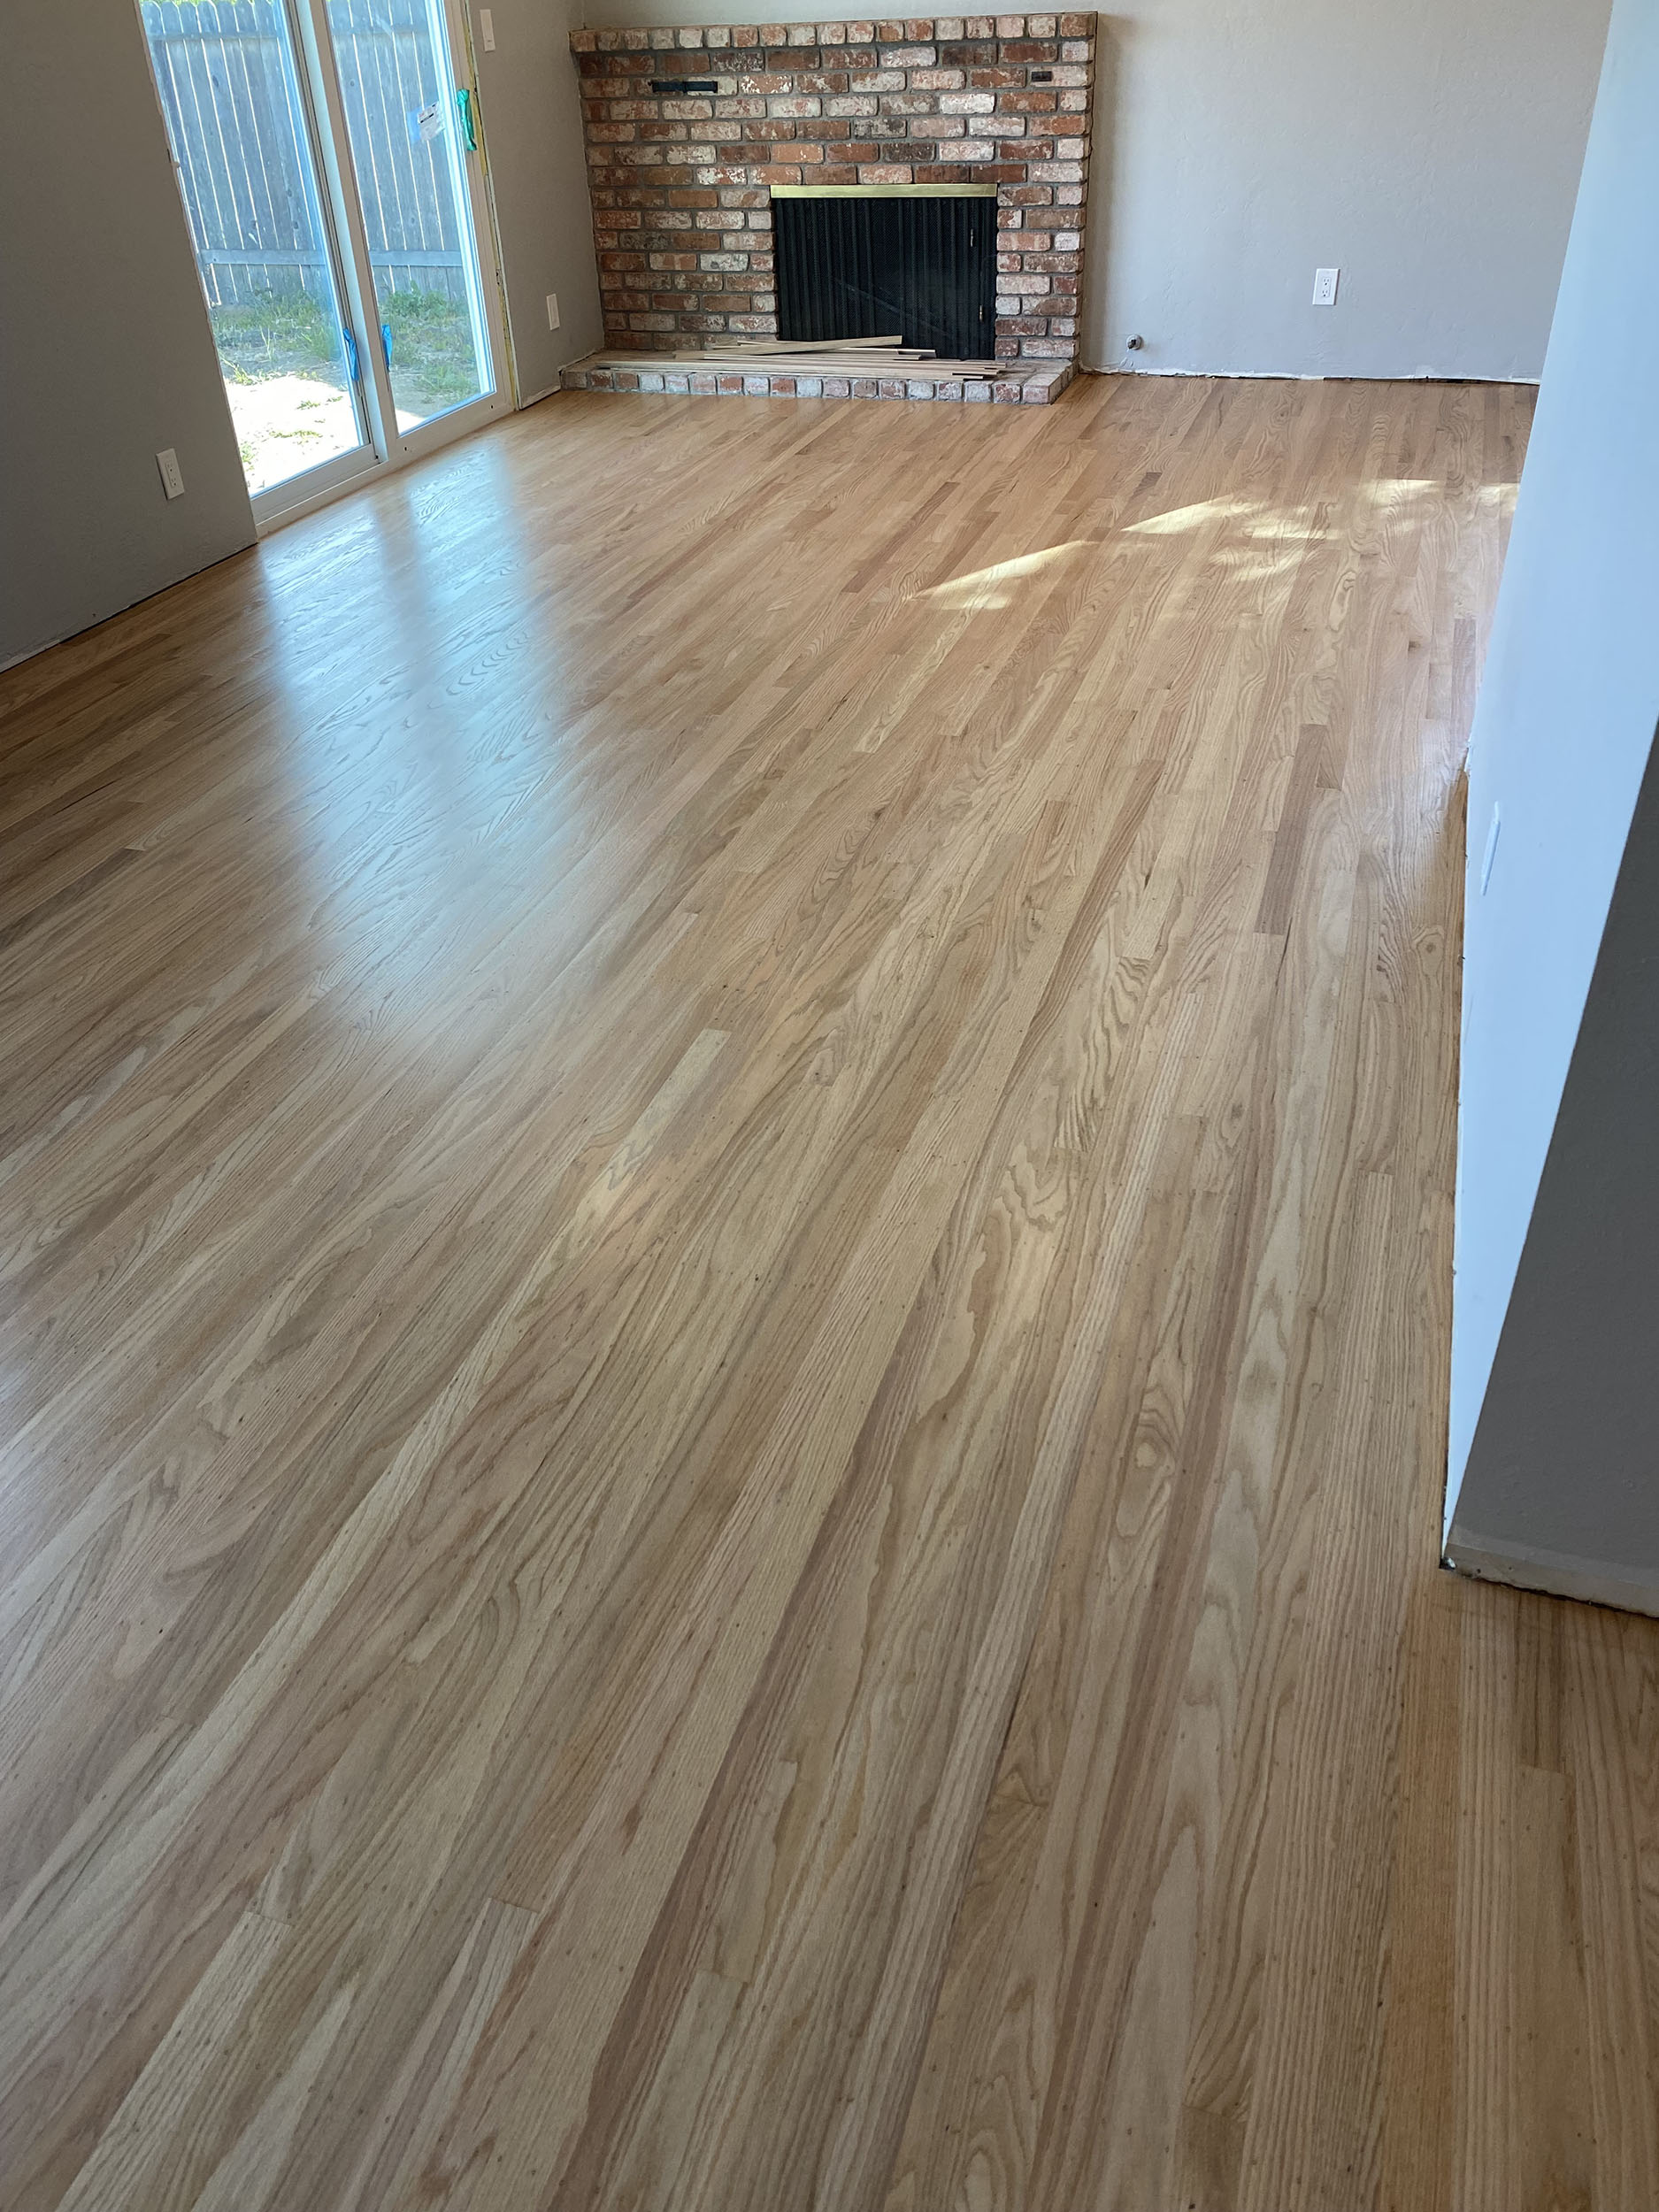
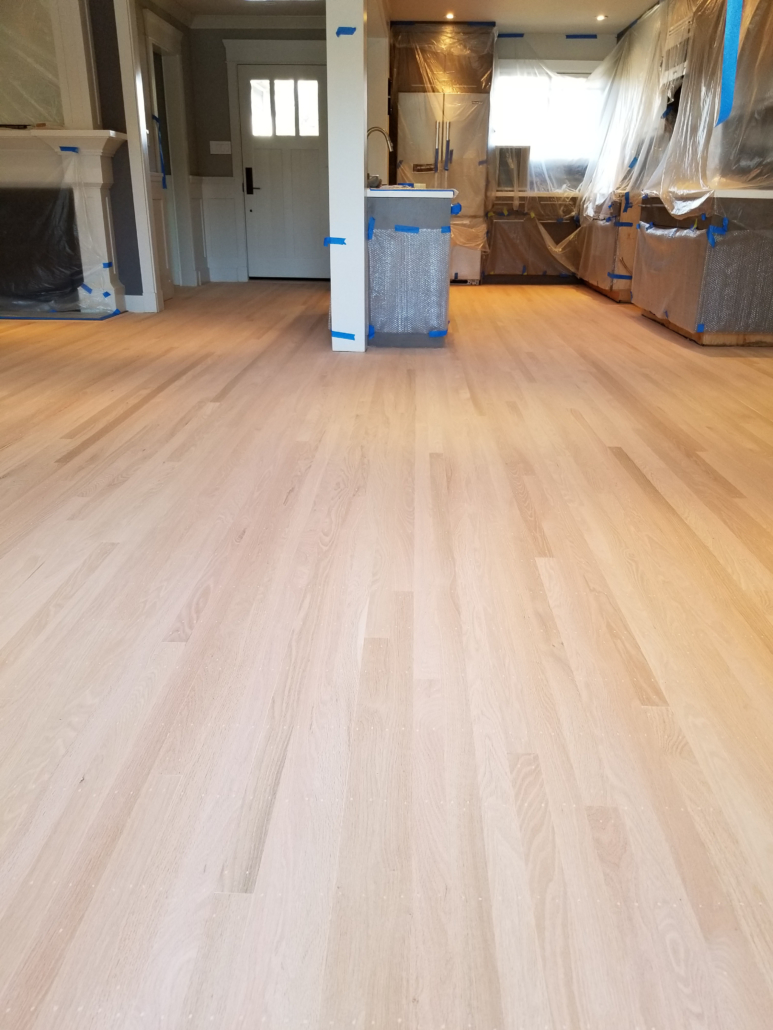
Matching the existing floor lines we then added floor row after row. Some had to be cut to fit into some areas, but most of the boards just slid into place with no problem. After nailing the entire floor we then let it acclimate in place, which means letting the floor reach its’ optimal moisture content for that area. While waiting for that to happen we then started refinishing the rest of the floors in the home. Using dust containment systems we virtually have no dust in the home while we are sanding. This leads to a clean job site, which then leads to a better sanded wood floor and a cleaner finish coat. After about a week of the new wood floor acclimating we then proceeded to finish the sanding on the new areas as well. We spend time setting any nail heads that were exposed and filling the floor with wood filler. The filler is applied as a continuous coat throughout the floor. We then sand it off until we are happy with the surface condition.
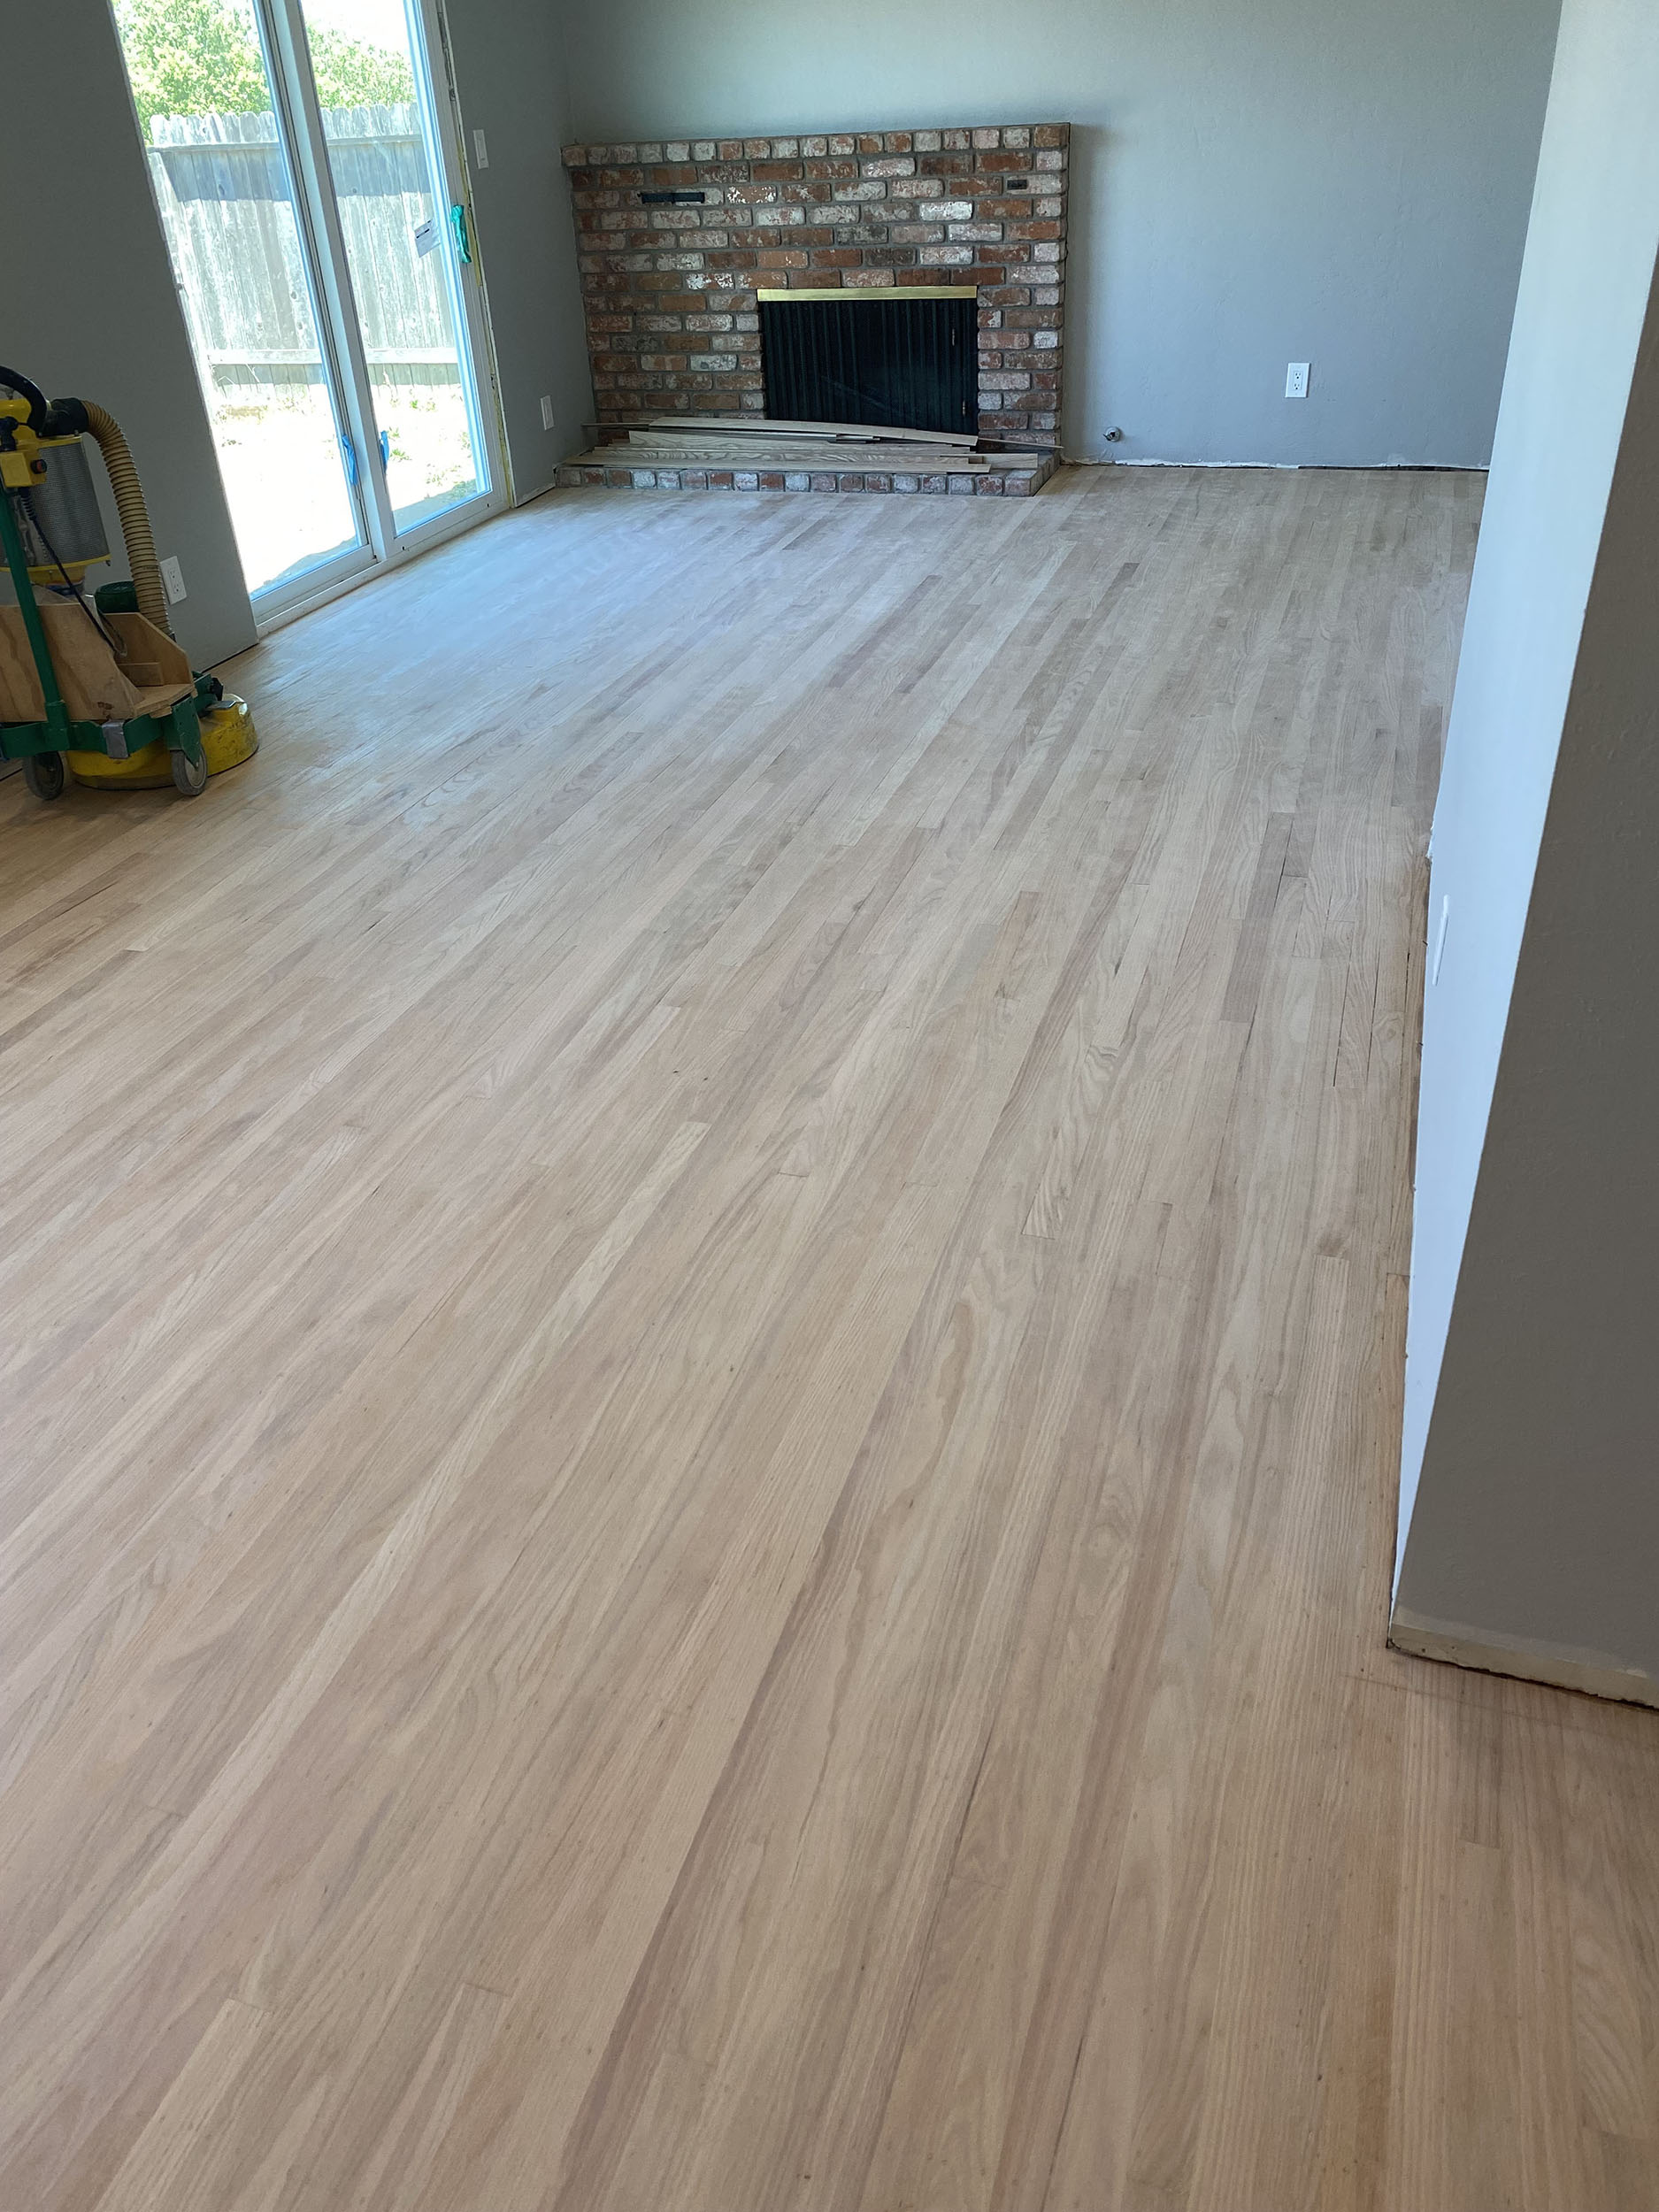
At the very end we use our hand scrapers and clean up corners and areas hard to reach. A thorough vacuum and mop and the floor was ready for the finish. This floor was coated with three coats of water base satin urethane by Bona. As you can see and to the delight of the home owner, the new floors blended in beautifully into the old.
Every floor is different and so every job is different. With most phases of the sanding process being the same, each floor dictates what we do or don’t do to make it look better. Even thought we’ve been in business since 2002 we never get bored with making floor look so pretty, especially when seeing the smiles on people’s faces.

 Top Three Reasons for Hiring Us Post COVID 19 Outbreak
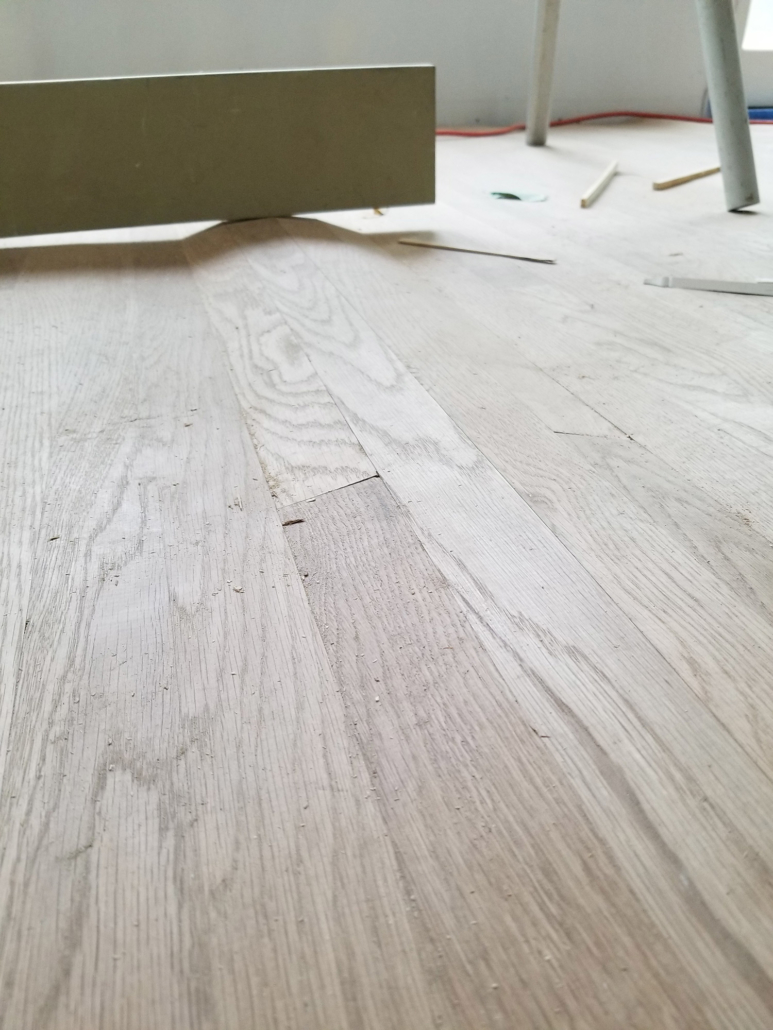
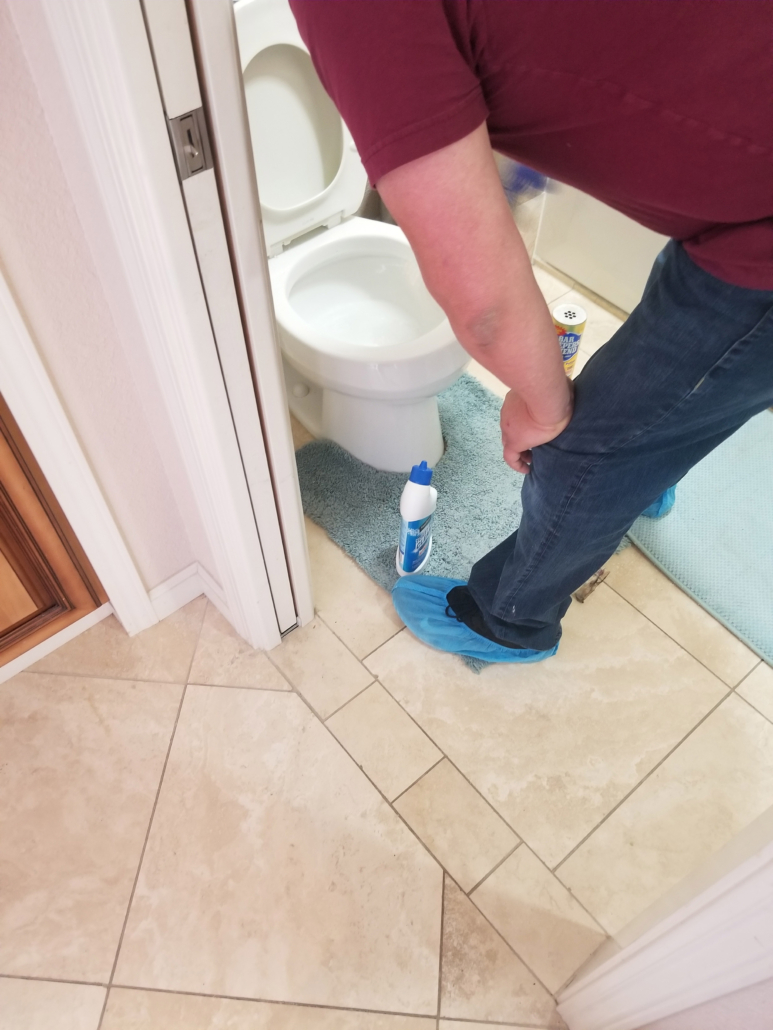
 Our clients trust us to recommend the best solution for their floor issues. In this case, the home owner called us for advice on how to fix his squeaky floor. He already spent endless hours under the house, using squeak repair kits from the box store. Days in and out, the squeaks kept coming back and he didn’t know what to do. The hardwood floors were 5/16” x 2” red oak floors – a common top nail floor in the Bay Area. I don’t know how many other contractors he had met with before I walked through his front door, but they were many. We discussed the floor issues in length. I suggested a complete replacement, including proper sub floor fix and a full glue and nail of the new floor.