Repairing, Sanding and Finishing a 100 Year Old Floor
Repairing, sanding and finishing a 100 year old floor can be challenging to most, sometimes even to the best of contractors. The unknowns of things like wood species, install technique and finish types can add up pretty quickly into a big challenge to match.
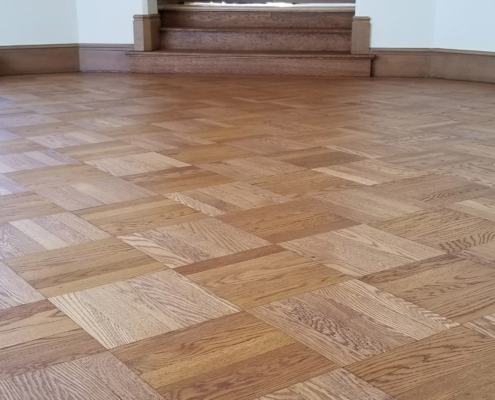
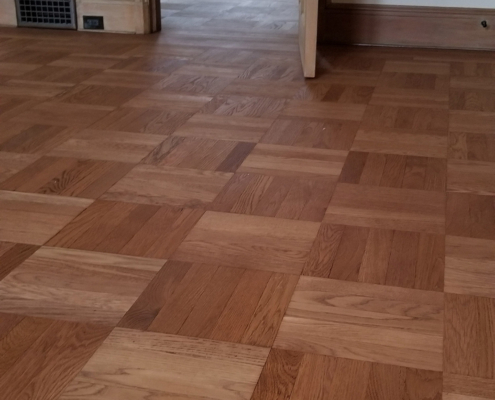
In this blog I will walk you through a job we just completed in Piedmont, California. The floor was a solid parquet with stain and original finish on it. We had to sand, stain, repair and finish it with our modern tools and finishes.
Coordinating with the owners we made sure they were still around for the first few days of the sanding and repairs, just to make things easier on everyone. That also allowed for them to choose a stain sample on site. After that happened they went out of town for a few days to allow us to complete the finishing part.
The first step for us was to strip the old finish off the floor. Sanding wood floor with parquet design could be challenging to most contractors. I’ve seen many patterned floors like this with scratches all over the floor, including this one.
With our techniques, modern machines and knowledge we can provide the best sanding job possible.
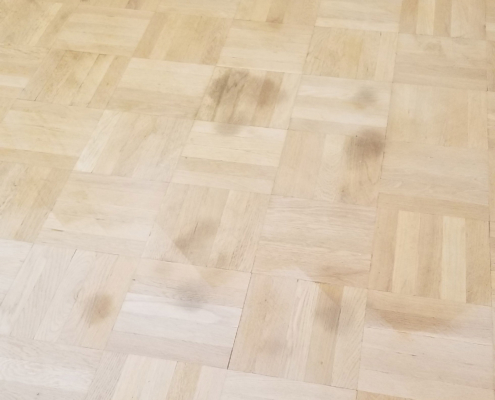
After we got rid of the old finish on the surface of the wood floors, we walked around and marked areas for repairs. Some dark spots developed over the years from pets urine on the hardwood floors.
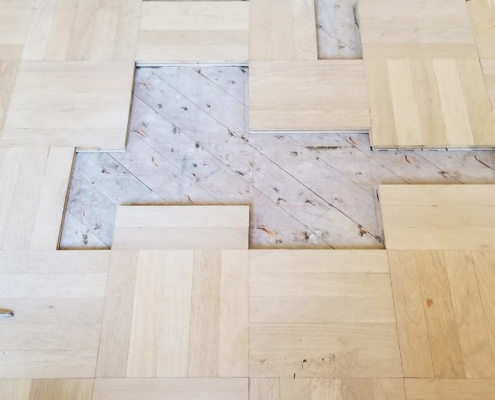
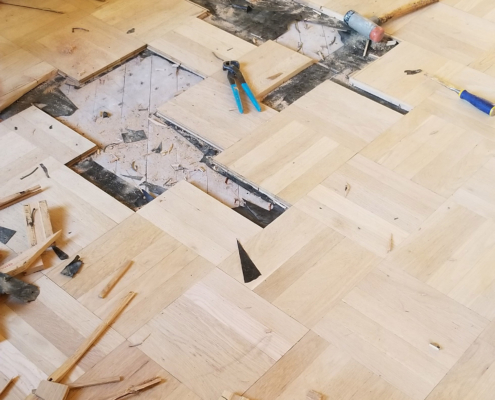
Matching the wood, we then removed the wood slats one by one without damaging the surrounding areas, and weaved in new white oak slats using glue and nails as necessary.
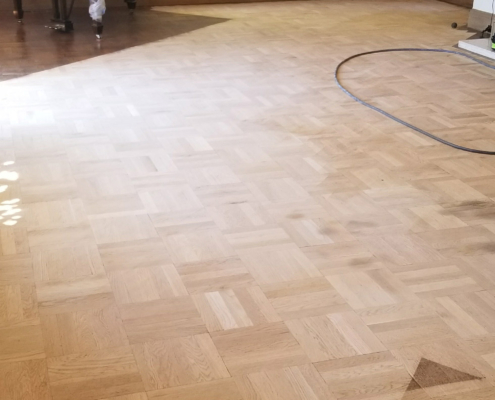
When that was done, we then continued with the sanding process which yielded a smooth scratch free surface. For stain color purposes, we water popped the floor to open up the grain of the wood and allow for a deeper richer color.
We then applied two coats of the stain, allowed for proper drying times and then used a two component water base urethane to finish the floor. The sheen we use is usually satin. It gives a slight sheen and richness to the look , but isn’t glaring like the semi gloss or gloss.
In the end, we had the owner wait several days for the finish to completely cure and harden before moving the furniture back in.
Everything went according to plan and schedule. The owners were happy with the process and the result. That is how is should be on every job with a professional wood flooring contractor.


Leave a Reply
Want to join the discussion?Feel free to contribute!