Refinishing Top Nail White Oak Floor in El Sobrante Richmond, CA Area
Even though I’ve been sanding and installing wood floors for a living for more than 23 years, I am still surprised at the look on people’s faces when I tell them we can save their floor and make it look like new again. The beauty of hardwood floors is that they are serviceable. They can be sanded over and over again and as we all see in the Bay Area, lots of them last more than a hundred years.
This time our client wanted to know if their oak floors can be saved. After a quick site visit I assured here that with proper sanding, and some repairs we could bring that floor back to life. After we finished the project she actually told me she expected me to say she had to replace the entire floor. That’s what she had heard from others.
Surely enough, after discussing price and schedule we started the work. Within a week we completed the sanding and some repairs. The client was out of town and I made sure to text her progress pictures and/or any questions I had. She knew exactly what we were doing every day and what the floor looked like at every stage.
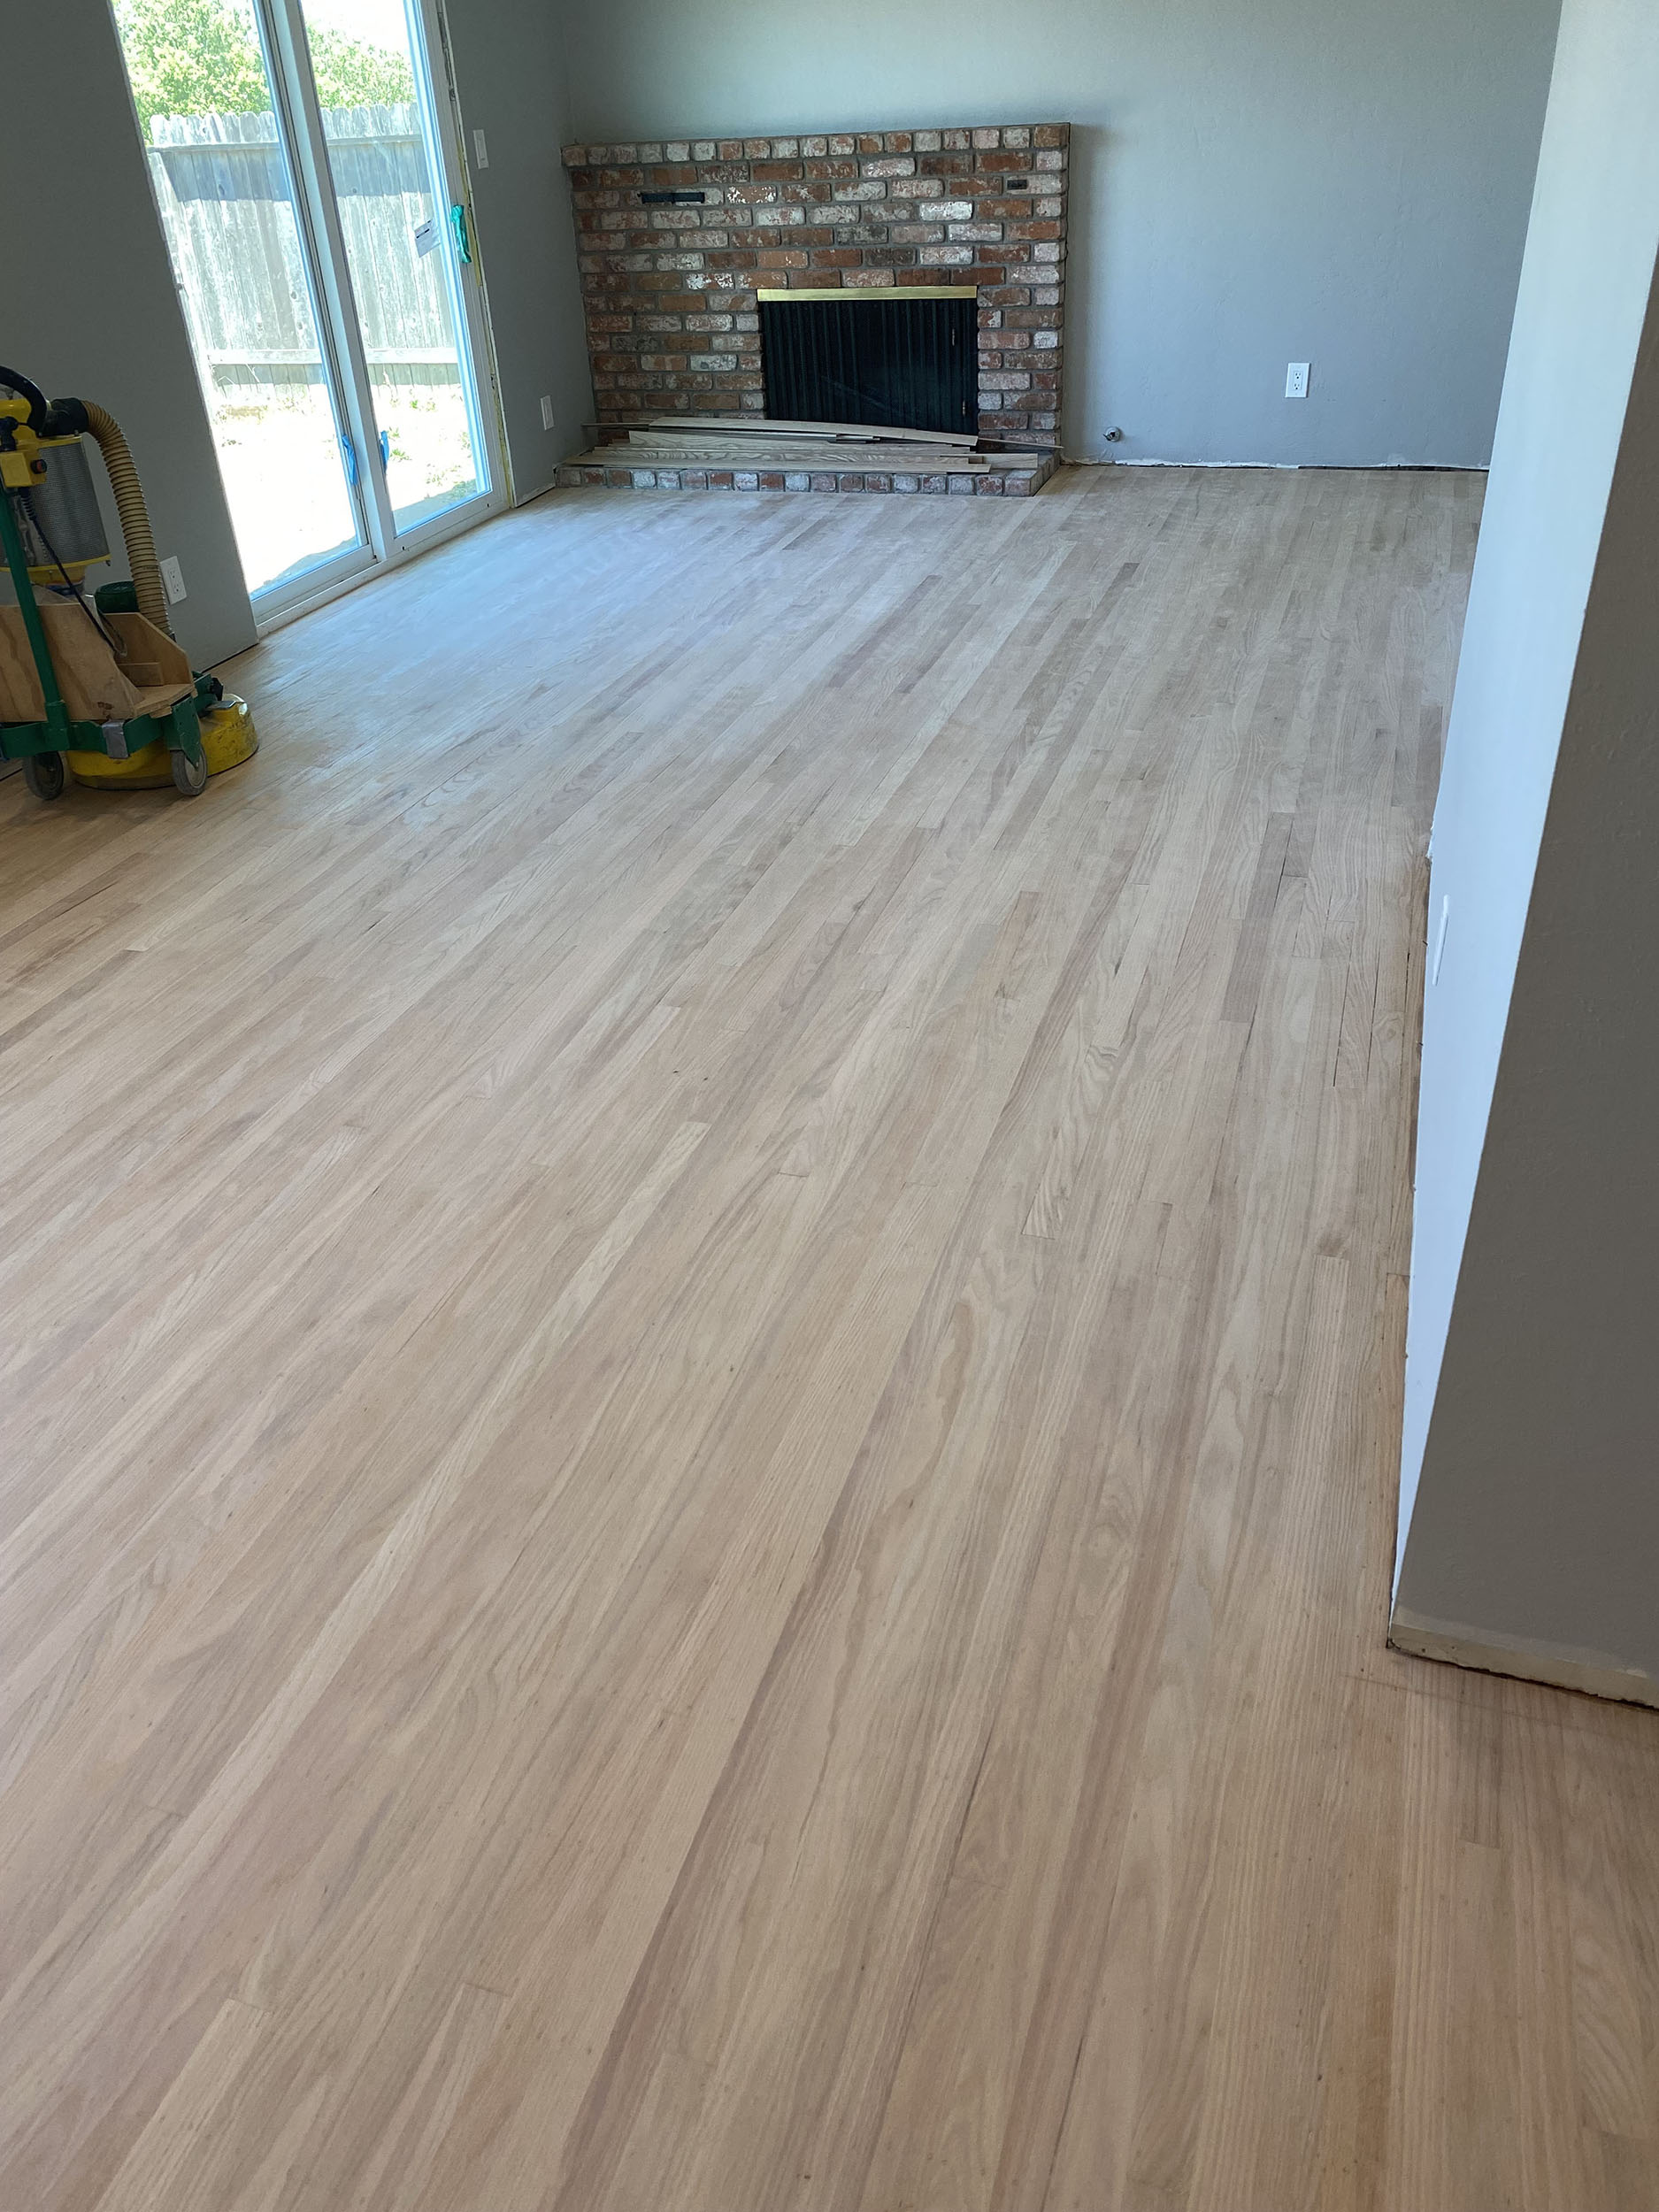
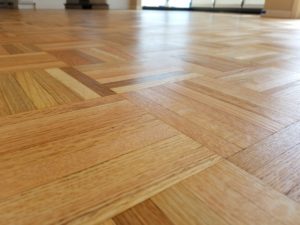
At first we stripped the finish off the floor to expose the wood itself. Walking around the home I took pictures of the dark stained areas that didn’t come out in the sanding. I sent the pics with cost for each area of repair. Upon approval we started replacing the white oak floor boards that were damaged. A lot of contractors make the mistake of putting in red oak in white oak floors, but not here. Everything is done properly and according to our industry guidelines of the National Wood Flooring Association.
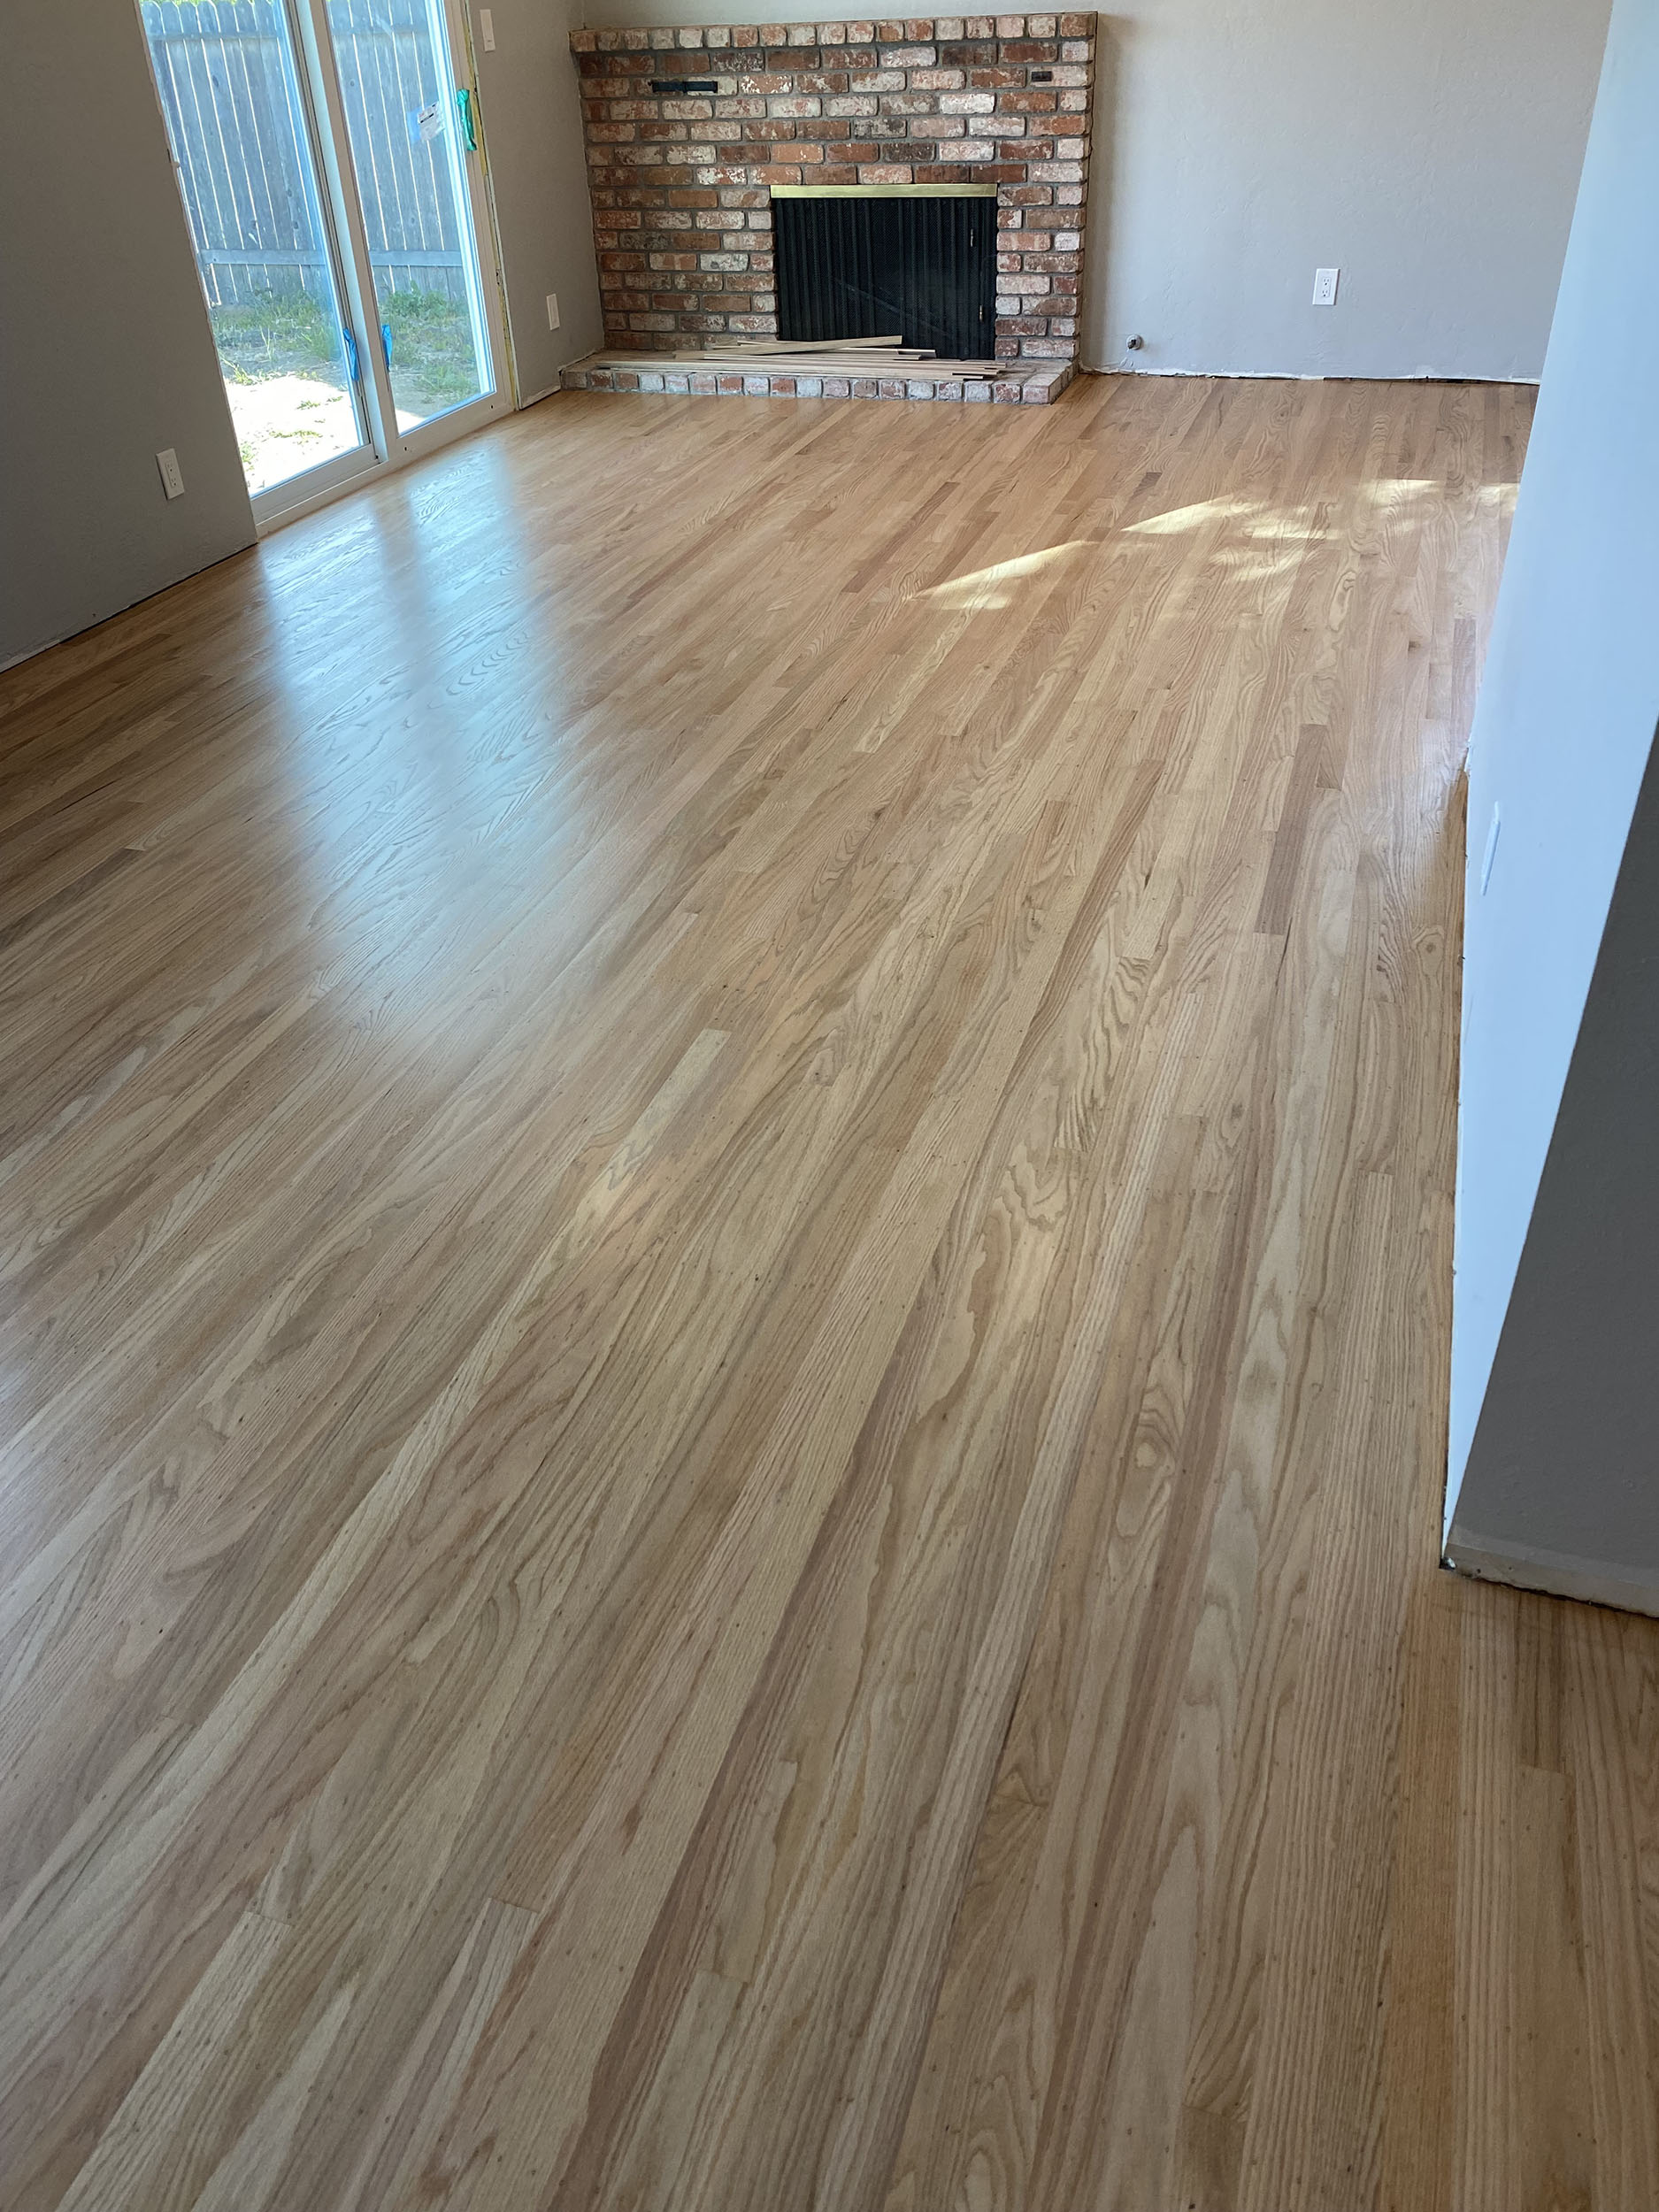
The next step was to apply wood filler to all the nail holes and gaps. A few more passes with our dustless sanders and the floor was just about ready for the finish coats.
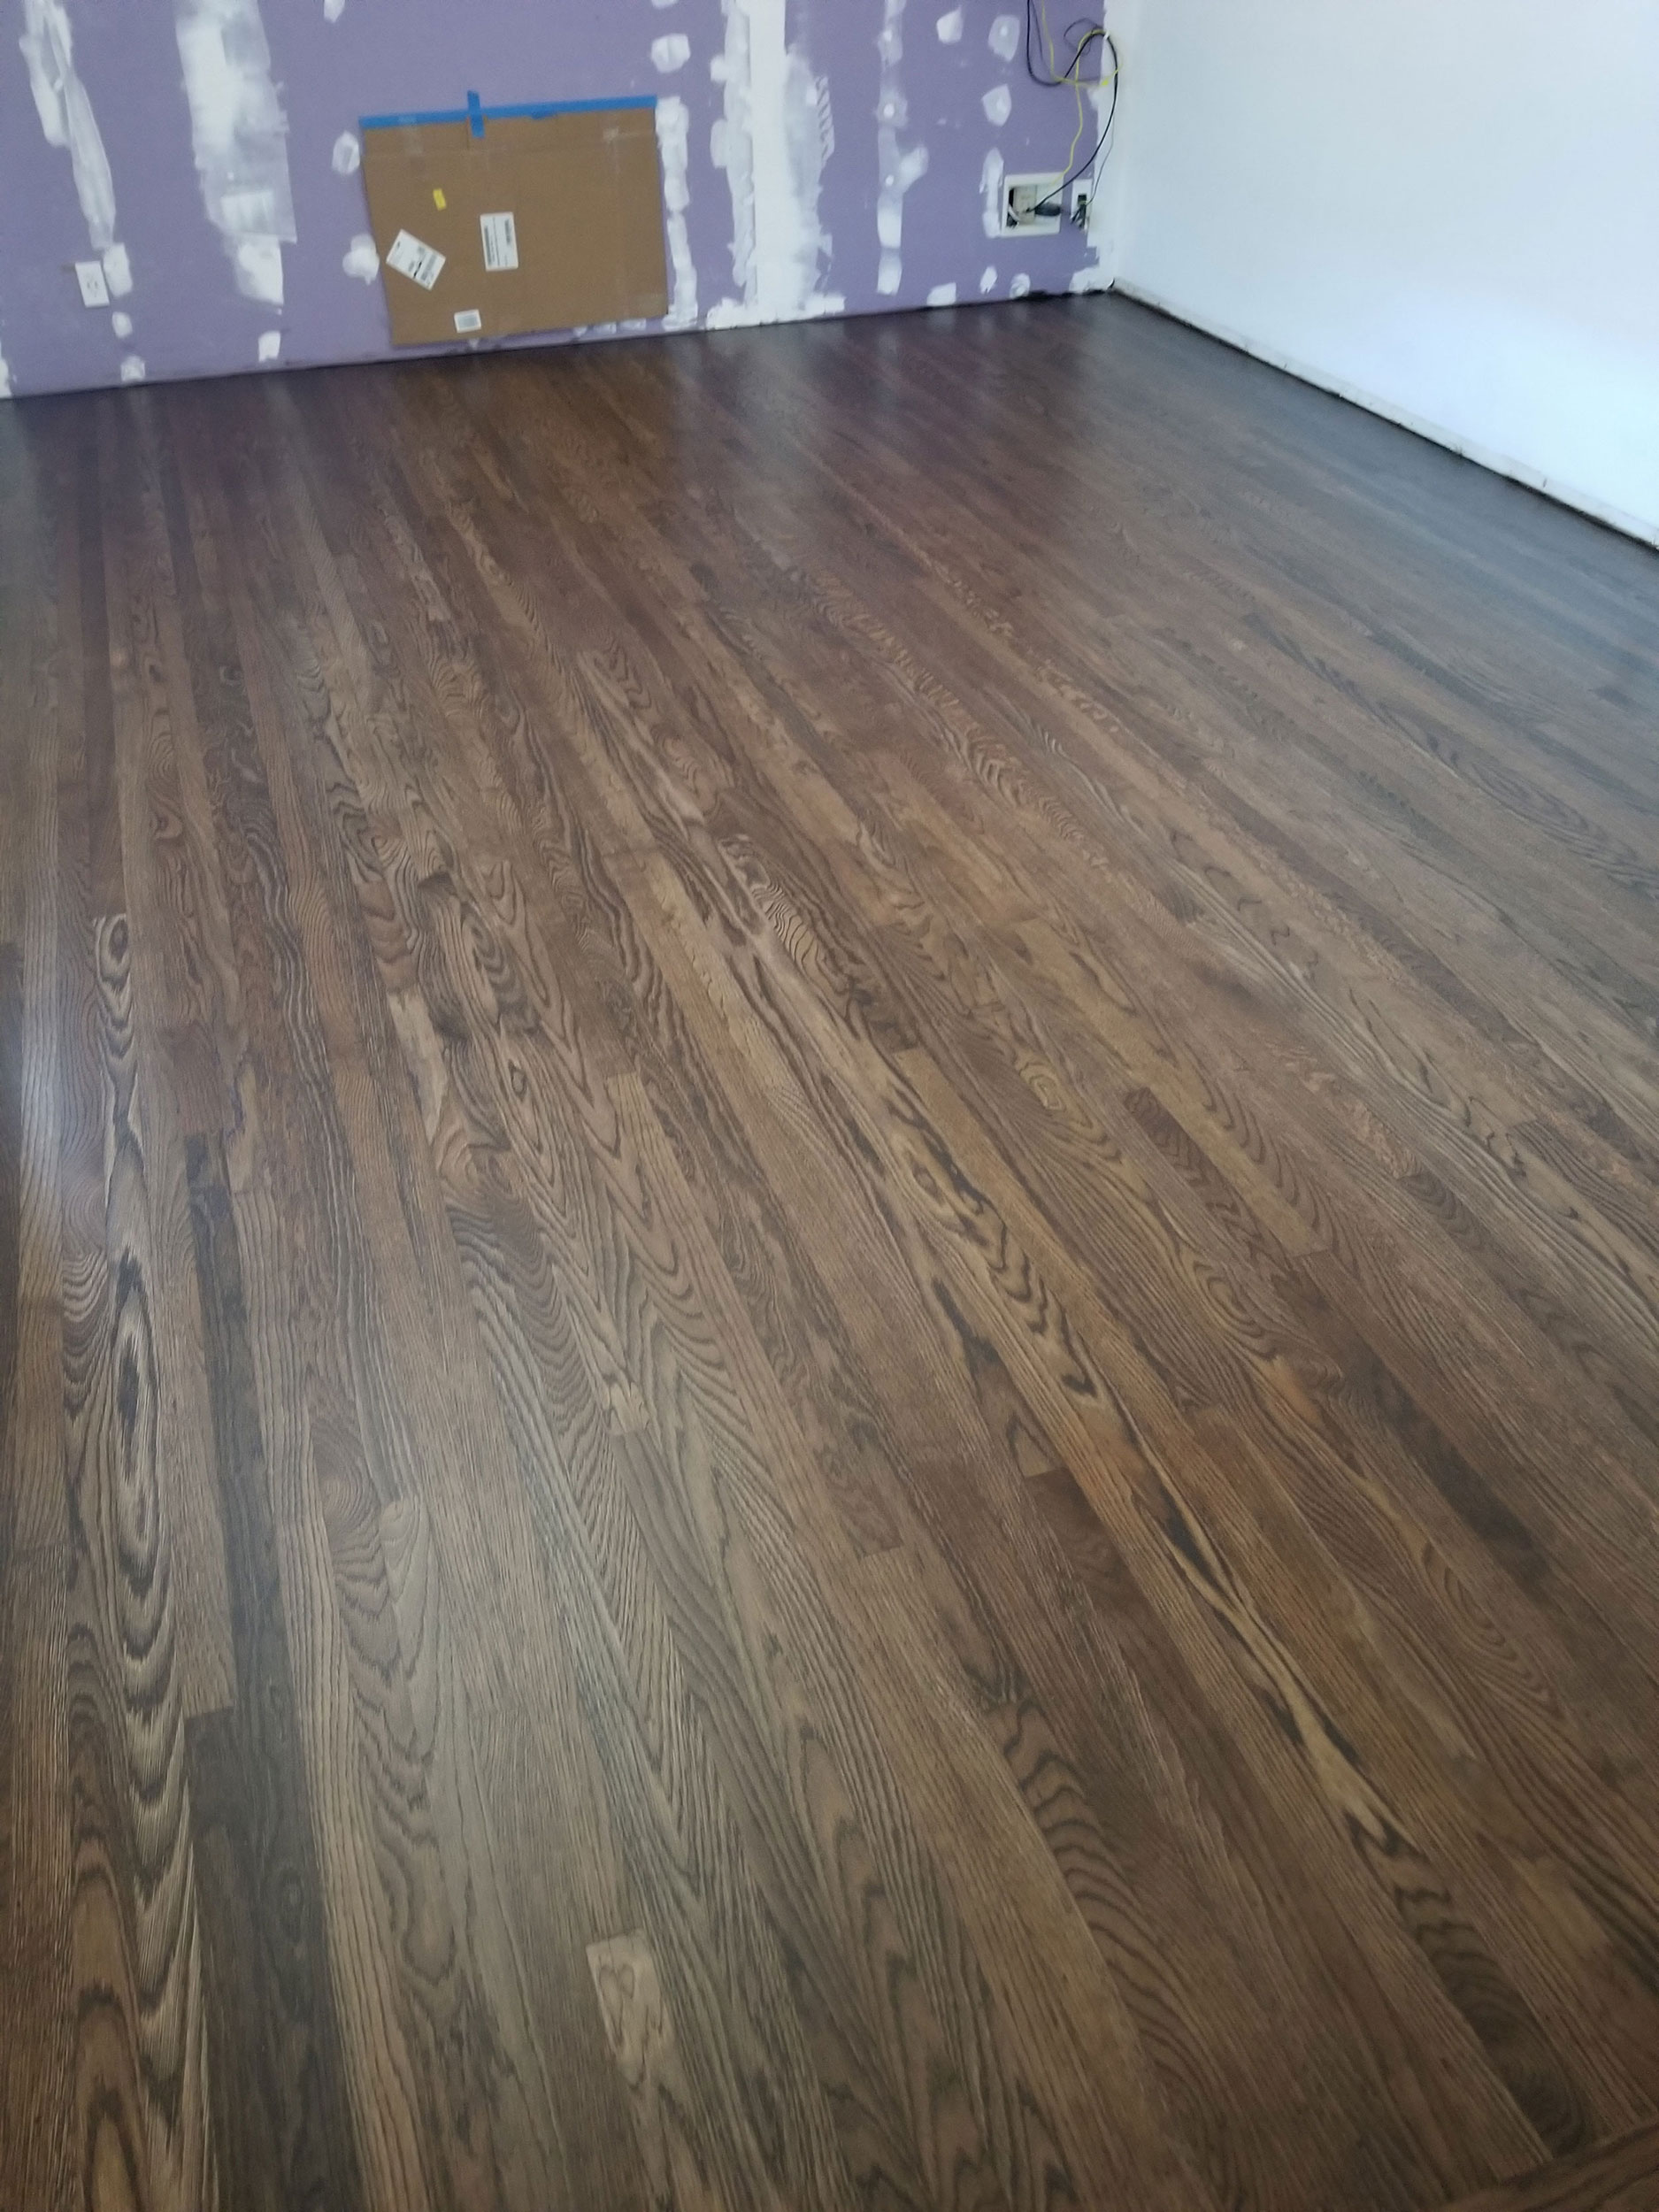
We use Bona HD Traffic for most of our floor sanding. It is durable and has a fast curing time. I do recommend that if you have small children and/or dogs to apply an extra coat.
I did that in my home and it is a great investment.
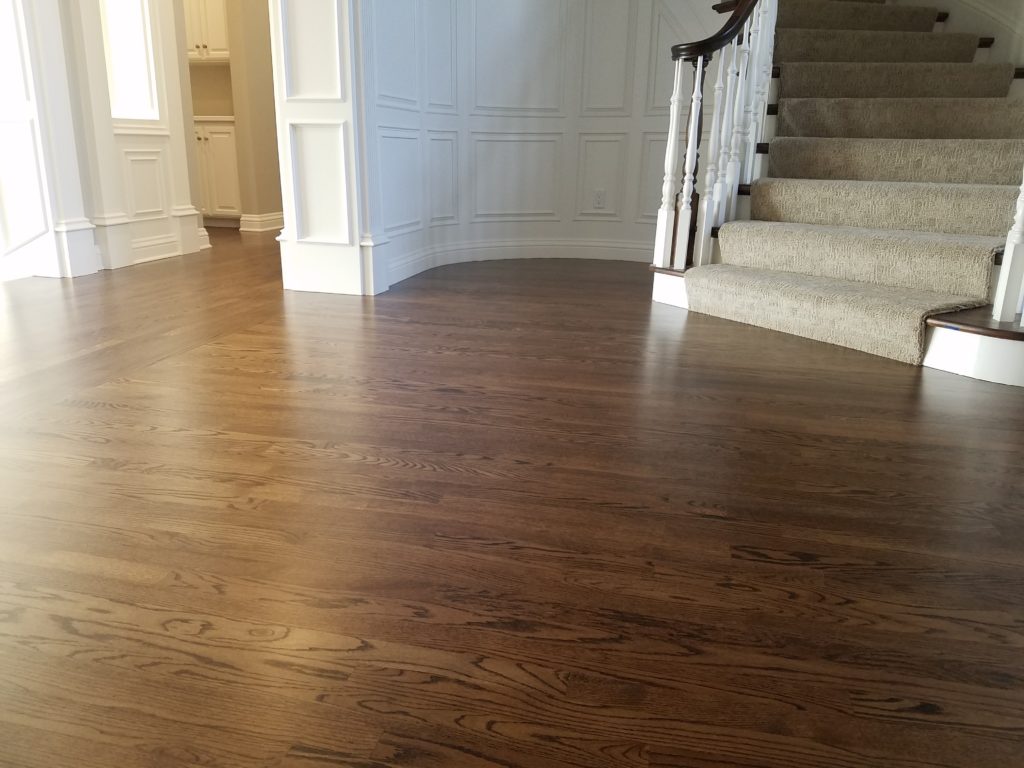
After completion of the sanding and finishing of three coats, we allowed the floor to cure for several days before our client could move back in. She later called us to do more work for her, and she couldn’t be happier.


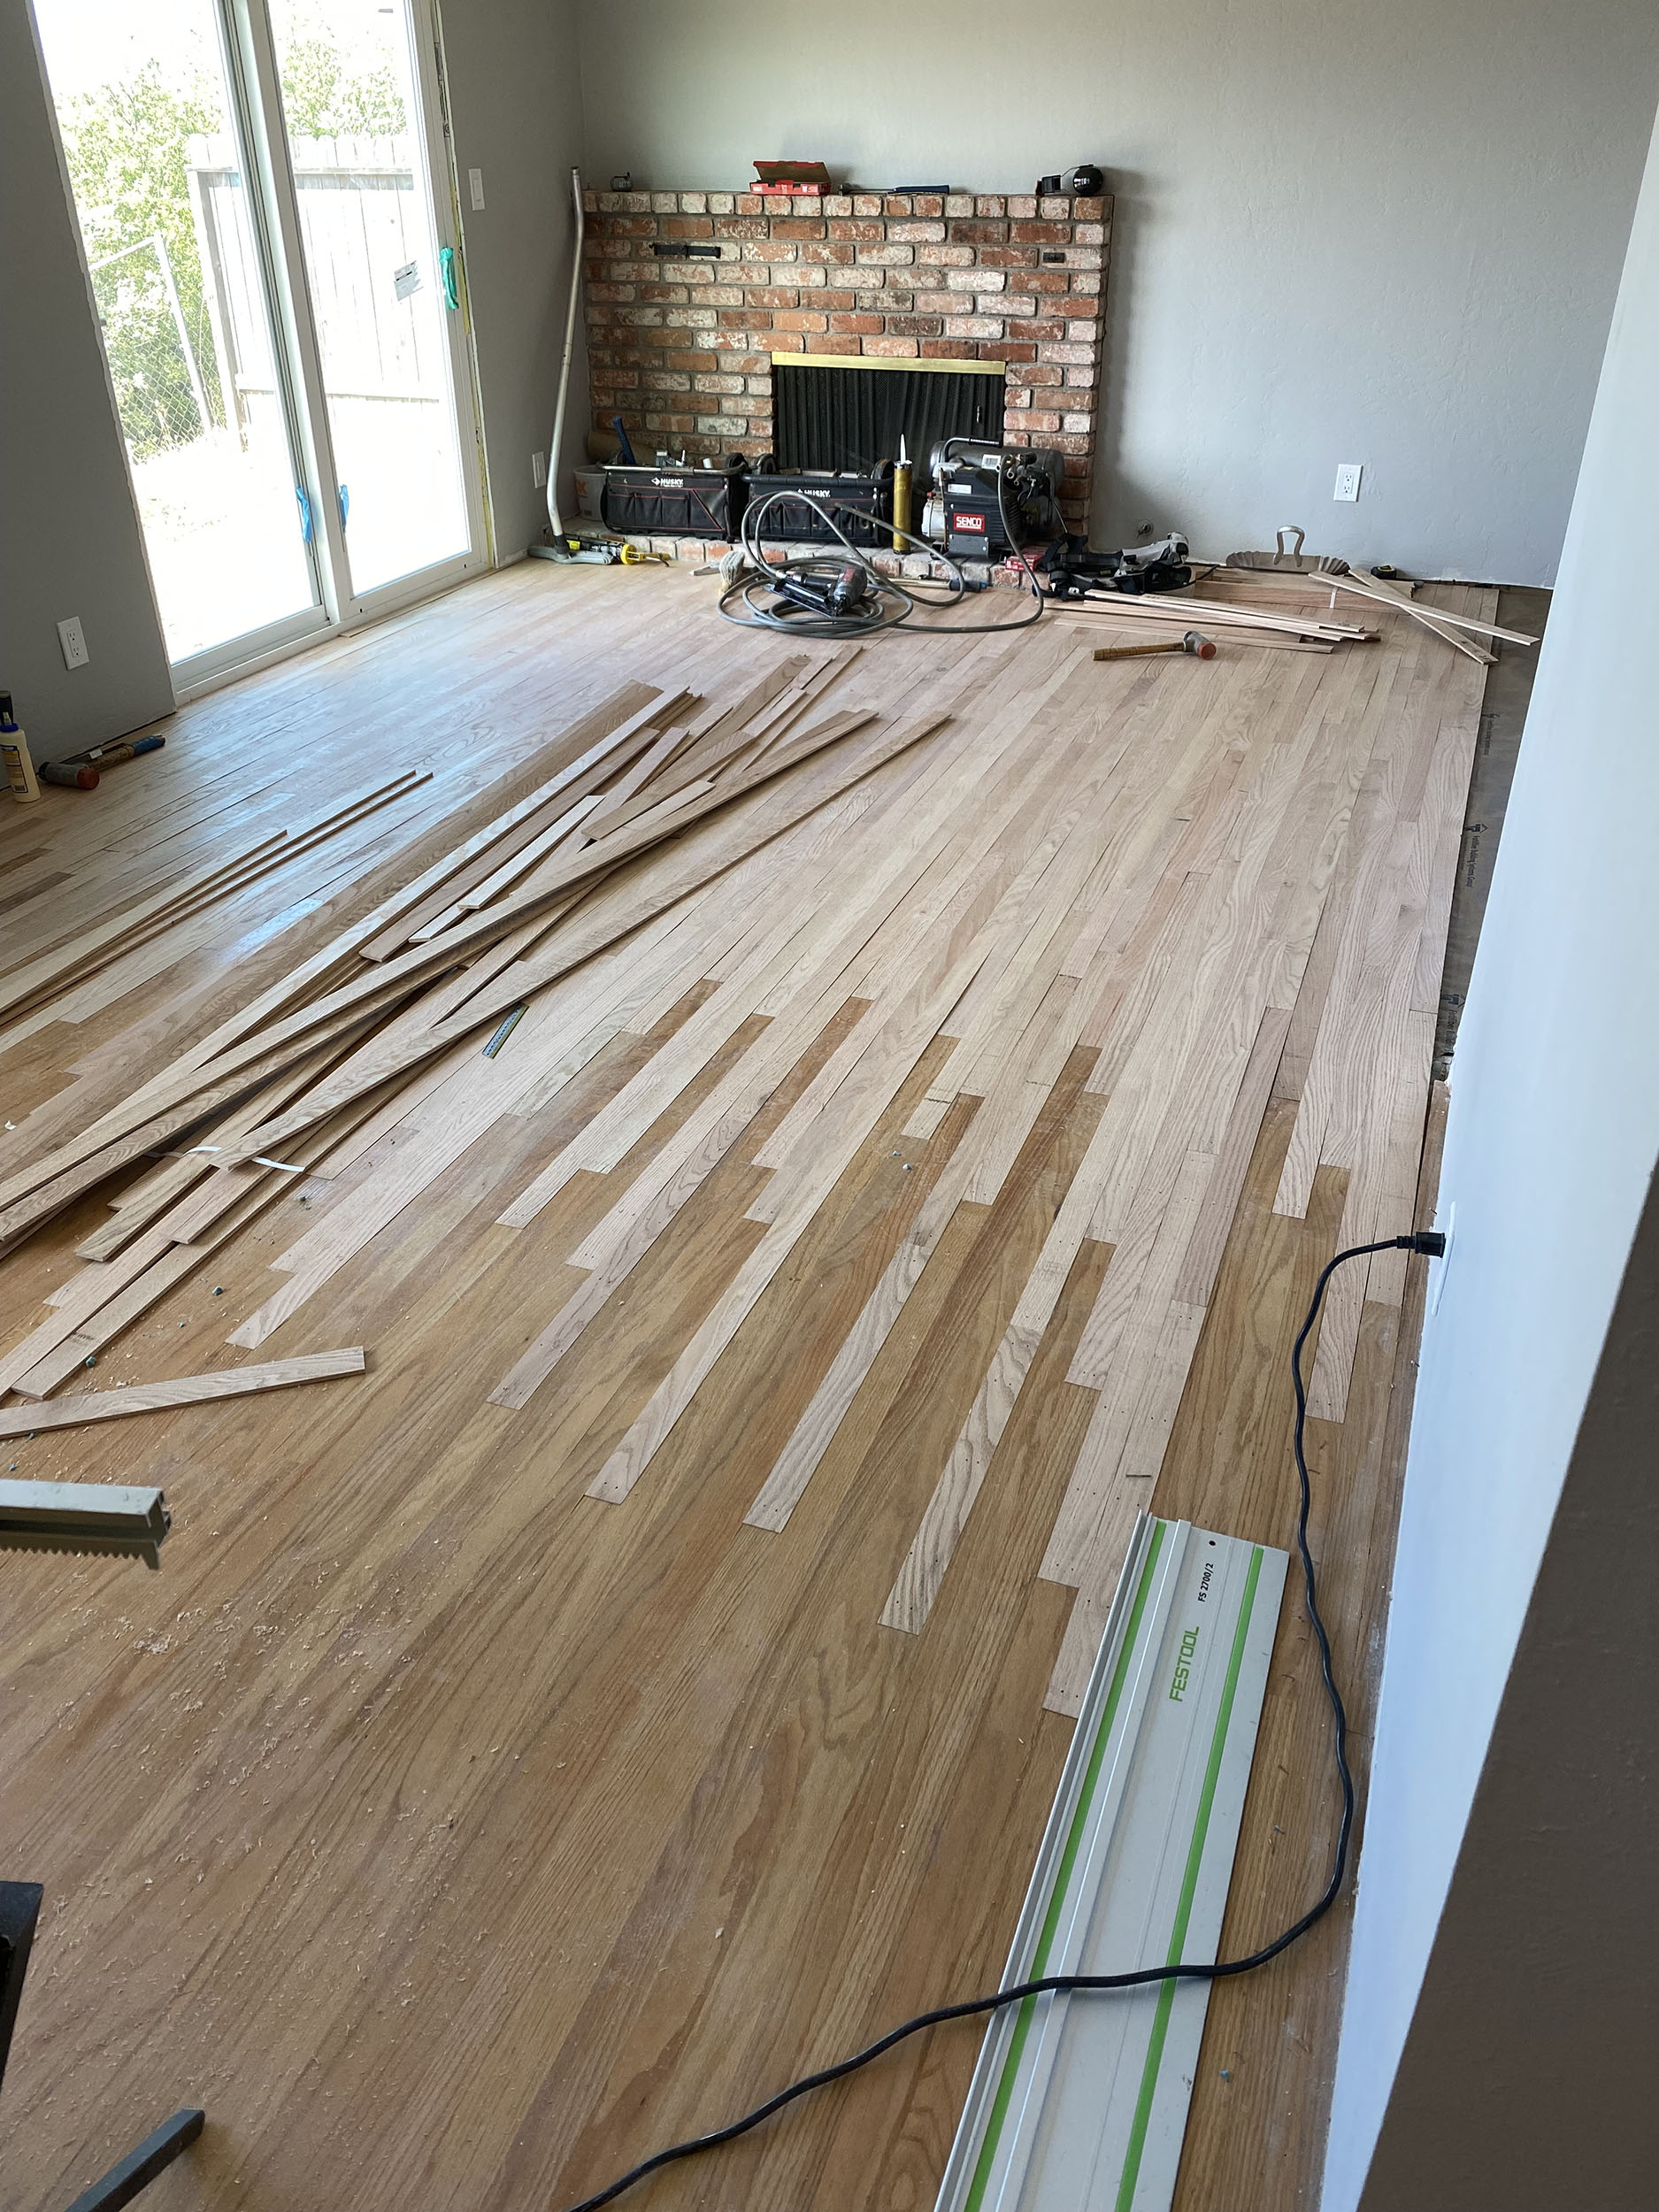
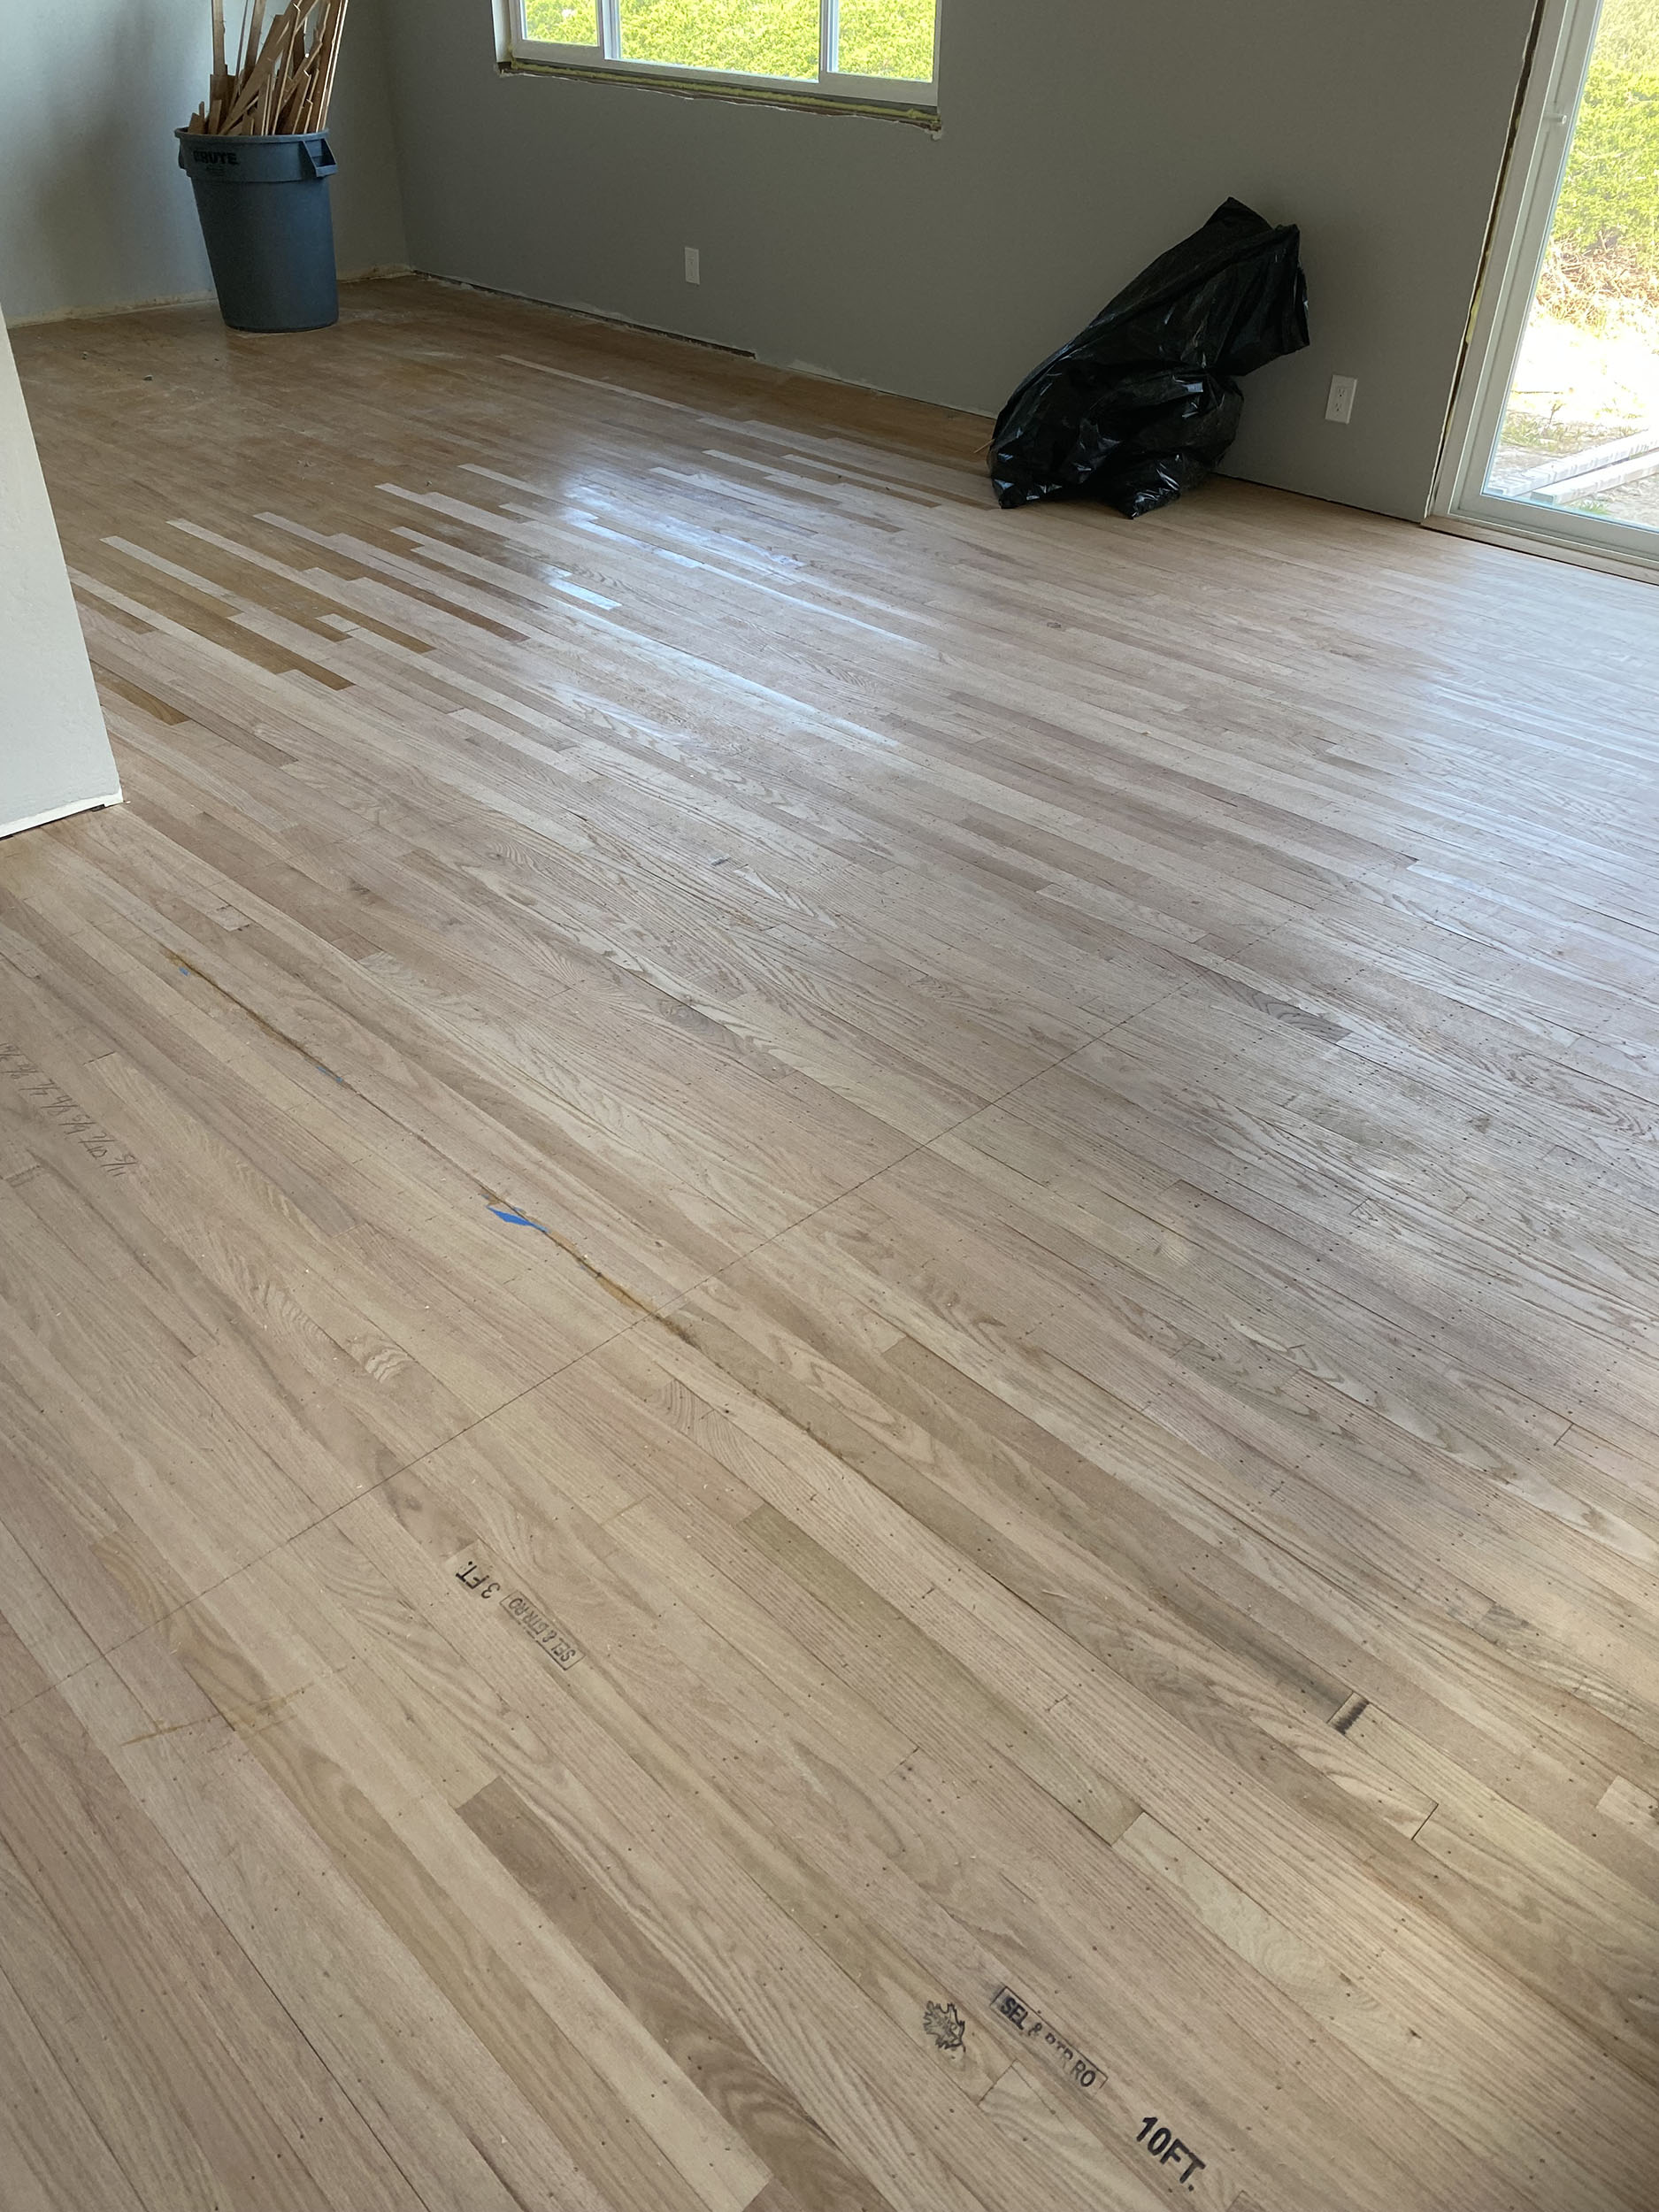
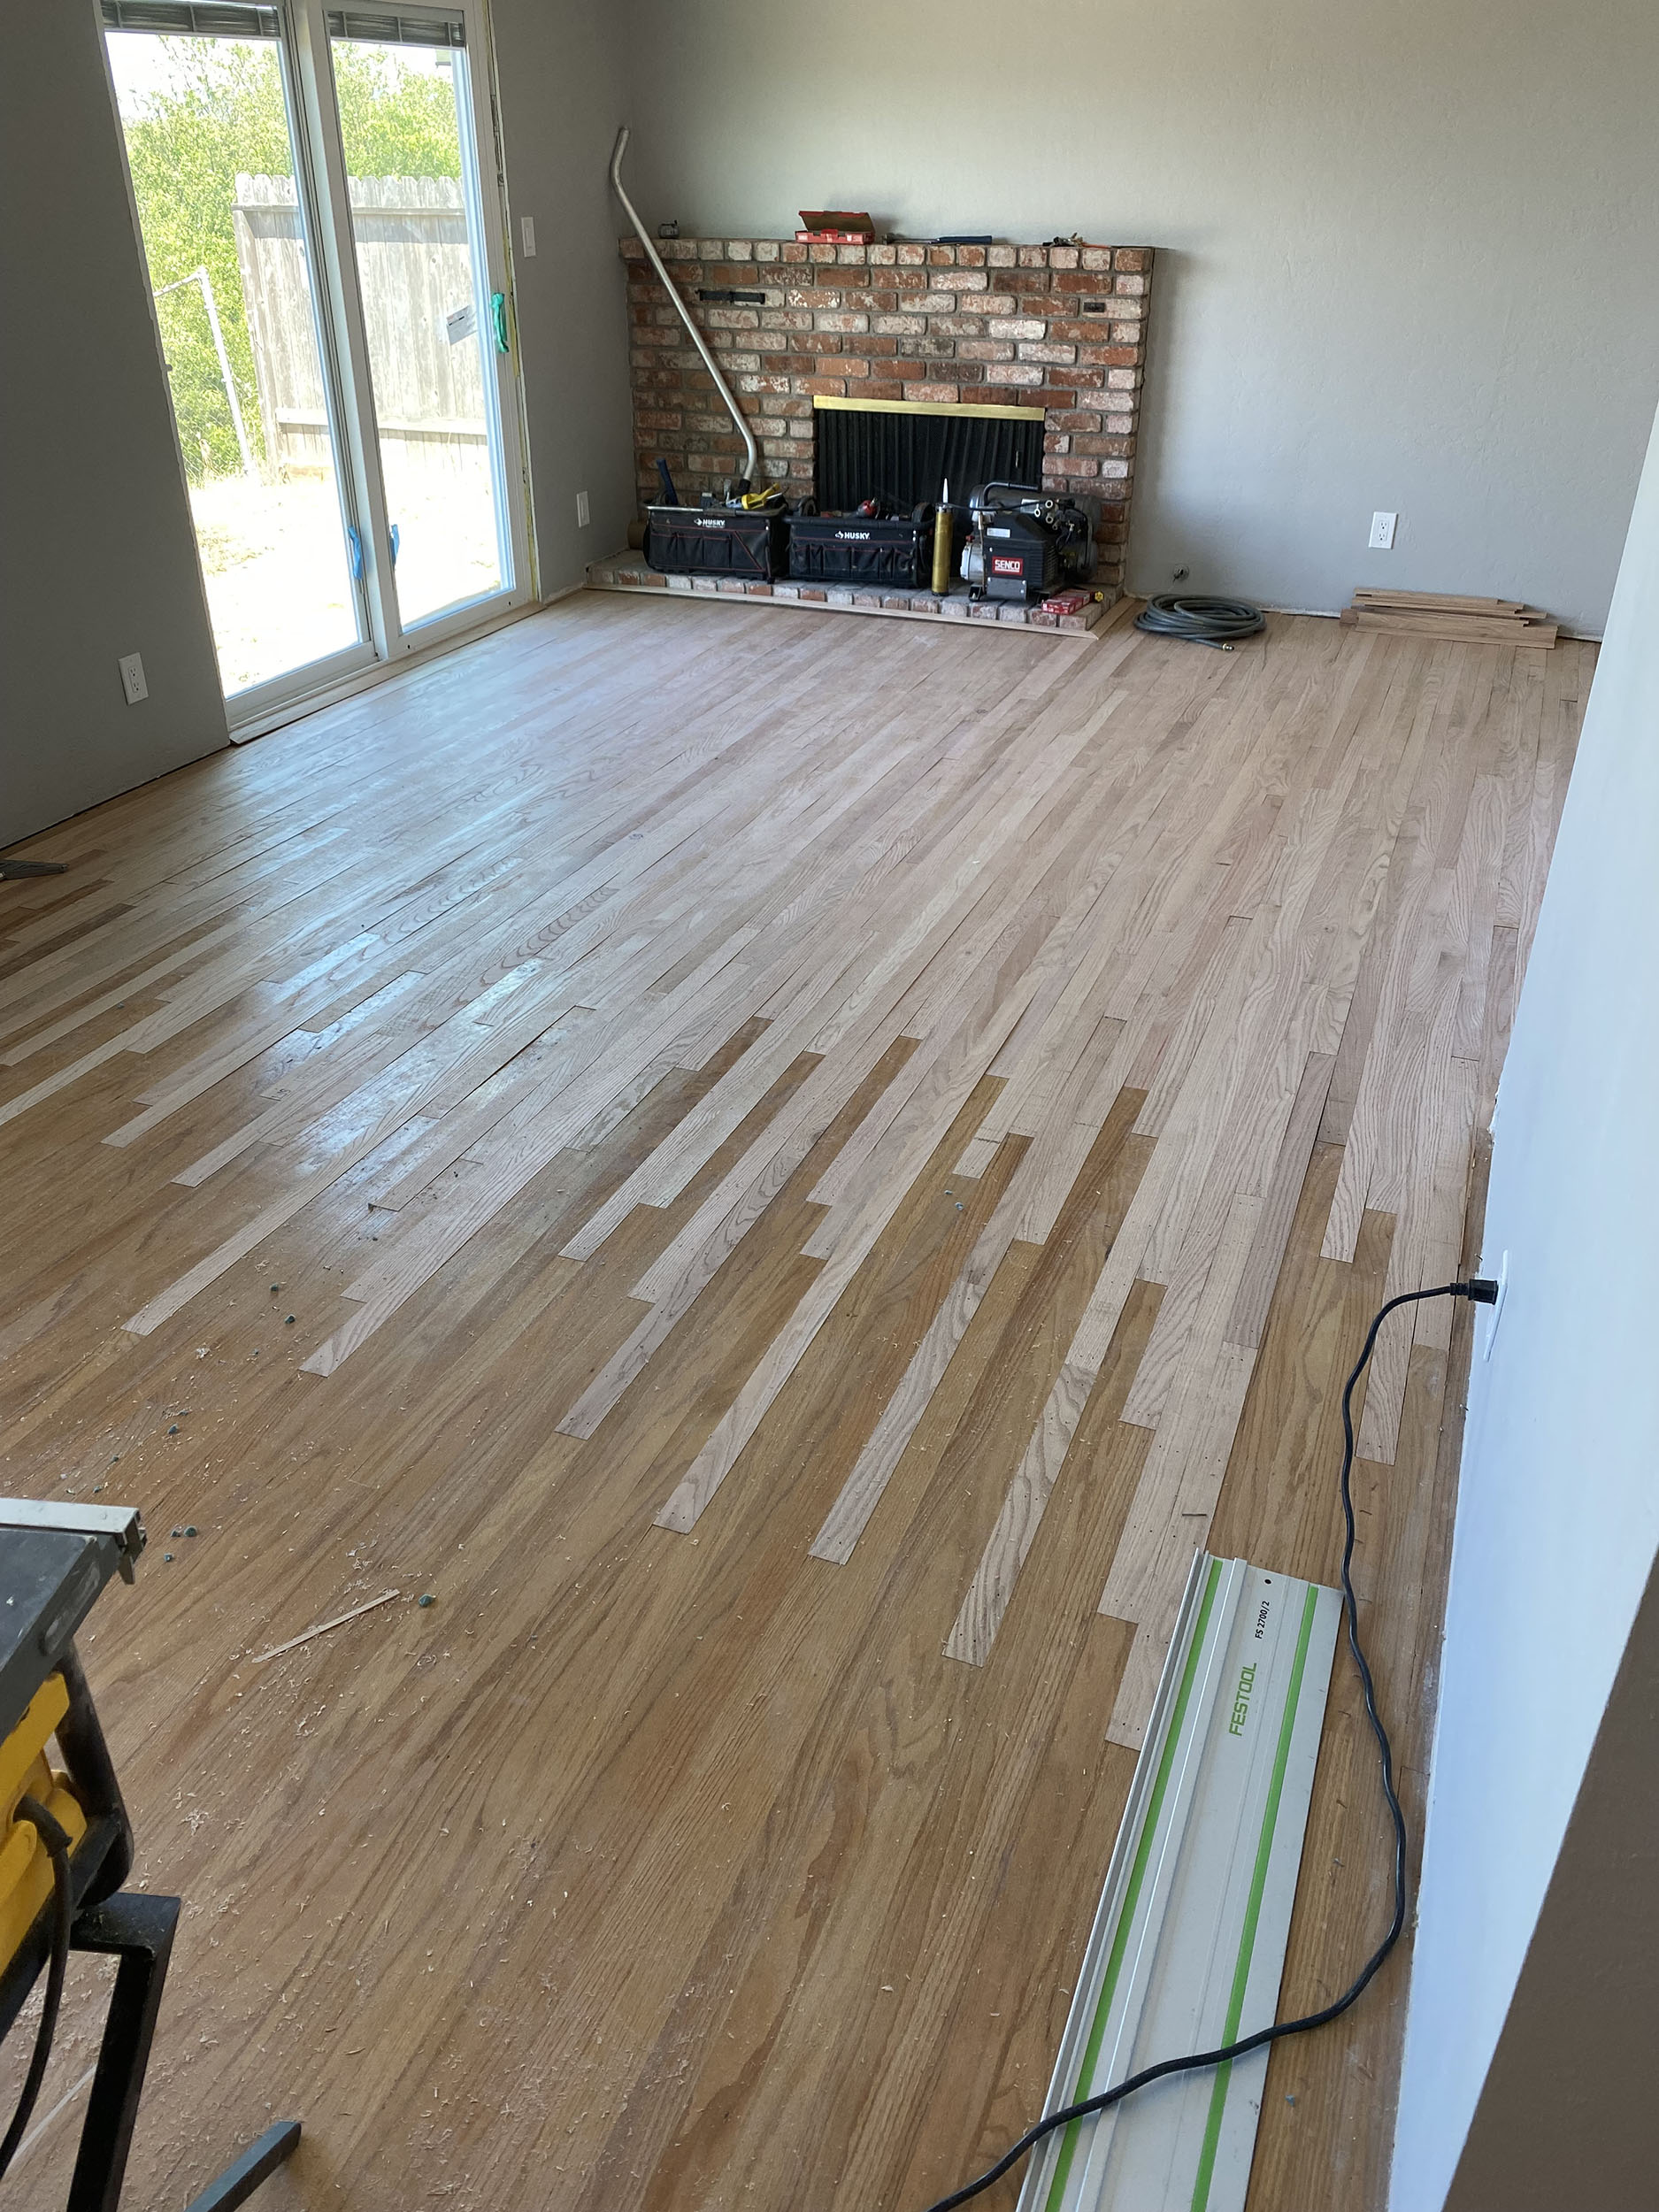
 Our job was to add Red Oak floors in the dining living areas. The owner moved a wall to open up the main floor, and so we laced new floor boards into the existing. That is instead of going the easy way and butting it against the old floor. We started out by preparing the sub floor. That meant fixing any squeaks, repairing soft areas and sanding down the high spots. Afte that we vacuumed and put in a vapor retarder to slow down the moisture coming from the crawl space.

 When hiring someone to refinish your wood floors, or to install new hardwood floors there are many things you should do and don’t. From asking the right questions to checking the experience and quality of the company, this process of interviewing and hiring can be long and agonizing.
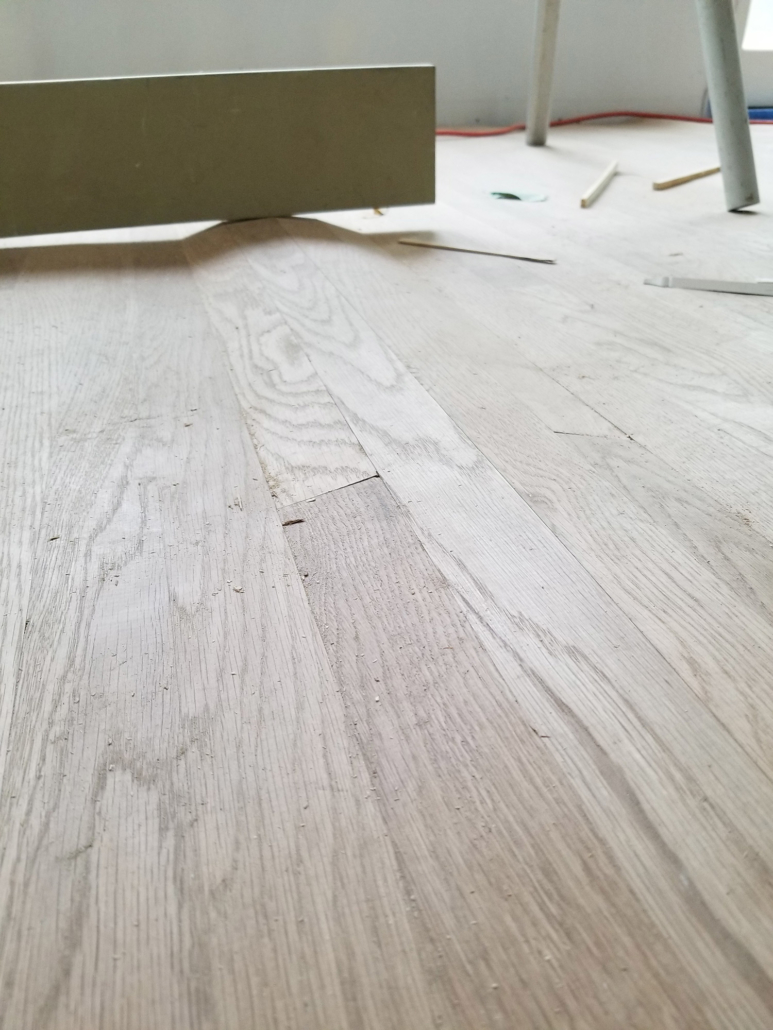
 If you are a professional hardwood flooring contractor like me, installing wood floors becomes a second nature. From the preparation to the final product – it is a careful step by step process. Done right, it can yield a floor that can last more than a 100 years. It sounds so easy just reading about floor installation or watching a video on YouTube. So why are there so many problems in reality? Because installing a wood floor is not that easy. Every day home owners pay a good amount of money for so called professionals to install their floors, only to have a problem floor shortly after.
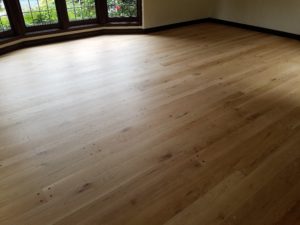 Here at Avi’s Hardwood Floors we specialize in installing, sanding and finishing wood floors. That is all we do, every day five days a week all year. One client said to me recently that he did not appreciate the full art and effort it took to refinish a floor until he saw us in action.
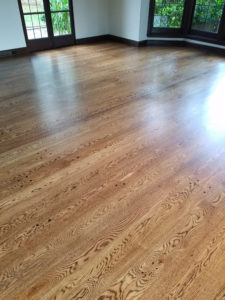 When you find and hire a professional to refinish your floors understand the following:
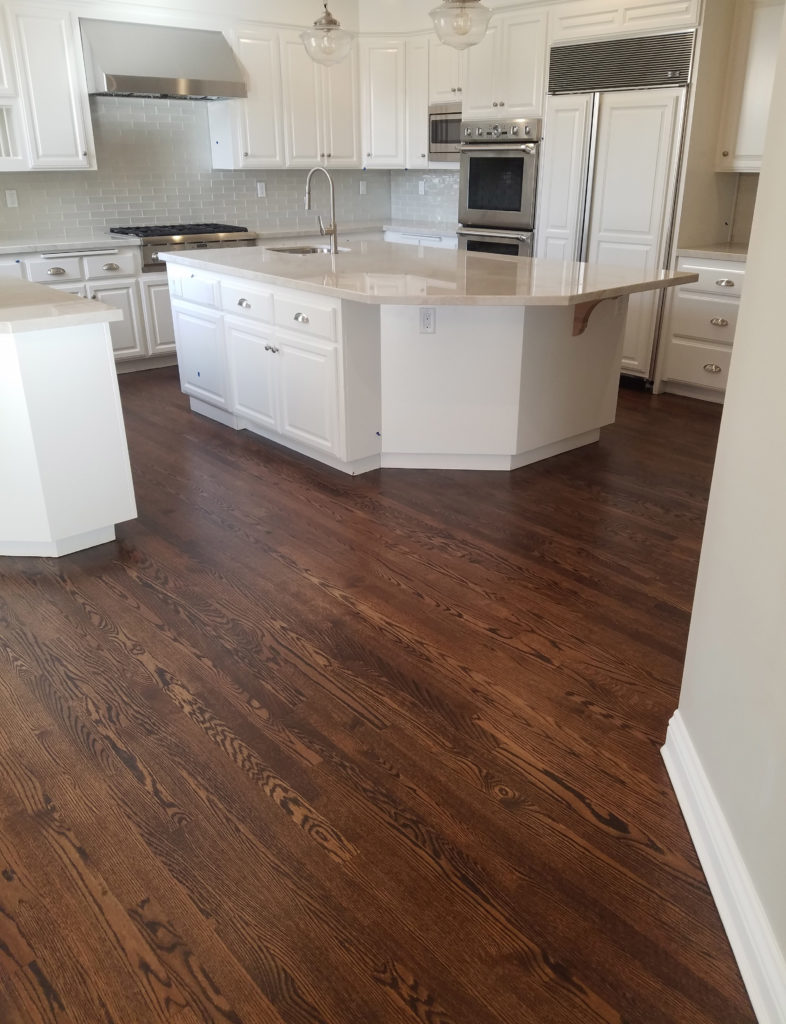 At Avi’s Hardwood Floors we use several ways to control the cleanliness of your home while we sand and finish your wood floors.