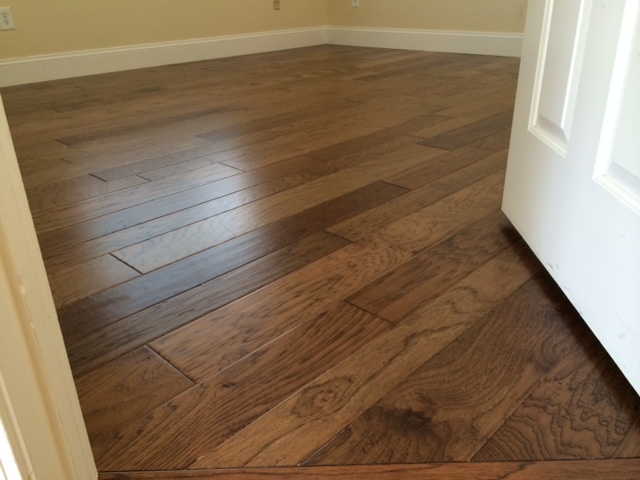
Top Three Mistakes Consumers Make When Hiring a Floor Contractor

white oak refinish Berkeley bona ambersealWhen hiring someone to refinish your wood floors, or to install new hardwood floors there are many things you should do and don’t. From asking the right questions to checking the experience and quality of the company, this process of interviewing and hiring can be long and agonizing.

Here are my top three mistakes most of us do in the process of hiring a floor contractor. It could be for a refinish and repairs, or installation of new wood floors. The mistakes cover both avenues, and are mainly things I see here in the Bay Area, CA.

  1. Calculating a price by the square foot:
    A lot of consumers get stuck on this. Understand that this price per square foot didn’t come from contractors, it was created by someone along the way to put a price tag on something that isn’t a product – it’s a service. Professionals give you a quote for the work you ask them to do. They calculate in their quote things from payroll expenses to how much filler they need to use on your floor. A professional cannot simply take a number like $4 and multiply it by any size job to get them to a reasonable gross sale. When a professional gives you a quote, don’t automatically compare it to others just by dividing the number by the square feet you have. A lot more goes into your floors than you know, and even more than the professional has time to explain to you. I always refer to the dentist example. Understand that a tooth specialist could possibly charge thousands of dollars for 30 minutes of work. Compare that to when you get a crew of experienced craftsmen to work on your floors for a week, and it costs you only around 8K or 9K, it does seem cheap in comparison. To me, what society has determined is unquestionable as far as prices go, is beyond logical. It is unfair and makes no sense who gets to “get away” with their prices, and needs to negotiate, accommodate and follow.
  2. Asking google if whatever the contractor told you is actually true.
    Anything from what finish is to be used, or floor product. Understand that the information online is usually wrong, and doesn’t apply to your scenario. Trust in your reputable professional to provide you with the right answers, and recommend the right product. On the same token, don’t go to online forums seeking others opinions on your situation. They didn’t take the time to drive to your home, and give you their time. Finally, they don’t even know what the full scope of work is, and most likely they would like to look like they know better when in fact they usually don’t.
  3. Relying only on review websites
    It’s become a norm to check and judge companies based on their presence on review sites like Yelp or Angie’s List. Understand that as much as it is a good resource to read about other people’s experiences, those sites could also have bad information. These days it is easy for a new company to create a profile that looks like they had been around for decades, served hundreds of customers – when in fact – they have been in business for a few months. Writing fake reviews, and posting stolen pictures from social media is common among those companies. Unless you are in the trade of floors, you couldn’t tell just by looking at their profile. Beware, as to how you should take those sites with a grain of salt.

Top Five Complaints and how to Avoid Them

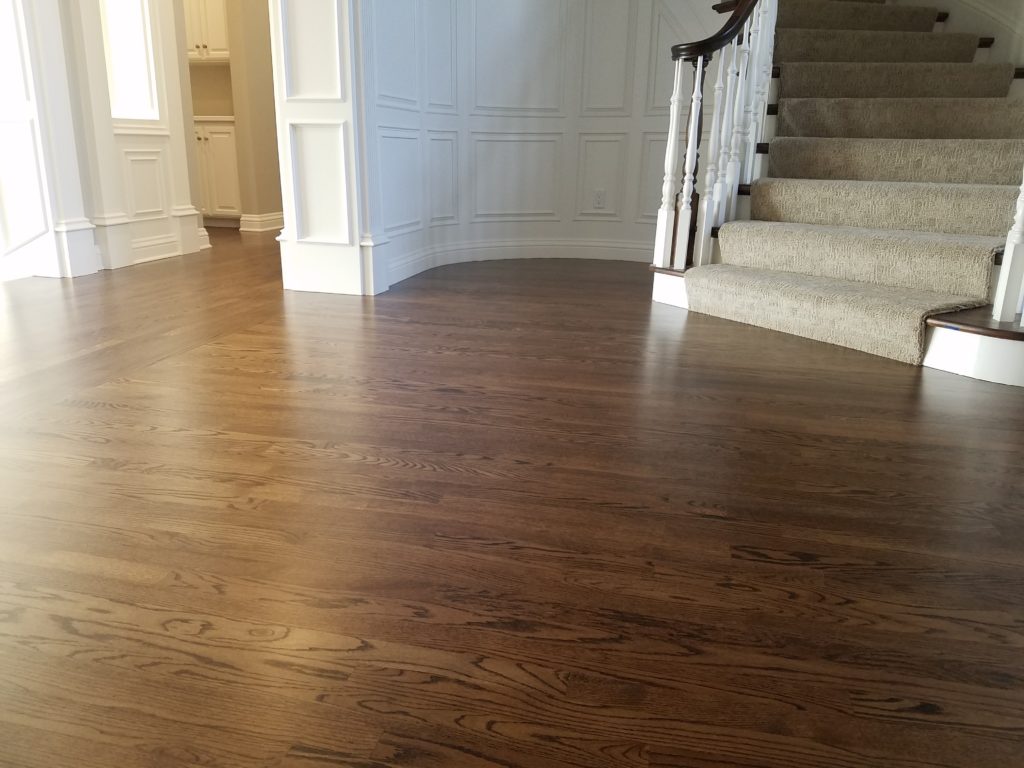
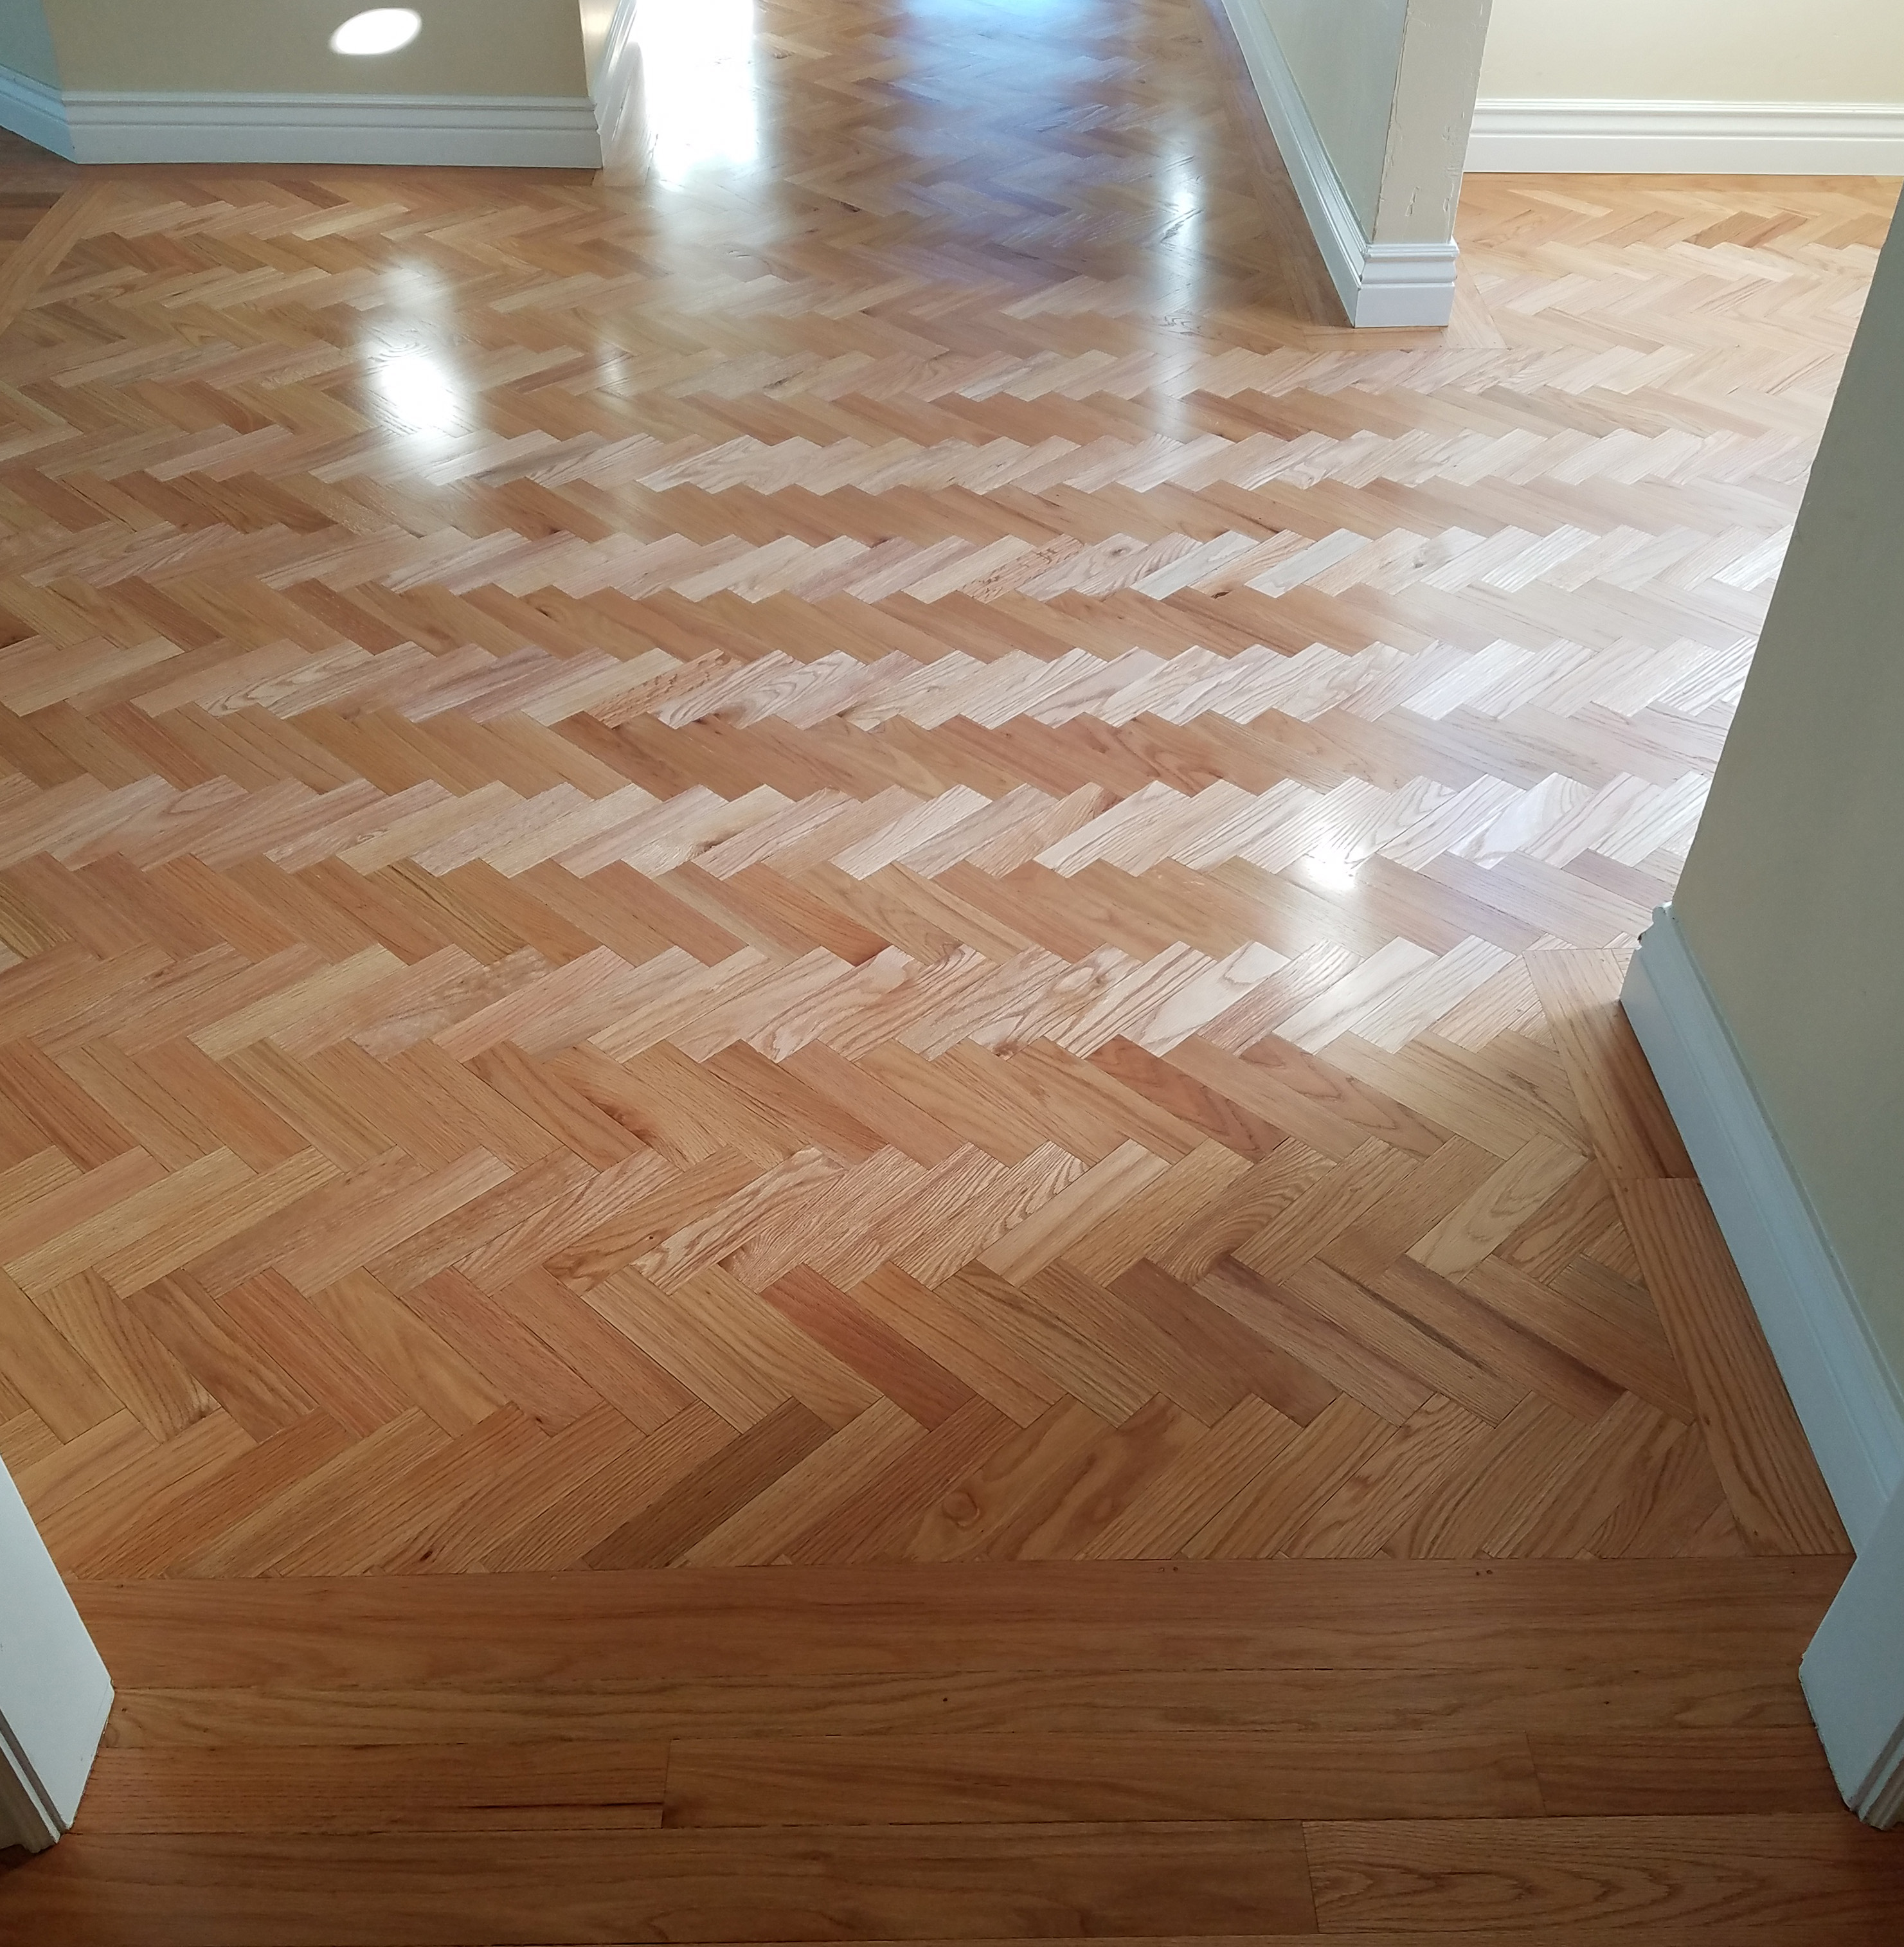
If you are a professional hardwood flooring contractor like me, installing wood floors becomes a second nature. From the preparation to the final product – it is a careful step by step process. Done right, it can yield a floor that can last more than a 100 years. It sounds so easy just reading about floor installation or watching a video on YouTube. So why are there so many problems in reality? Because installing a wood floor is not that easy. Every day home owners pay a good amount of money for so called professionals to install their floors, only to have a problem floor shortly after.

The most common complaints are:

  1. Cupping – that is when the edges of each floor plank are raised. A Simple solution to that is knowing your moisture content and relative humidity levels inside the home and the wood before, during and after installation. Many installers skip this step or don’t understand it. The fact is that any wood can be installed successfully in most situations. A simple check with a moisture meter and allowing time in the schedule for acclimation can prevent most of the cupping complaints.
  1. Gaps – whereas cupping is the result of the wood gaining moisture, gaps is the opposite. When gaps appear in the floor, it is an indication that the floor lost moisture. That means again that acclimation and/or living conditions were not met when installation took place. Gaps also happen during the winter season when dry heat from the home furnace dries the air and causes shrinkage in the wood floor.
  1. Squeaks – the floor look flat but makes a lot of noise. One common reason is a bad nailing technique combined with the wrong nailer and fastener gauge. Another reason could be poor milling of the wood. Either way, the installer should have noticed the issue before completing the entire floor. Another possible reason is that the sub floor has a lot of deflection so with every step the wood moves and in turn makes a squeaky sound.
  1. Appearance – with every flooring product the manufacturer usually allows for up to 5% of material to be out of grade. That means that in worst scenario every box of flooring will have 5% of flooring material that can’t be used or would not look so good with the rest of the floor. It is fair to say that in most cases the floor planks are pretty consistent and don’t actually have that much waste in each box. Nonetheless, when installing a floor it is good practice to mix up the boxes and communicate to the home owner what the material looks like. I’ve seen many who went to local showroom and looked at a small sample without being told that the actual floor would look much different. There will always be the dark board and the light board in the floor. It is a natural product, but when some planks look like they truly don’t belong – it is a problem.
  1. Transitions – doorways with really big and bulky thresholds or sliding doors with not so beautiful moldings. It is all in the details, that is what I was taught. The floor could like great but when the final touches are not crisp and pretty it can really ruin the overall “feel” of the install quality. Taking the time to plan out those details can pay off big time when the job is done.

At Avi’s Hardwood Floors we work hard to make sure every client is truly happy for years to come. This takes a lot of educating you the client and open lines of communication throughout your project. As it is impossible to make each floor perfect, we get pretty darn close to it every time.

How We Contain Wood Dust

Hardwood-Floor-Kitchen-White-Cabinets
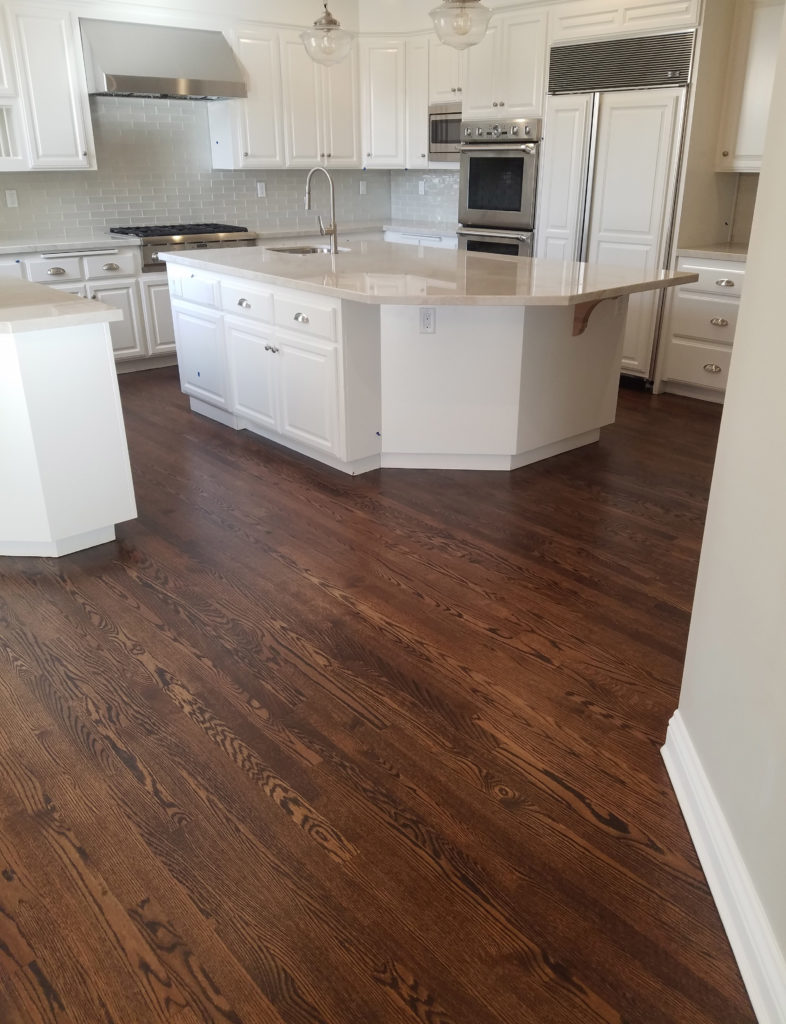
At Avi’s Hardwood Floors we use several ways to control the cleanliness of your home while we sand and finish your wood floors.

We start with a clean site. Normally we would vacuum the floors and spend time taping off areas of the home where we don’t work. If we work in kitchen area we tape off all cabinets and if you have a big tv and wall mount speakers we will tape them off as well.

We use state of the art sanding machines – these machines are expensive industrial type sanders that are specifically designed for wood sanding. These sanders are the only ones in the world tested for wood dust emissions and are the most efficient in dust containment. Sounds like magic, right? Not really. We have seen other contractors claim to be dust free when in fact all they have is an old sander with a cheap utility vacuum attached to it. A vacuum sucks in the air and blows out air. If the vacuum is not designed to capture and contain the fine particles of dust then that dust will end up back in the air.

Some of our sanders have built in dust containment systems. All we have to do is empty the bags outside when they are full. Some of our other sanders are part of a dust free sanding system so all the vacuums are interchangeable and all the filters are HEPA filters. HEPA is the most efficient filter (and most expensive) in collecting fine dust.

Of course, there is always a few dust particles that get away and end up on the baseboards or in the corners. The last step of refinishing your floors is vacuuming every inch of the floors, window cells and other areas. We thoroughly check the site for any dust and wipe off any surfaces like counter tops.


The results yield a clean home with a newly refinished floor and a clean top coat of finish with no debris or dust stuck in it. At Avi’s Hardwood Floors we have done hundreds of jobs for families that had members of the family with allergies or other health conditions. We even did a few jobs for some with severe dust allergies. Those home owners had such strong reactions to dust they had specialty air cleaning systems installed in their home. Hiring us was the sure thing to do and we never disappointed anyone with our promise for a clean sanding job.

One client insisted we taped off their entire living room before we started work. We did. He came to check up on us a few hours into the refinishing process and said: “wow, there really isn’t any dust!” we just smiled and kept on sanding.

Trust us in doing a great job while keeping your home clean. This is not one of those empty marketing promises, it is the truth.

Why Should You Be Concerned about Wood Dust?

  • Hardwood-Floor-hallway-staris-livingroom
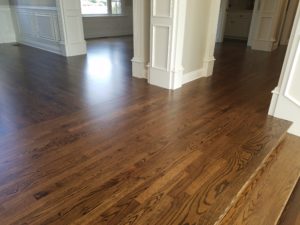
Wood dust is not something our bodies can process. Wood dust is one of the more common causes of health problems especially lung related conditions.
  • Wood dust can irritate our bodies in many ways, for example breathing exotic wood dust can cause nose bleeds which we have seen happen on a job site. Dust rubbing on your body can cause skin rashes and other health conditions.
  • Wood dust is very hard to clean. We have heard stories about people cleaning their homes months after a sanding job was completed because dust was still settling in parts of the home. Wood dust is fine and light so once airborne it can travel all around your home.
  • A job site that is dirty will only yield a dirty floor finish. How can anyone provide a clean coat of finish when the air is full of dust? One of the most common finish complaints by home owners is debris in the final coat of finish on their wood floors.

How do we create wood dust and why does it get everywhere?

We use several kinds of sanding machines:
20161230_094503

  • Belt sanders – the abrasive is a belt which spins around a drum in one direction
  • Single disc sanders – the abrasive is round and spins in one direction
  • Multi disc sanders – three discs which spin in multiple directions
  • Orbital sanders – single disc random orbit type

The one thing that is common to all these machines is this: they all create very fine dust quickly. Unless there is a vacuum there to contain the dust, it will get in the air immediately. The motor parts and fans inside the sanders help blow the dust off the floor and up into the air. Once in the air, the dust will travel several feet and often far enough into other rooms. It takes several hours for fine wood dust to settle on flat surfaces like shelves and floor coverings.

A big part of our business is fixing other people’s sanding jobs. We have seen dust on walls, in bedrooms all over the home owners stereo and tv. We have seen dust completely covering a furnace air return and piles of it inside floor heat registers. Dust must be contained for a good sanding job.

How often should I refinish my hardwood floors?

20160701_080008_SmWhether you live in the Berkeley Hills or Alamo, if you have wood floors they are most likely original to the house. Whether you live in San Pablo or El Cerrito, you most likely have a white or red oak solid floor. These floors are solid wood and had been around for decades, some even more than a century. The life span of a traditional oak floor is longer than what most people think. We just refinished a white oak floor that was installed in 1965. It has been around for about 50 years and has more life on it for another 50. When we refinish oak floors we get this question a lot: “how long before I need to refinish my floors again?”

The short answer is: it depends. Some floors will need to be refinished after several years and some after more than a decade. Here are the factors that contribute to the durability and longevity of the wood floors finish:

  • Professionally sanding the floors – a qualified contractor will only sand very little off the floor. Poor sanding can take years off the life of the floors. Also, the smoother and more flat the sanding, the more consistent the finish layer will be
  • Using commercial finishes – if your contractor uses cheap or DIY finishes from the local box store, you are guaranteed a finish that will wear and tear quickly
  • Following manufacturer recommendation for the proper drying and curing conditions. Home owners are told it is okay to move in two days after the final coat was applied. It is not. The finish needs proper time to harden and cure and that takes more time than two days
  • Maintenance – proper care for your wood floors will guarantee more years of use before a need to refinish

From our experience at Avi’s Hardwood Floors the average family would need to refinish their floors every 10-15 years. With proper sanding and finishing on our end, and proper use and maintenance on your end (the consumer) your wood floor finish will last a long time.

Which is the Best finish for my Wood Floors?

Sanded-Hardwood-FloorsWe all want to protect our wood floors with the best finish available so we don’t have to do it all over again, right? Most our clients who choose to install new hardwood floors in the East Bay are concerned about the future of their floors. One client in Berkeley, CA asked me what finish would be best living with a big dog in the house. Another one in El Cerrito wanted to know what finish would protect their wood floors from water damage. The answer to this question is very simple: choose a professional to apply a commercial finish on your floor, maintain it properly and you should be fine. There is no one magic floor finish that does it all, after all we all walk on these finishes every day.

There are many choices of finish out there, here is a table exploring some of the characteristics of the main finishes used in the wood flooring market these days:

Finish Type

Color

Approximate Drying Time

Approximate Cure Time

Aging Color

Approximate VOC

Pros

Cons

Oil Base Urethane

Amber

overnight

7 days

Amber

500 g/L

Durable, ages nicely, easy to repair

Strong smell, dries slowly

Water Base Urethane

Clear

3-4 hours

Approximately 80% in 3 days

yellow

210 g/L

Durable, lower VOC, dries and cures fast

Results vary depend on product

Wax Oil Blend

All colors

overnight

7 days

Depends on color

zero

Easy to maintain, no VOC

No resin build up on the floor like oil and water finishes

Staining Wood Before Finishing

All colors

3-4 hours for light colors overnight for dark colors

7 days

N/A

550 g/L

n/

n/a

All finishes require regular maintenance.

All finishes will scratch.

All finishes will wear with regular use overtime.

All finishes can be repaired or restored with different results.

There is no magic product that cures in a day and will never need refinishing. It all comes down to which look you like and how you would be using the floors. Applied correctly all finishes will stand the test of time.

Fixing Badly Sanded Hardwood Floors

Sanded-Hardwood-FloorsWe were called again to fix a floor that was badly sanded. After a water leak damaged the wood floor in a home in Lafayette, the insurance company brought in their hardwood flooring guys to fix the floor. The home owners assumed everything was going to be handled by the insurance company. Little did they know that the guys hired to refinish the wood floors were just plain horrible. The home owners returned to their house to discover a disaster: dust everywhere, gauges in their baseboards and an uneven floor.

Shortly after their discovery the home owners found Avi’s Hardwood Floors and contacted me for an estimate. When I got there it was obvious the floors needed a full refinish and the baseboards needed replacement. After closely inspecting the stairs we also decided to replace all the decorative molding on the stairs.

After a long while of the owners dealing with their insurance company we finally got the green light. The owners knew we were up to the challenge but like anyone who’s been through a bad experience, it was obvious they were concerned with the outcome. After all this was the second and last shot at the sanding, otherwise the floor would have to be replaced because there would not be much wood left to sand. We showed up on time and started stripping the finish off the floor while making the floors flat. This took a little while and the more we sanded the more we realized how bad the sanding job was. In some places we could not take the gauges out without replacing the boards. By looking at the scratch pattern on the floors we determined that one of the tools used on the floor by the other guys was – A grinder.

That explained the small circular scratches in the wood, the long deep gauges and the damaged baseboards. The owners were scheduled to stay at the house the first part of the sanding, then leave for the staining and finishing phase. Once we finished the final sanding I could see a big relief in the owner’s eyes. They were watching us sanding the floors at times and expressed their appreciation in our effort to keep everything clean and the floor flat. We made a custom stain color for them at their request to minimize the gold and yellow in their red oak floor. We applied the stain coat on a Friday so that we could let it dry for three days. The pigments in dark stains like the ones we used are very heavy and require longer drying times. The following week while the owners were gone we applied three coats of commercial water base finish and installed all new baseboards and stair moldings throughout the working areas. I took the time to text pictures of our progress to the owners every day.

As usual we did the best we could and the floor came out as expected. Avi’s Hardwood Floors takes pride in doing the best on every job. It makes for happy clients and life easier on everyone knowing that a project only needed to be done once. 

Can I Refinish My Engineered Wood Floors?

Engineered hand scraped floorsWe were recently hired to install an engineered wood floor over a concrete slab in Danville, CA. This job involved a complete tear out of carpets and tile floor coverings, minor leveling and a moisture barrier installation prior to the floors being installed. The product itself was a hand scraped floor with a factory finish. That meant a few things:

  • This product could not be refinished in the future
  • This floor could only be cleaned and recoated
  • You could not change the texture or the color of the floor in the future

Home owners who choose pre finished wood flooring products are usually not aware of the consequences of their decisions. Meaning, some don’t realize that their floors could not be refinished in the future, or even worse could not be recoated. That meant in some cases that the floors would have to be replaced within five to ten years of install.

Solid floors - Can be refinished many times

When we installed this hand scraped engineered floors in Danville we took the time to educate our customer of the future options for the floor. We told them that these floors could not be re scraped or refinished. The only thing that could possibly be done is a buff and recoat.

I recently visited a home in San Anselmo, CA that had the same product installed by another company. The only issue the home owners had with the floor was the color. They were never told at the point of sale that their floors could be recoated because of a unique additive to the finish which was applied in the factory. In that case, they were stuck with a floor that would definitely need to be replaced in a few years.

When investing your money in a new hardwood floor make sure your product is versatile. Talk to the person selling you the hardwood floor about what can be done in the future in regards to refinishing your floors. Engineered floors don’t come cheap and hand scraped engineered floors are even more expensive, so when you invest a good amount of money in a new hardwood floors make sure you can service that product in years to come and not have to completely replace it after the finish started wearing off.

How Moisture Affects Wood Floors Part 2

Proper installation of wood floors requires a certain time for acclimation of the product prior to installation. It means that the wood needs to be stored inside the home under living conditions until it is in equilibrium with its surroundings. What does it mean? It means that the wood no longer gains or loses moisture. It is in balance with the home conditions, if you will. Let’s say that Avi’s Hardwood Floors is delivering solid white oak floors to Berkeley, CA. The white oak floor usually comes at around 7% moisture content. We know this from years of testing wood floors with our moisture meters. We also know that the average sub floors in the Bay Area range at 9%-12% in most places. That means that a wood floors needs to gain moisture before they are installed. An average oak floor in our area gains about one percentage point a week, so the white oak floors would need to be acclimated for about two to three weeks in total. What happens if you don’t acclimate your wood floor? The floor will gain that moisture after the installation and at that time, it has nowhere to go but up. That is when you see hardwood floors cup and buckle. How in the world do you add so many weeks to your remodeling project just for the floor and without delaying other trades at work? Avi’s Hardwood Floors has the answer.

  • We typically deliver the floor to the home a week or two before the installation and store it out of the way. For example, along a wall or behind a big couch. That way you can still maintain your life without interruption.
  • We recommend acclimating the floor to the house after it is installed and before it is sanded and finished. We coordinate with other trades like painters to come in during that acclimation time to finish up their work. This way the owner doesn’t “lose” precious time just waiting for the floor to acclimate with no other work taking place. 

By the time we get to finish the floors, they already reached the moisture content required. Acclimation is subjective to each home, each wood specie and each installation application. A home without air conditioning up in the Berkeley Hills has different conditions than a home in Lafayette. A red oak floor 3/4” thick will require different acclimation time than a solid Brazilian Cherry floor. A glue down of engineered wood floor will require different acclimation than a wood floor to be nailed down onto the second floor of the home.

In the end it is up to the wood flooring expert to determine the schedule of acclimation. Ensuring a successful installation is a must. If things go wrong and they do, the consequences are dire and expensive. In a failed floor installation like buckling, the floor needs to be replaced. That means additional costs:

  1. Moving out of your home
  2. Moving the furniture
  3. Removing trim and floors
  4. Identifying and fixing the moisture source
  5. New floors
  6. New trim
  7. Moving furniture back 

This is nothing compared to the trouble in time and mental energy wasted with having to deal with what happened, who would take responsibility for it and doing it all over again. When hiring a wood floor professional care to weigh your options carefully. Paying a qualified professional more money now is better than paying them a LOT more money later to fix a problem.