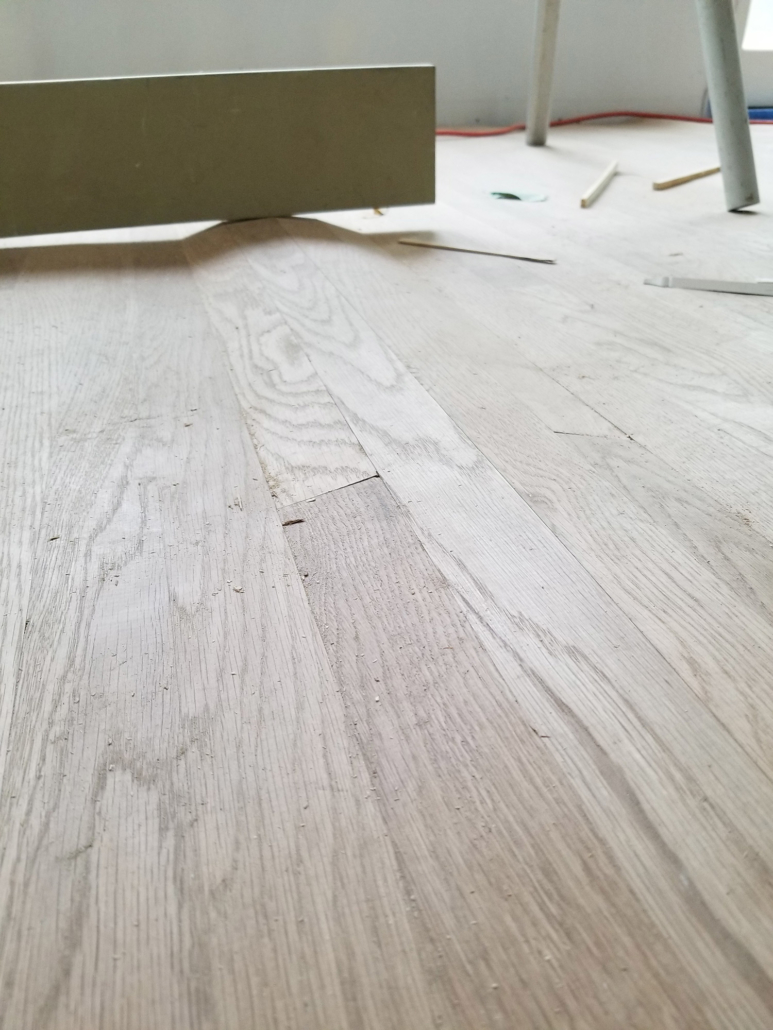
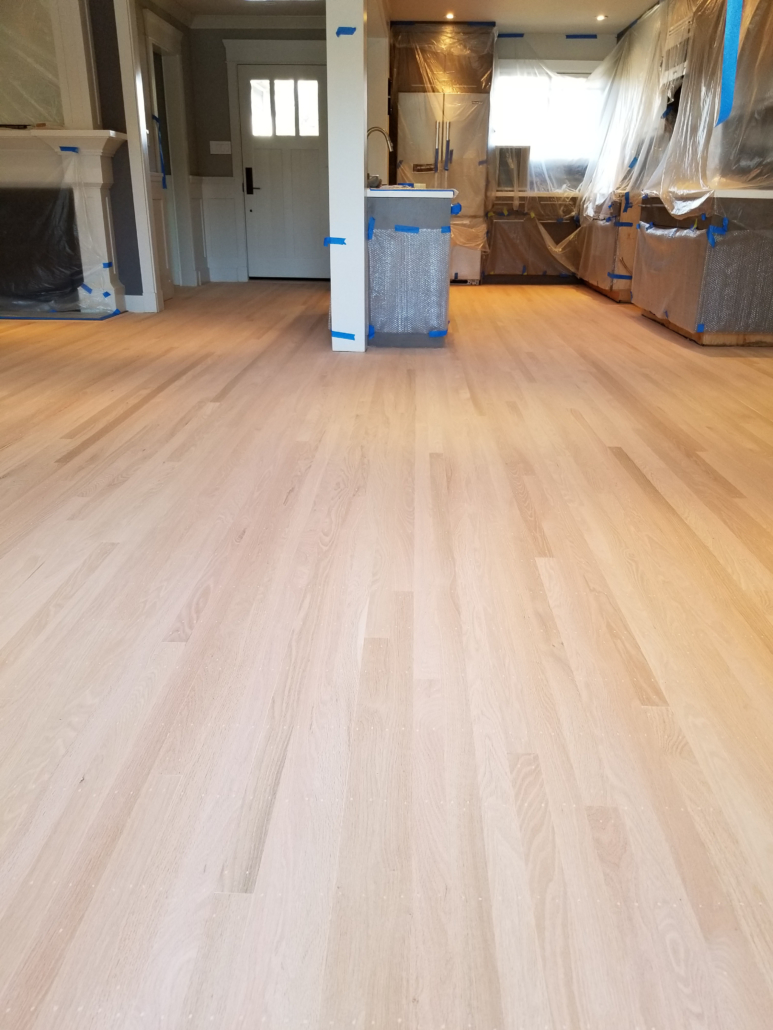
Refinishing Top Nail White Oak Floor in El Sobrante Richmond, CA Area

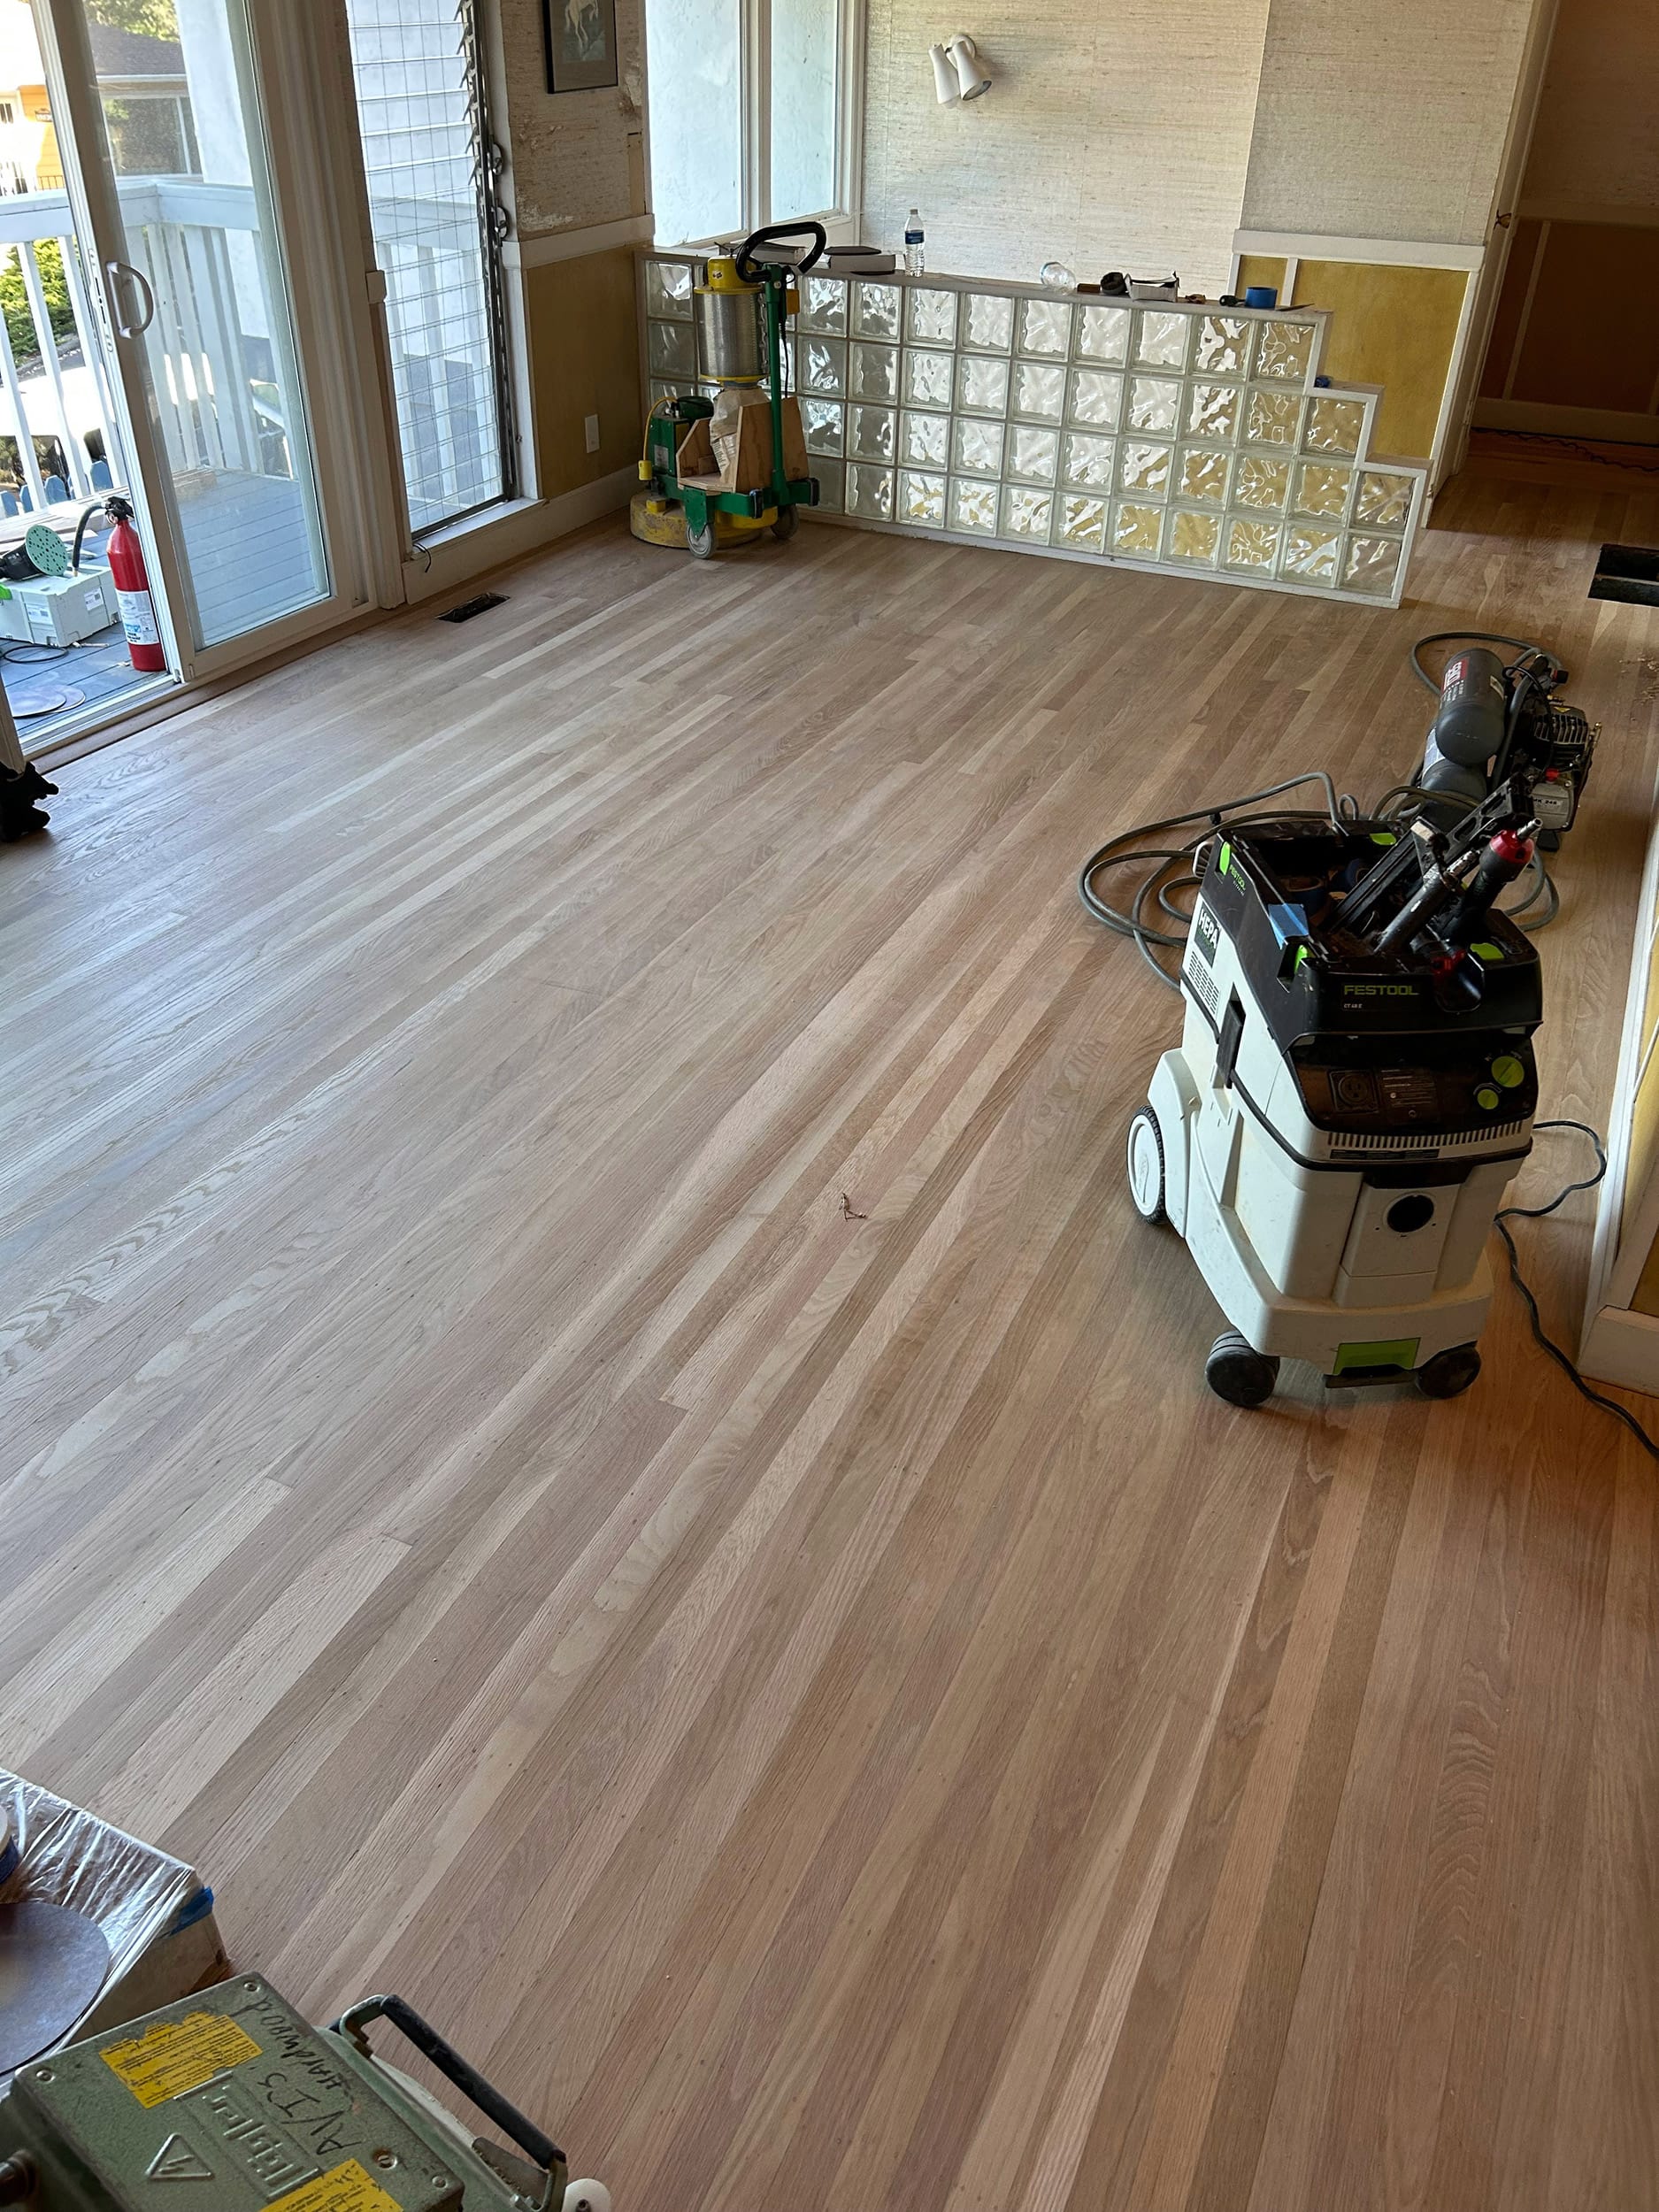
Even though I’ve been sanding and installing wood floors for a living for more than 23 years, I am still surprised at the look on people’s faces when I tell them we can save their floor and make it look like new again. The beauty of hardwood floors is that they are serviceable. They can be sanded over and over again and as we all see in the Bay Area, lots of them last more than a hundred years. 

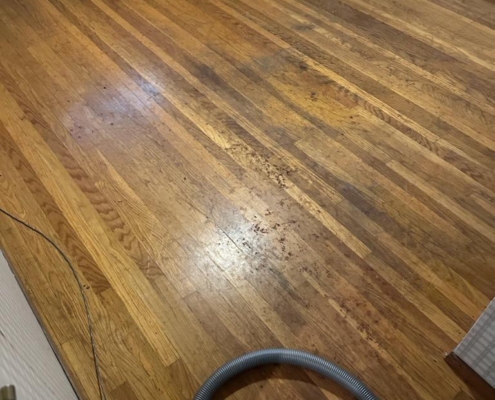
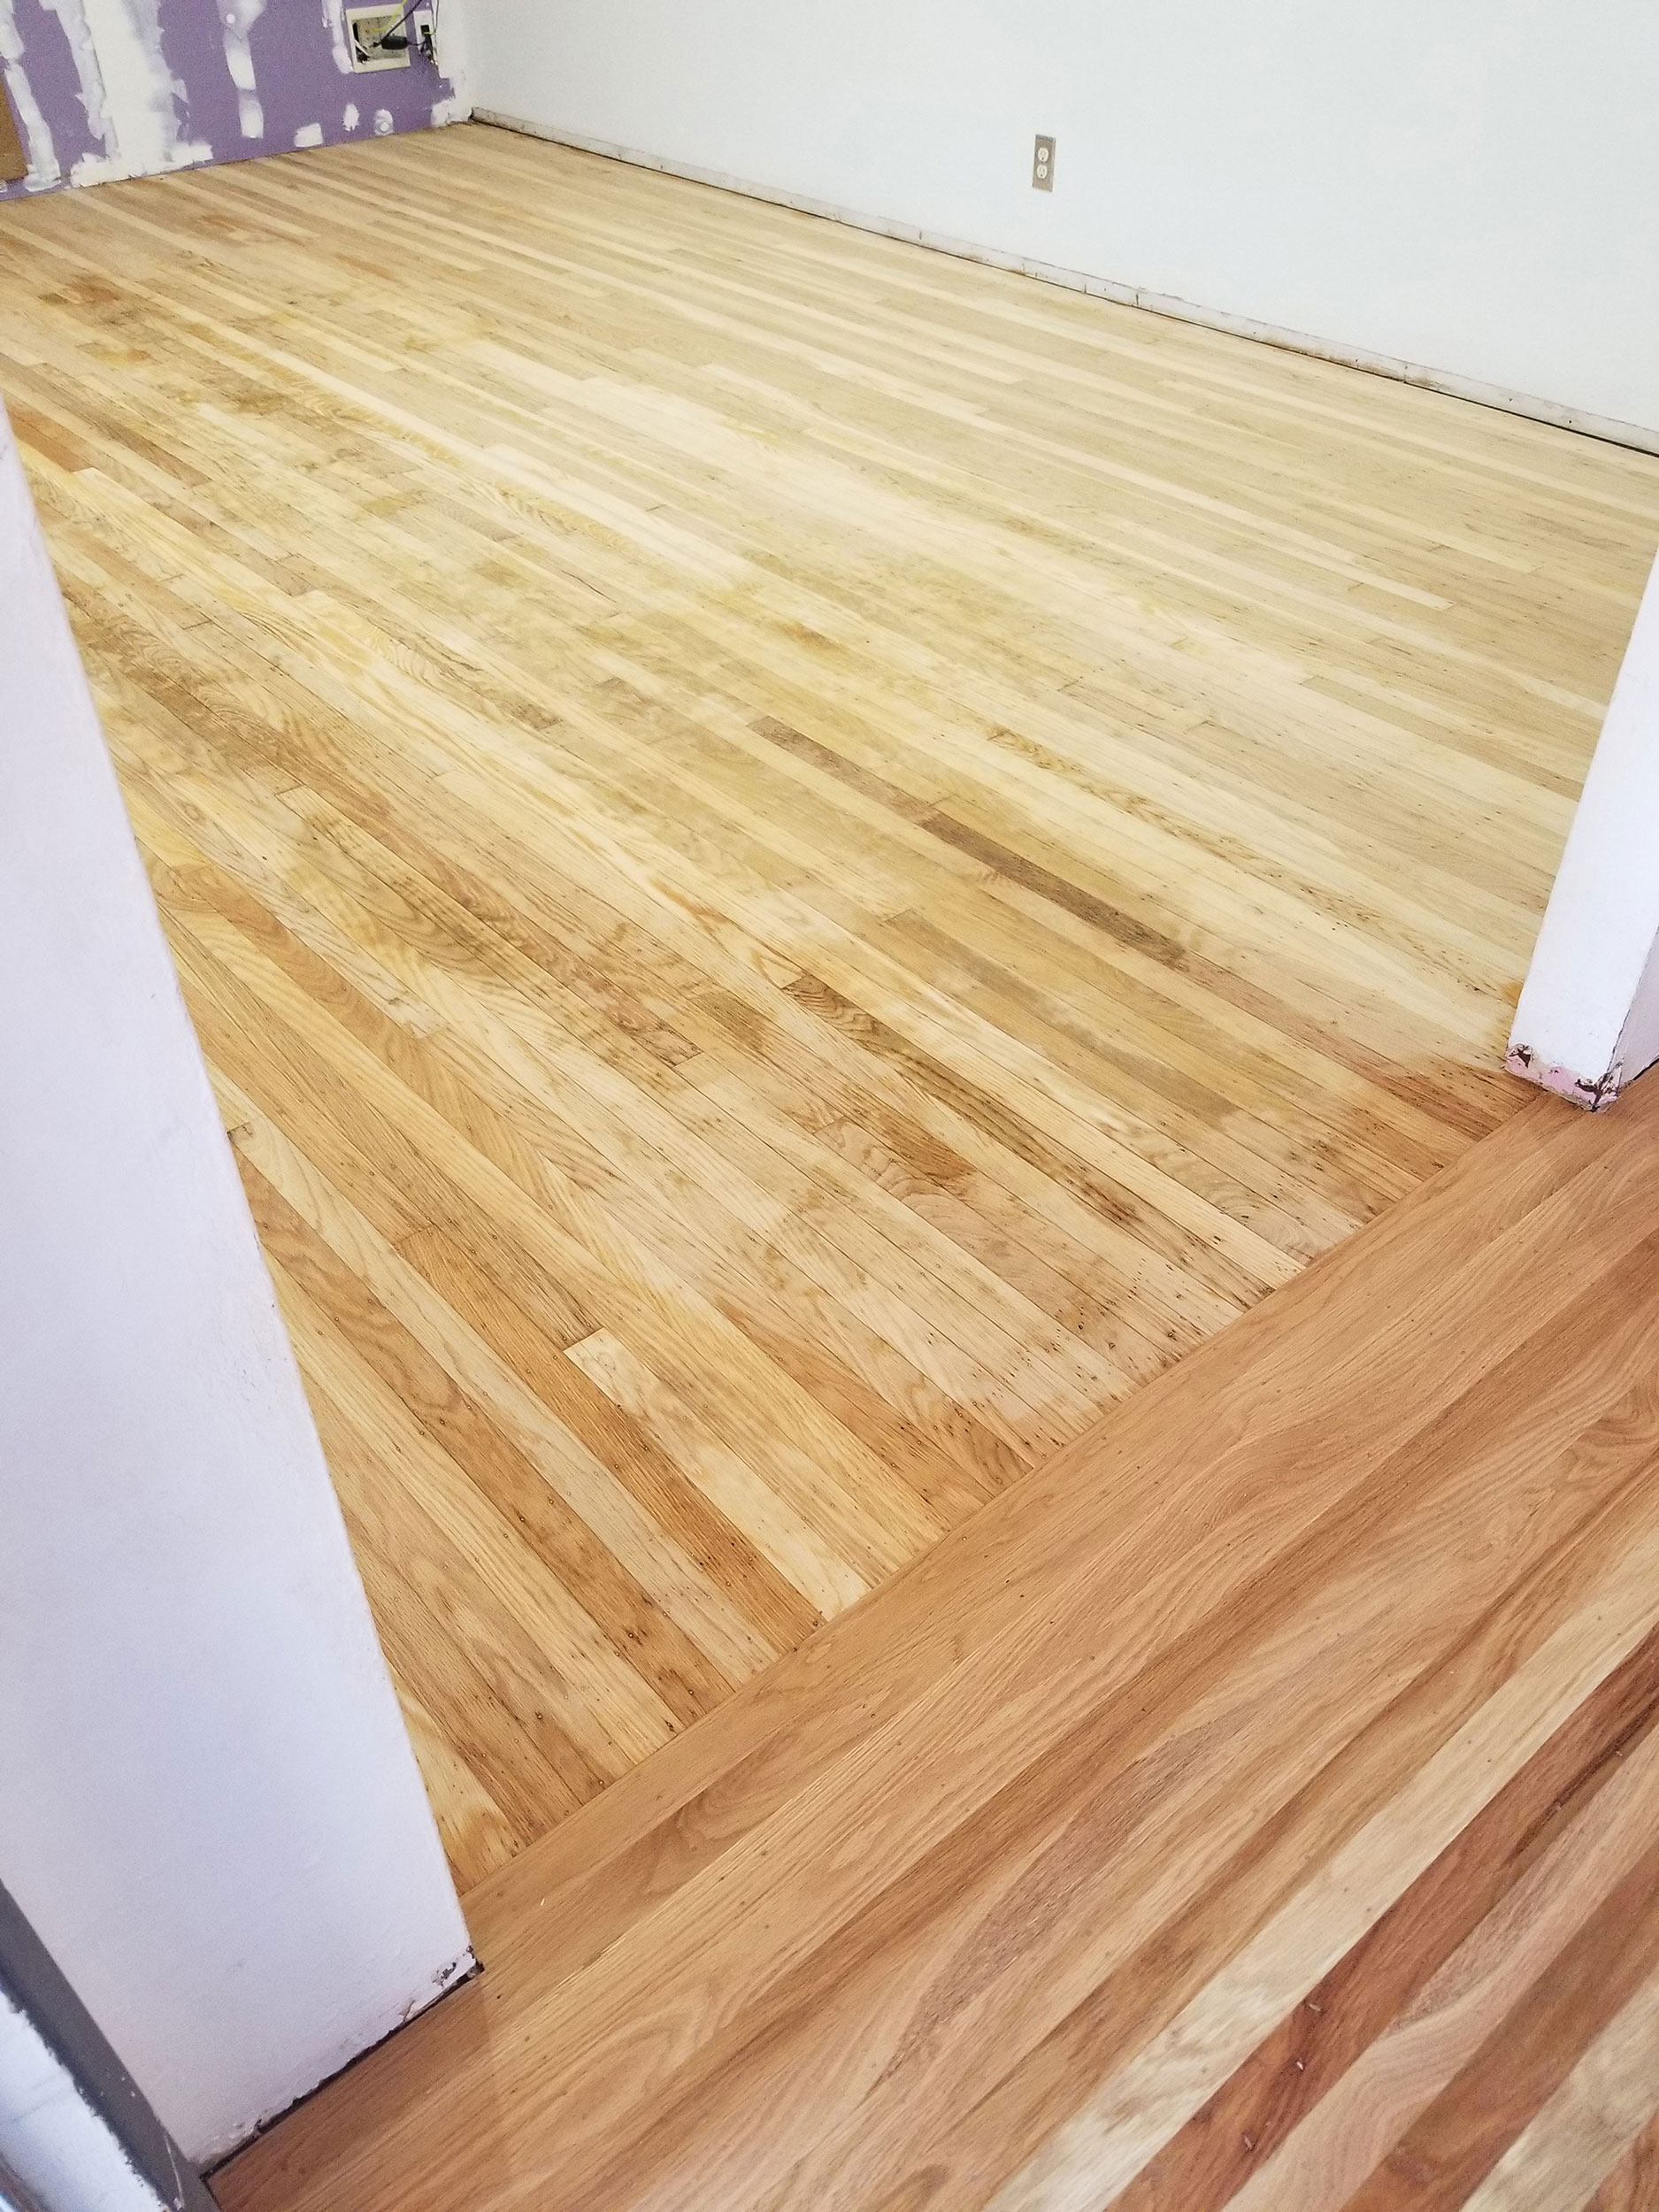
This time our client wanted to know if their oak floors can be saved. After a quick site visit I assured here that with proper sanding, and some repairs we could bring that floor back to life. After we finished the project she actually told me she expected me to say she had to replace the entire floor. That’s what she had heard from others. 

Surely enough, after discussing price and schedule we started the work. Within a week we completed the sanding and some repairs. The client was out of town and I made sure to text her progress pictures and/or any questions I had. She knew exactly what we were doing every day and what the floor looked like at every stage. 

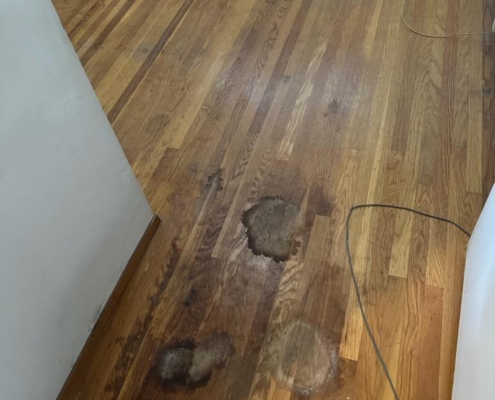
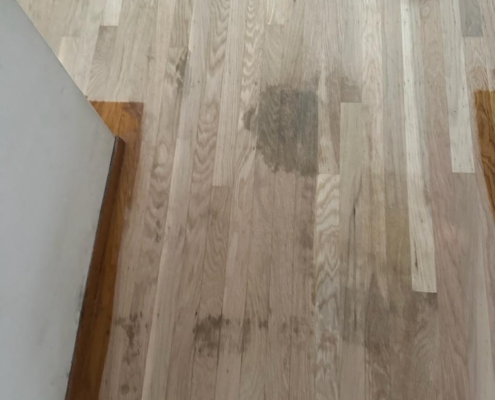
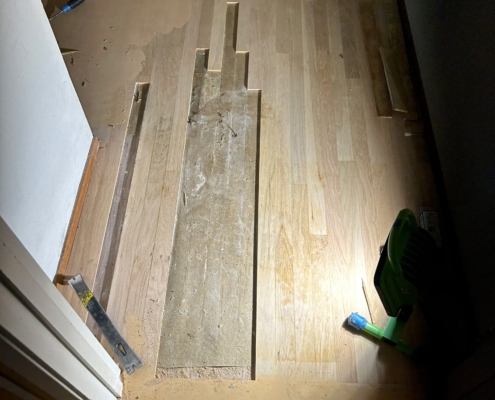
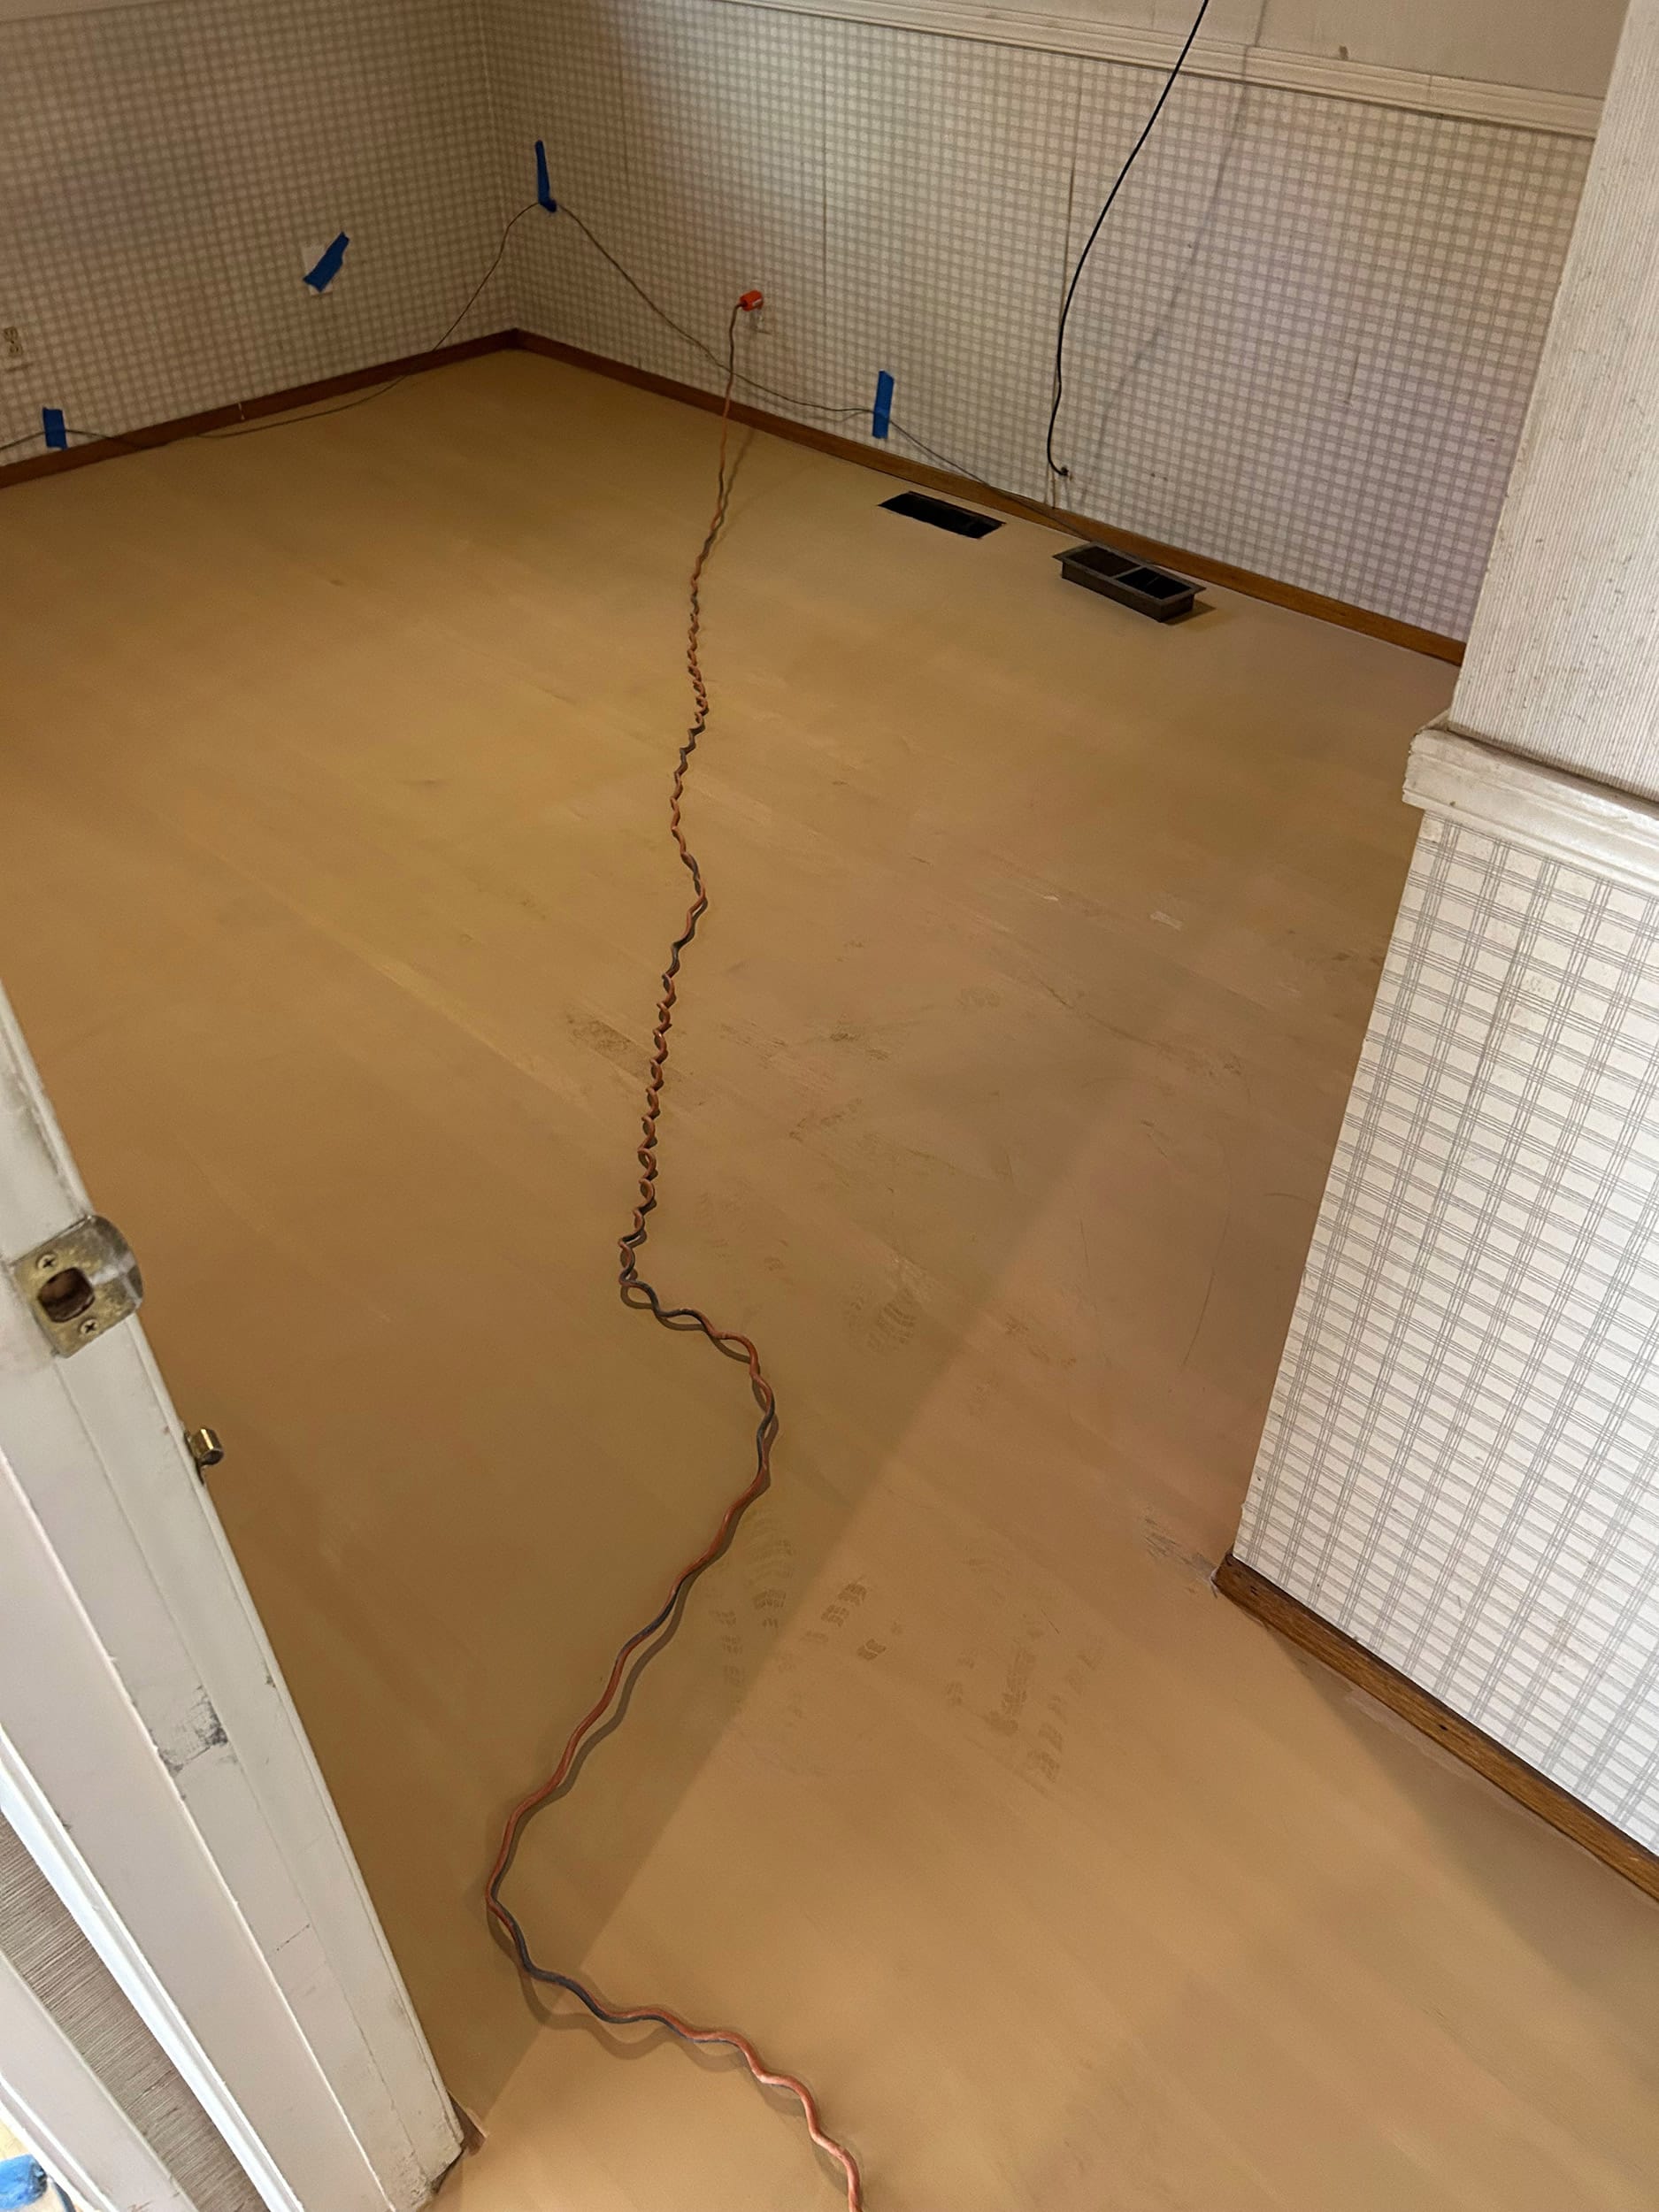
At first we stripped the finish off the floor to expose the wood itself. Walking around the home I took pictures of the dark stained areas that didn’t come out in the sanding. I sent the pics with cost for each area of repair. Upon approval we started replacing the white oak floor boards that were damaged. A lot of contractors make the mistake of putting in red oak in white oak floors, but not here. Everything is done properly and according to our industry guidelines of the National Wood Flooring Association.

The next step was to apply wood filler to all the nail holes and gaps. A few more passes with our dustless sanders and the floor was just about ready for the finish coats.

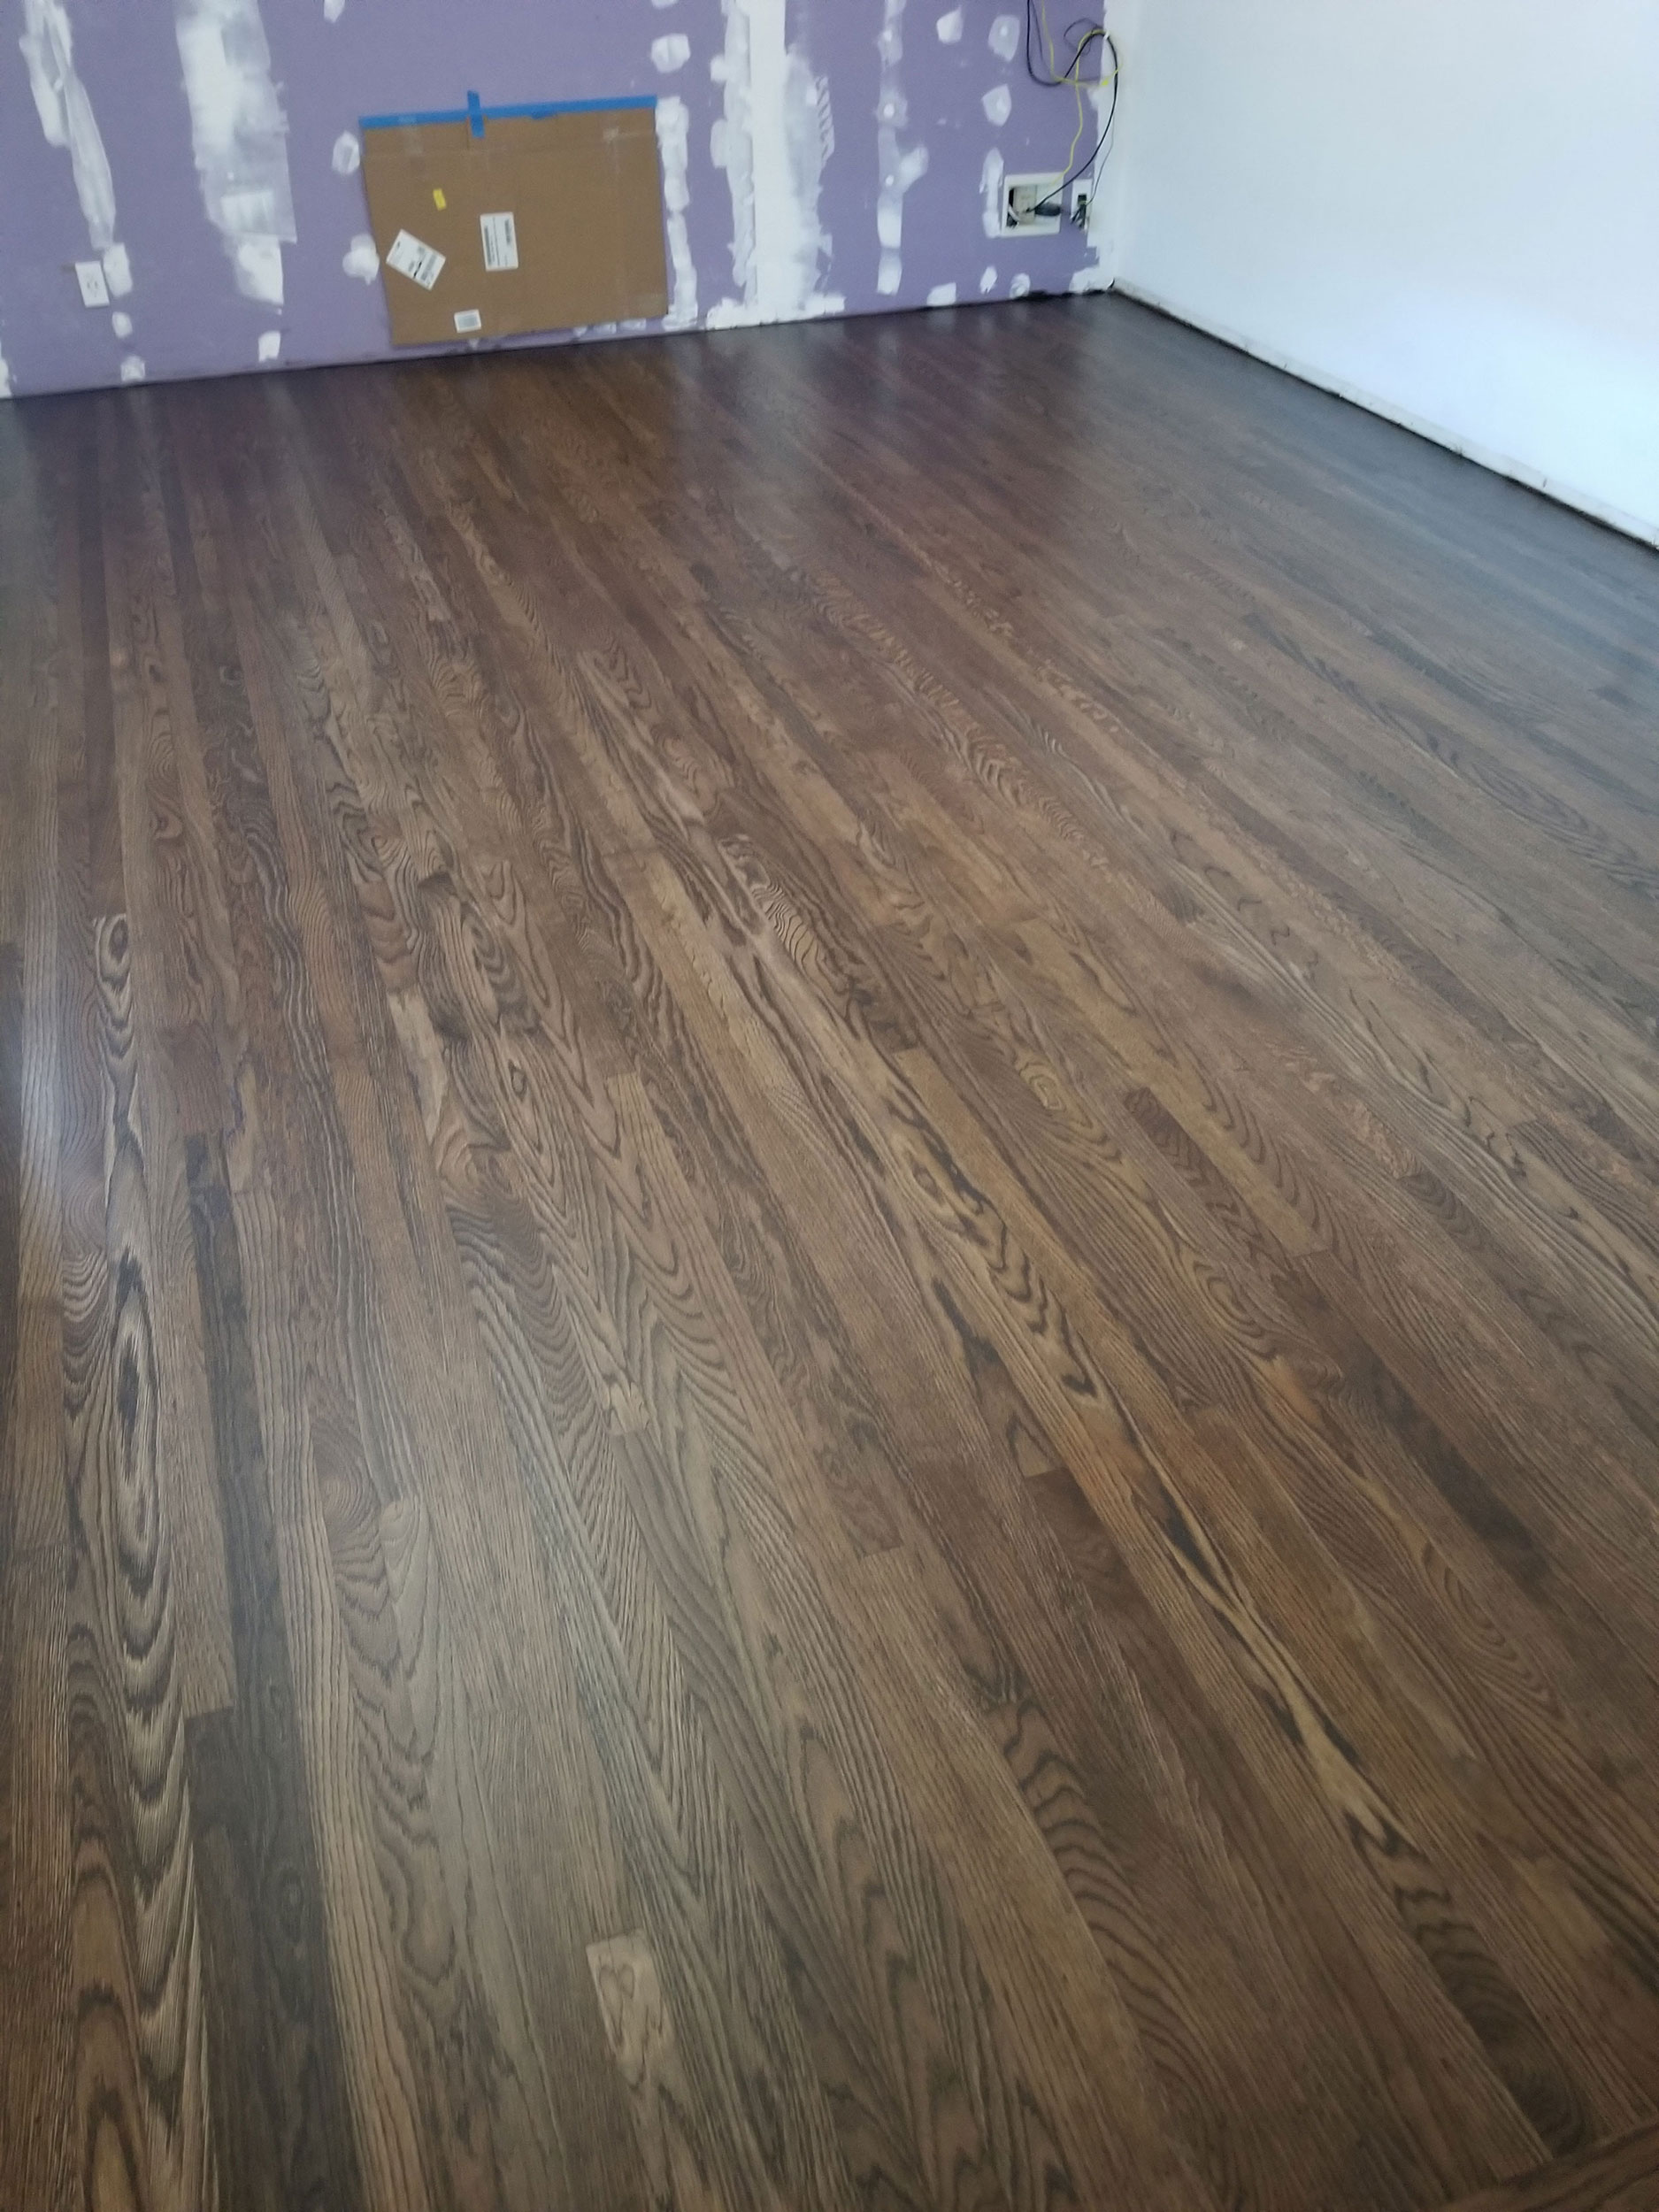
We use Bona HD Traffic for most of our floor sanding. It is durable and has a fast curing time. I do recommend that if you have small children and/or dogs to apply an extra coat. 

I did that in my home and it is a great investment. 

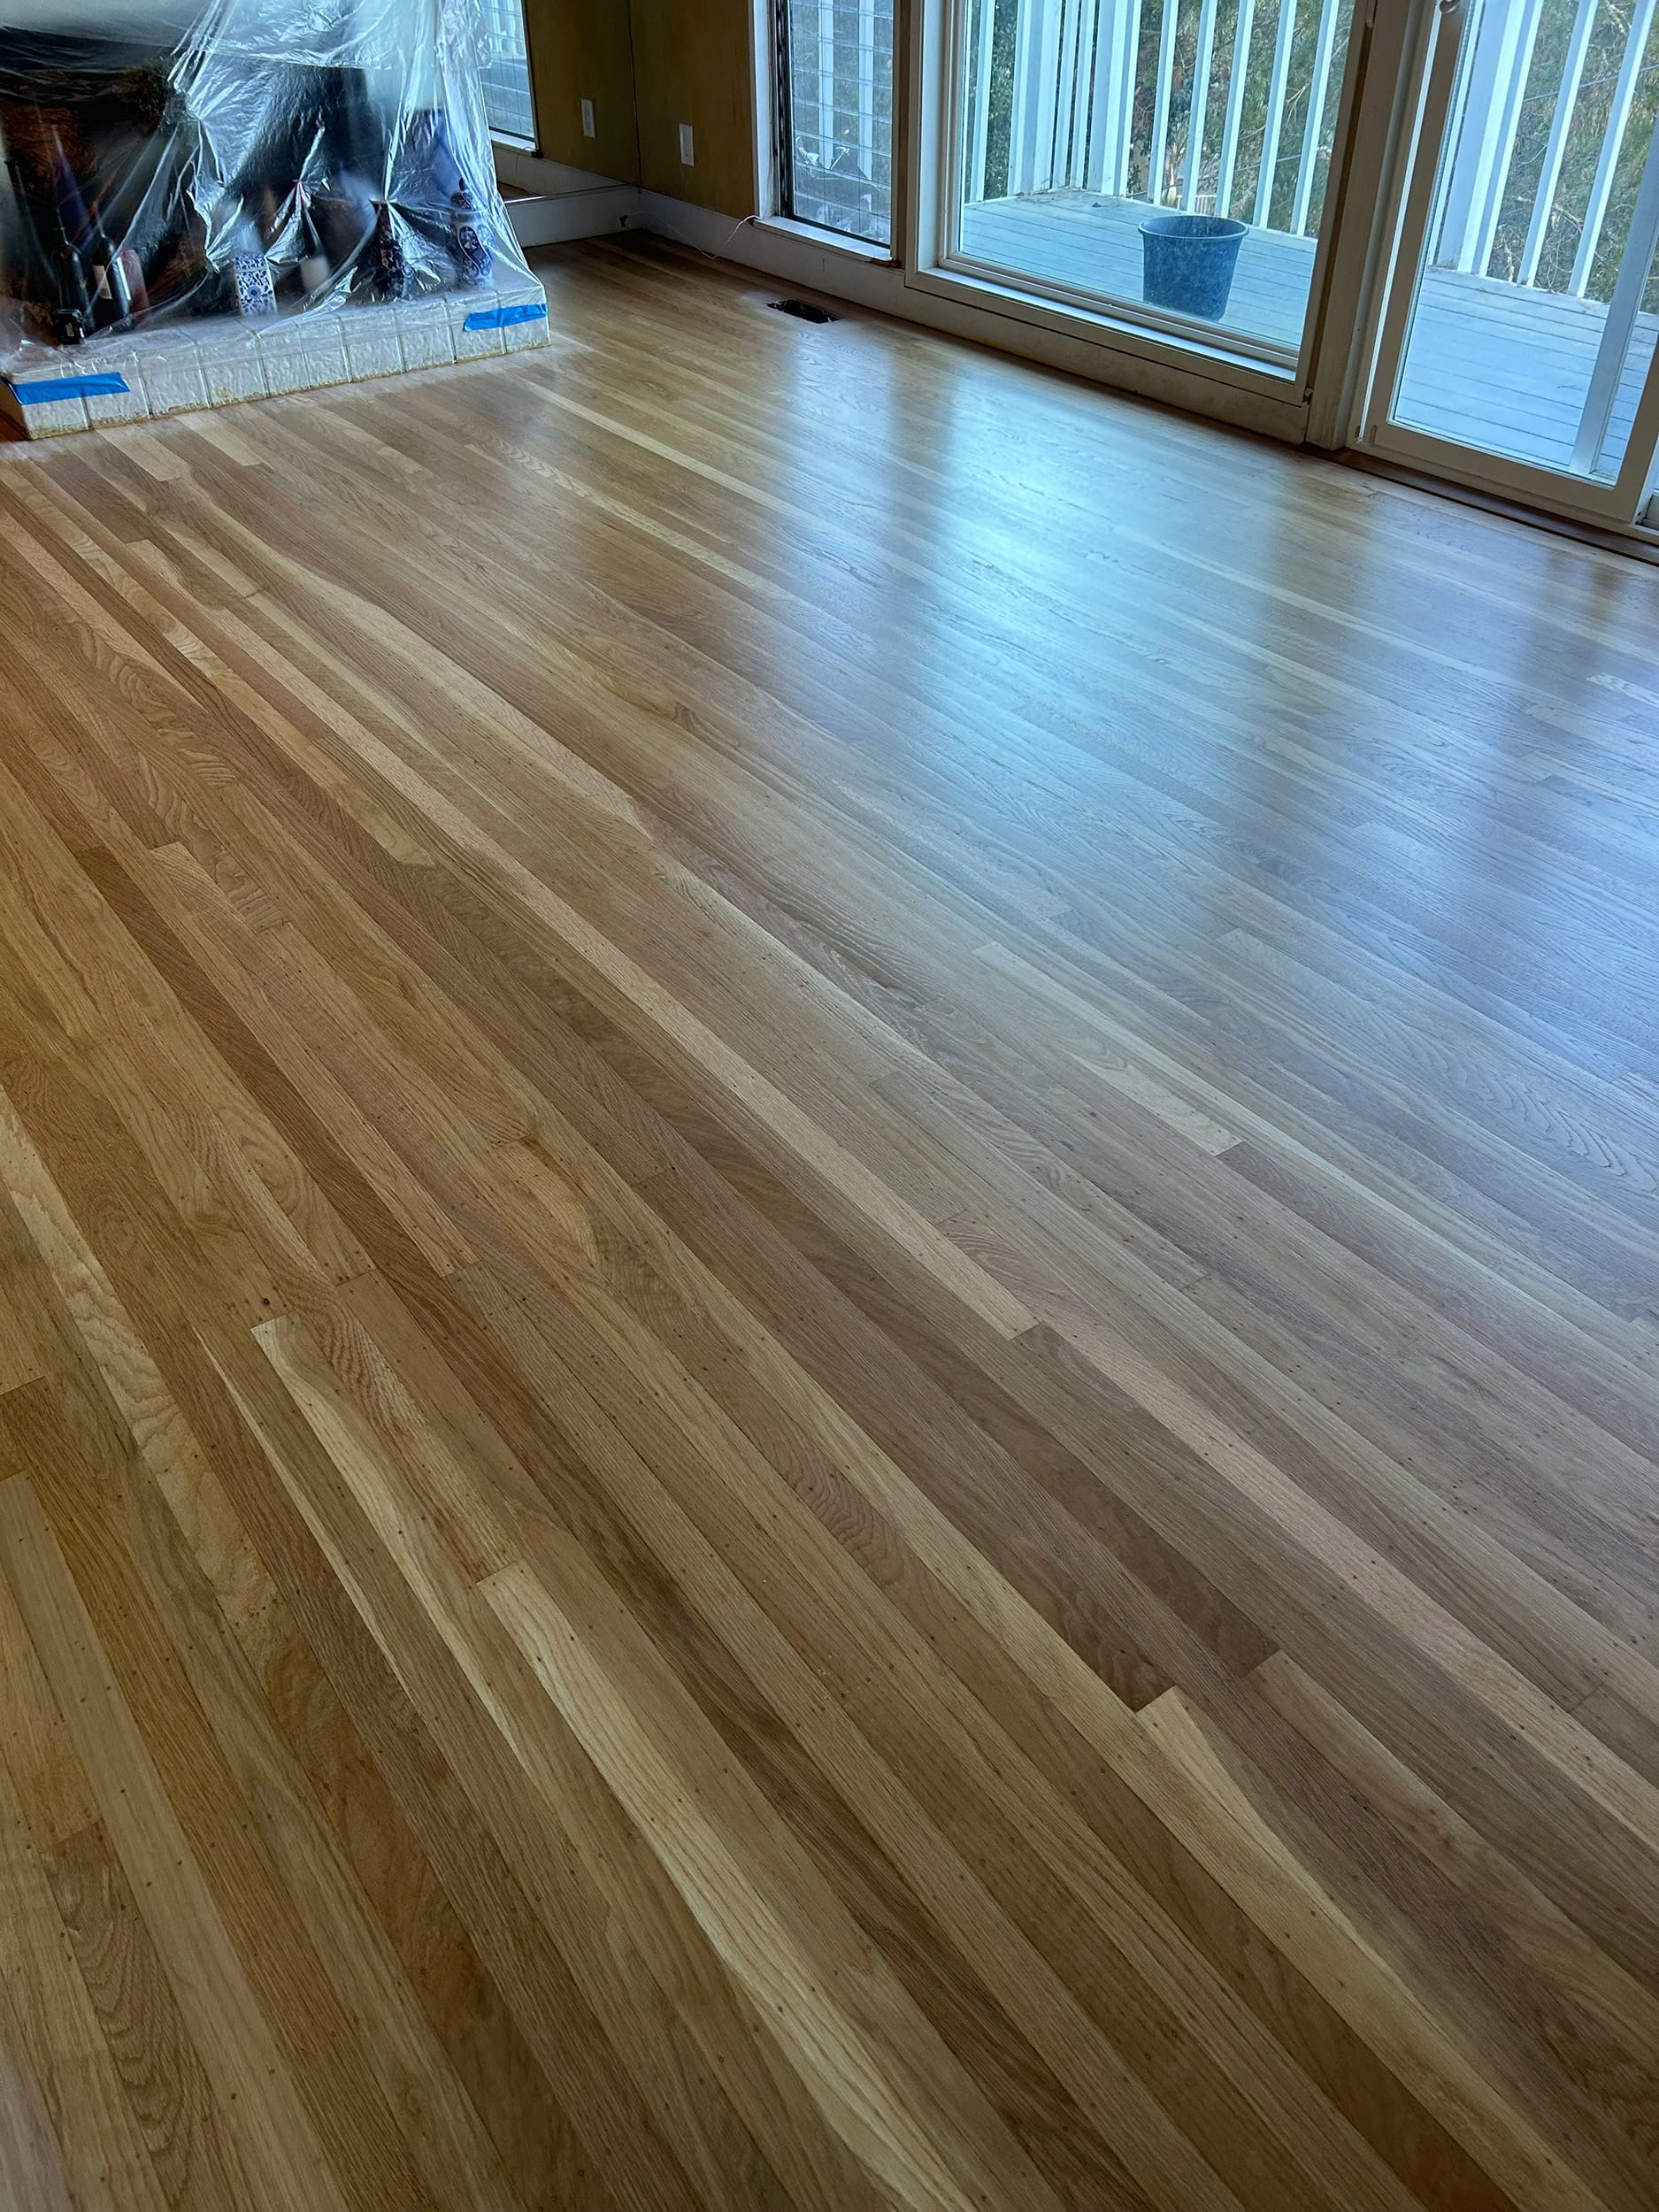
After completion of the sanding and finishing of three coats, we allowed the floor to cure for several days before our client could move back in. She later called us to do more work for her, and she couldn’t be happier.

Red Oak Floor Project – San Pablo CA

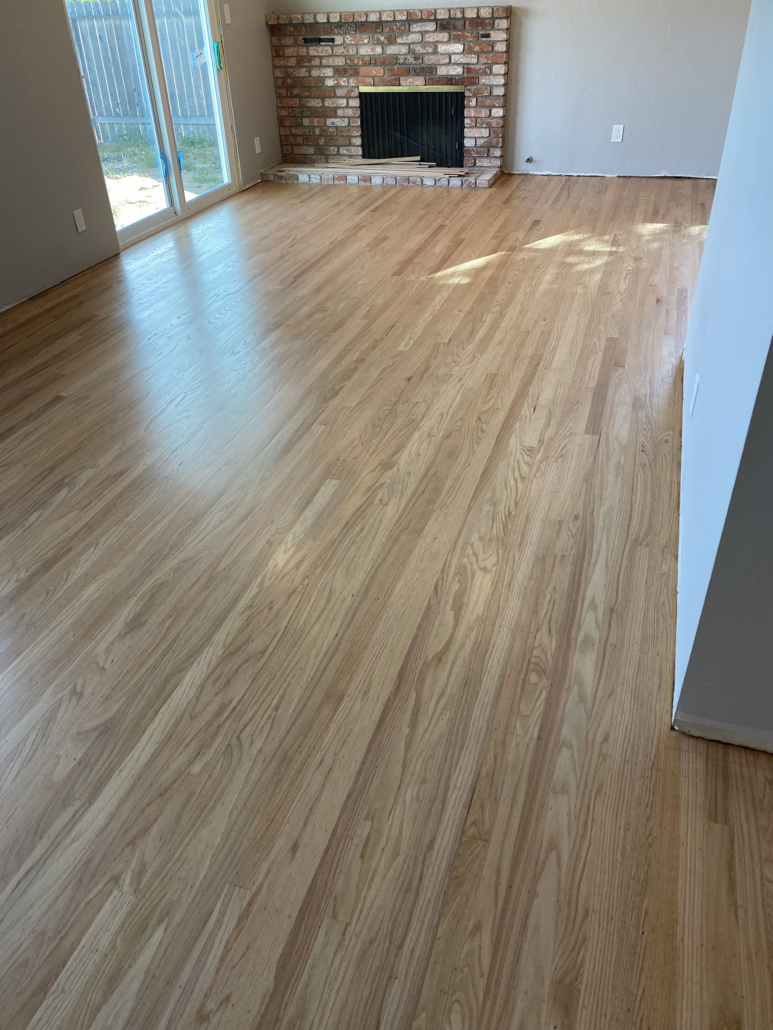
Our job was to add Red Oak floors in the dining living areas. The owner moved a wall to open up the main floor, and so we laced new floor boards into the existing. That is instead of going the easy way and butting it against the old floor. We started out by preparing the sub floor. That meant fixing any squeaks, repairing soft areas and sanding down the high spots. Afte that we vacuumed and put in a vapor retarder to slow down the moisture coming from the crawl space.

Matching the existing floor lines we then added floor row after row. Some had to be cut to fit into some areas, but most of the boards just slid into place with no problem. After nailing the entire floor we then let it acclimate in place, which means letting the floor reach its’ optimal moisture content for that area. While waiting for that to happen we then started refinishing the rest of the floors in the home. Using dust containment systems we virtually have no dust in the home while we are sanding. This leads to a clean job site, which then leads to a better sanded wood floor and a cleaner finish coat. After about a week of the new wood floor acclimating we then proceeded to finish the sanding on the new areas as well. We spend time setting any nail heads that were exposed and filling the floor with wood filler. The filler is applied as a continuous coat throughout the floor. We then sand it off until we are happy with the surface condition.

At the very end we use our hand scrapers and clean up corners and areas hard to reach. A thorough vacuum and mop and the floor was ready for the finish. This floor was coated with three coats of water base satin urethane by Bona. As you can see and to the delight of the home owner, the new floors blended in beautifully into the old.

Every floor is different and so every job is different. With most phases of the sanding process being the same, each floor dictates what we do or don’t do to make it look better. Even thought we’ve been in business since 2002 we never get bored with making floor look so pretty, especially when seeing the smiles on people’s faces.

Refinish and repair old oak floors or replace with new?

Save your money and restore your old hardwood floors

The question always arises: should I reuse what I have or buy a new floor? Right? New is exciting and fun because we get to shop around, make choices and get something that is – well; new! The thought of this is much more exciting than looking at what we have had for years, thinking how to make it better and more interesting. Hardwood floors are an asset and as such, should be looked at as a long term investment and not a temporary floor covering. These floors had been in service for more than a 100 years in a lot of homes.

Unfortunately, the craft of working with wood floors is slowly disappearing. The number of floor contractors who can tackle a really good sanding job is going down every year. If you have an old wood floor that has some blemishes, or even some boards are buckling – this floor can be sanded, repaired and finished to last you years to come. Then, you could use the money your saved on other things.

Let’s take this floor for example, an old top nail white oak floor. This floor was covered with different carpets over the years, had been urinated on by dogs, had carpet shampoo flood some areas and that’s just some of it. Well, most contractors that came to quote on that floor suggested a new floor instead of repairing and sanding the old. That is because they were not qualified to do such work.

We came in, repaired the floor where needed, added some new at the entry way and did our usual stain and finish to the highest standards.

The home owner was thrilled with the outcome, and was even happier to be able to spend his money on new furniture, instead of a new floor.

We mainly work in our immediate area which includes the 80 corridor from Oakland to Pinole, with more areas served like Lamorinda and walnut creek. We had spent the last 20 years restoring old floor, and installing new hardwood floors. Be certain that we will recommend the best option for you, not to our pocket.

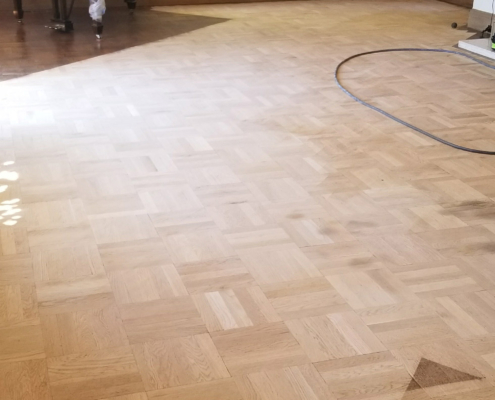
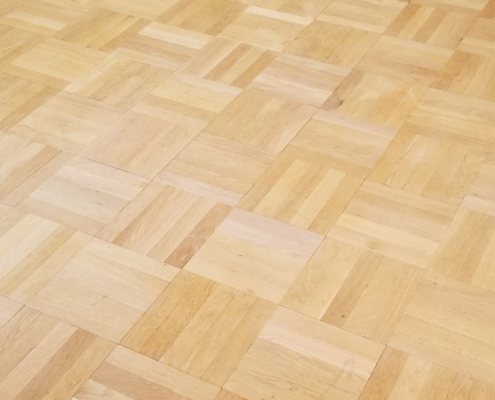
Before Refinish White Oak San Pablo

Before Refinish White Oak San Pablo

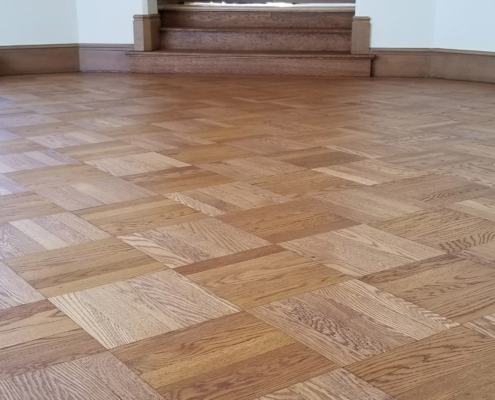
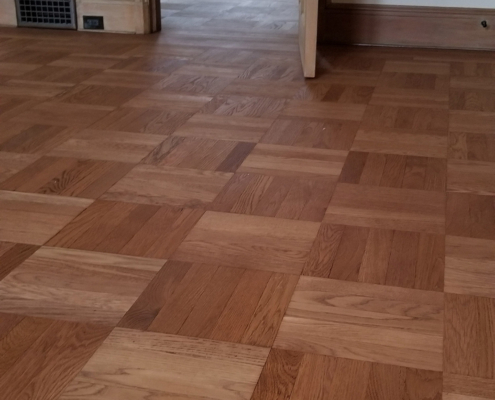
After Refinish White Oak San Pablo

After Refinish White Oak San Pablo

Coronavirus: How Avi’s Hardwood Floors Makes Your Life Safer

Top Three Reasons for Hiring Us Post COVID 19 Outbreak
At Avi’s Hardwood Floors we take your health and ours very seriously. While over the years we invested in top of the line machinery to keep your house free from dust, now we take extreme measure to leave your house as sanitized as possible. Read more

Repairing, Sanding and Finishing a 100 Year Old Floor

Repairing, sanding and finishing a 100 year old floor can be challenging to most, sometimes even to the best of contractors. The unknowns of things like wood species, install technique and finish types can add up pretty quickly into a big challenge to match.

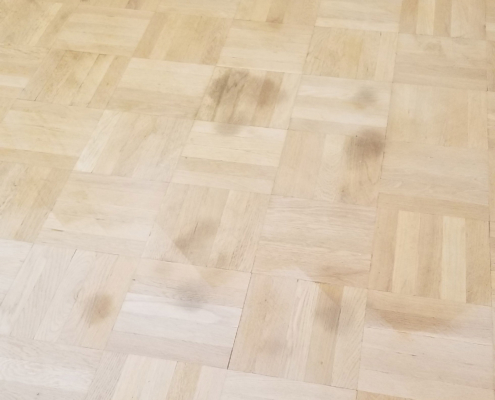
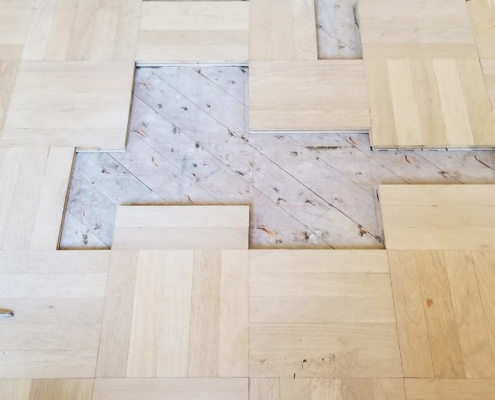
In this blog I will walk you through a job we just completed in Piedmont, California. The floor was a solid parquet with stain and original finish on it. We had to sand, stain, repair and finish it with our modern tools and finishes. Read more

Hardwood Floor Installation Disaster

We got a call from a reputable contractor to fix a newly installed white oak floor in Berkeley, CA. When I showed up to look at the floor, it was already cupping and separating from the sub floor. There were multiple humps a couple of inches high, and this oak floor needed to be replaced. The hardwood floor was in place for less than a month, and was part of a kitchen remodel.

I checked the moisture content in the floor and the sub floor, visually inspected the crawl space and tested the floor for proper nailing schedule. All of my tests came at a big fail for each category. The moisture level was too high in both the floor and the sub floor, the heat was off in the house, the fasteners were the wrong gauge and the floor was the wrong type. Evidently, the owner and the contractor knew of the moisture issues and flooded crawl space, and didn’t think it would have any effect on the new floor, since there are wood floors throughout the home already.

Everyone wants to save money, and it is just fine and perfectly understood. Saving money on installation of new wood floors isn’t smart. Wood moves at all times. Every time the relative humidity changes – wood moves. It is only in the hands of a true floor professional to decide which floor is best suited for your home. Read more

A Floor Replacement Done Right

Our clients trust us to recommend the best solution for their floor issues. In this case, the home owner called us for advice on how to fix his squeaky floor. He already spent endless hours under the house, using squeak repair kits from the box store. Days in and out, the squeaks kept coming back and he didn’t know what to do. The hardwood floors were 5/16” x 2” red oak floors – a common top nail floor in the Bay Area. I don’t know how many other contractors he had met with before I walked through his front door, but they were many. We discussed the floor issues in length. I suggested a complete replacement, including proper sub floor fix and a full glue and nail of the new floor.
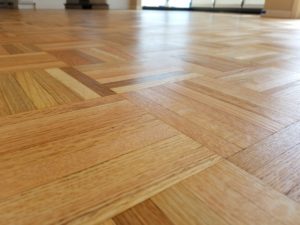
Evidently I was the first and only hardwood contractor to recommend this option. He hired us to do the work. Sure enough, as we started pulling the floor boards up we realized how thin the floor was. In some areas the wood floors was so thin, you could bend it for wood lamination. The hardwood floor in most areas were 1/8” thick which is absolutely outrageous for a top nail oak floor. Read more

Can You Put Hardwood Floors in The Bathroom?

We all love wood floors. Wood is warmer and better than other flooring options. We can find wood floors in almost every home, from entryways to living rooms to every bedroom and closet. We often get questions like: “can we put hardwood floors in the bathroom”? Yes of course, but it is not that black and white. We don’t recommend solid wood floors in bathrooms with full showers or bathtubs, just because wood and water don’t mix. Wood will react to extreme changes in relative humidity and that is exactly what a steamy shower does. Despite my last statement, we did install solid wood floors in the past in full bathrooms with showers.

A successful wood floor install depends on how well balanced you keep the temperature and humidity conditions inside the bathroom. If the ventilation is poor and there is standing water over the floor every day, eventually the wood floor will discolor or cup.

If you have small children like I do, you know better than to let them have a bath with wood floors just inches away. Families with small children should probably consider something other than wood for a bathroom floors, well at least until the kids grow a little older.

If you keep the bathroom well ventilated and place a mat over the floor, the wood will last longer.

Using white or red oak floors, preferably vertical grain for stability reasons is the way to go.

Design your bathroom with wood floors in mind and enjoy the warmth and beauty of it for years to come.

Top Five Complaints and how to Avoid Them

If you are a professional hardwood flooring contractor like me, installing wood floors becomes a second nature. From the preparation to the final product – it is a careful step by step process. Done right, it can yield a floor that can last more than a 100 years. It sounds so easy just reading about floor installation or watching a video on YouTube. So why are there so many problems in reality? Because installing a wood floor is not that easy. Every day home owners pay a good amount of money for so called professionals to install their floors, only to have a problem floor shortly after.
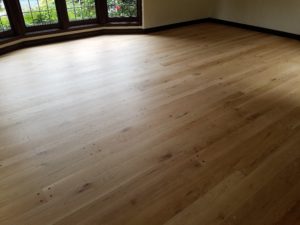
The most common complaints are:

  1. Cupping – that is when the edges of each floor plank are raised. A Simple solution to that is knowing your moisture content and relative humidity levels inside the home and the wood before, during and after installation. Many installers skip this step or don’t understand it. The fact is that any wood can be installed successfully in most situations. A simple check with a moisture meter and allowing time in the schedule for acclimation can prevent most of the cupping complaints.
  1. Gaps – whereas cupping is the result of the wood gaining moisture, gaps is the opposite. When gaps appear in the floor, it is an indication that the floor lost moisture. That means again that acclimation and/or living conditions were not met when installation took place. Gaps also happen during the winter season when dry heat from the home furnace dries the air and causes shrinkage in the wood floor.
  1. Squeaks – the floor look flat but makes a lot of noise. One common reason is a bad nailing technique combined with the wrong nailer and fastener gauge. Another reason could be poor milling of the wood. Either way, the installer should have noticed the issue before completing the entire floor. Another possible reason is that the sub floor has a lot of deflection so with every step the wood moves and in turn makes a squeaky sound.
  1. Appearance – with every flooring product the manufacturer usually allows for up to 5% of material to be out of grade. That means that in worst scenario every box of flooring will have 5% of flooring material that can’t be used or would not look so good with the rest of the floor. It is fair to say that in most cases the floor planks are pretty consistent and don’t actually have that much waste in each box. Nonetheless, when installing a floor it is good practice to mix up the boxes and communicate to the home owner what the material looks like. I’ve seen many who went to local showroom and looked at a small sample without being told that the actual floor would look much different. There will always be the dark board and the light board in the floor. It is a natural product, but when some planks look like they truly don’t belong – it is a problem.
  1. Transitions – doorways with really big and bulky thresholds or sliding doors with not so beautiful moldings. It is all in the details, that is what I was taught. The floor could like great but when the final touches are not crisp and pretty it can really ruin the overall “feel” of the install quality. Taking the time to plan out those details can pay off big time when the job is done.

At Avi’s Hardwood Floors we work hard to make sure every client is truly happy for years to come. This takes a lot of educating you the client and open lines of communication throughout your project. As it is impossible to make each floor perfect, we get pretty darn close to it every time.

Hiring a Professional to Sand and Finish Your Hardwood Floors – Understand What You Pay For

Here at Avi’s Hardwood Floors we specialize in installing, sanding and finishing wood floors. That is all we do, every day five days a week all year. One client said to me recently that he did not appreciate the full art and effort it took to refinish a floor until he saw us in action.
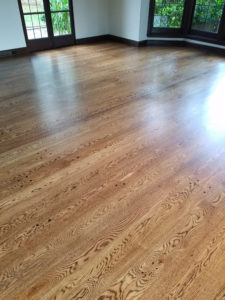
These days it seems most flooring products in the market are part of a trend of colors like gray and white. These floors are mostly engineered and often wire brushed which means – you cannot refinish them in the future. The art of sanding and finishing is slowly disappearing as the need for craftsmanship is declining. The market is filled with more people who can only install floors at a simple straight layout, yet alone add borders or set inlays and medallions.

The art of sanding and finishing is more appreciated now than ever, as home owners who have solid wood floors start searching for someone to refinish their wood floors, they often times find it hard to find someone qualified to do the job. Most guys have not had any training in refinishing floors or simply cannot do it.

When you find and hire a professional to refinish your floors understand the following:

  • Refinishing floors is an art. Even with all the training and years of experience it is still all in the hands of the craftsman or woman
  • Every job is different so the professional is challenged with each floor in different ways
  • The task of reviving an old floor is a multi-step process, unlike what you might see on your local home channel. It is a time consuming process
  • True professionals who know their craft have been around for a while and would still be around for years to come
  • Putting a price per square foot on this type of labor is simplifying the idea that anyone can do it and provide the same result
  • Refinishing wood floors takes a lot of attention to detail, for example: protecting adjacent surfaces, owning the right machines to provide complete dust free sanding, mastering the technique for each wood specie, knowing what to use for filling oak vs. cherry, how to treat a top nail floor vs. tongue and groove, identifying and repairing a floor, choosing the right finish for the client and being able to master the use of each finish.

As you can see, sanding and finishing wood floors is truly an art. It cannot simply be taught by attending one school, watching a video or reading a book alone. It is a process of years of learning and with each wood floor comes a new challenge. Next time you look for someone to refinish your wood floor understand that not all who say they can – can do it well.